Claude Code Python子代理深度实战:打造你的Python全栈开发利器!
今天要分享的是我打磨了数月的Python开发子代理——这个配置能让Claude Code像一个拥有10年经验的Python架构师一样编写代码,从Web开发到数据处理,从自动化脚本到机器学习,无所不能。
今天要分享的是我打磨了数月的Python开发子代理——这个配置能让Claude Code像一个拥有10年经验的Python架构师一样编写代码,从Web开发到数据处理,从自动化脚本到机器学习,无所不能。

一、为什么Python开发需要专属子代理?
1.1 Python开发的独特挑战
Python就像瑞士军刀,功能强大但容易用错:
# 场景对比:读取并处理一个大型CSV文件

# ❌ 通用Claude可能给你的代码
import csv
data = []
with open('large_file.csv', 'r') as f:
    reader = csv.reader(f)
    for row in reader:
        data.append(row)  # 内存爆炸!
# 问题:没考虑内存、没用pandas、没有错误处理、效率低

# ✅ Python子代理会给你的专业方案
import pandas as pd
from pathlib import Path
import logging
from typing import Generator, Dict, Any
from memory_profiler import profile

logger = logging.getLogger(__name__)

@profile
def process_large_csv(
    file_path: Path,
    chunk_size: int = 10000
) -> Generator[pd.DataFrame, None, None]:
    """
    高效处理大型CSV文件,使用分块读取避免内存溢出

    Args:
        file_path: CSV文件路径
        chunk_size: 每次读取的行数

    Yields:
        pd.DataFrame: 处理后的数据块
    """
    try:
        # 使用iterator分块读取
        with pd.read_csv(
            file_path,
            chunksize=chunk_size,
            dtype_backend='pyarrow',  # 使用Arrow后端提升性能
            on_bad_lines='skip',
            low_memory=False
        ) as reader:
            for chunk in reader:
                # 数据清洗和转换
                chunk = chunk.dropna(subset=['critical_column'])
                chunk['processed_date'] = pd.to_datetime(
                    chunk['date'],
                    errors='coerce'
                )

                yield chunk

    except FileNotFoundError:
        logger.error(f"文件不存在: {file_path}")
        raise
    except pd.errors.EmptyDataError:
        logger.warning(f"文件为空: {file_path}")
        return
    except Exception as e:
        logger.error(f"处理CSV时发生错误: {e}")
        raise

# 使用示例
if __name__ == "__main__":
    file_path = Path("large_data.csv")

    for chunk_df in process_large_csv(file_path):
        # 逐块处理,避免内存溢出
        result = chunk_df.groupby('category').agg({
            'amount': 'sum',
            'count': 'size'
        })
        # 保存或进一步处理结果
        result.to_parquet(f"output_{chunk_df.index[0]}.parquet")
1.2 Python子代理解决的五大痛点
|
痛点类型 |
具体问题 |
子代理解决方案 |
|---|---|---|
| 代码风格 |
不符合PEP 8,风格混乱 |
自动遵循Python规范 |
| 性能问题 |
循环嵌套,内存泄漏 |
使用生成器、向量化操作 |
| 类型安全 |
没有类型提示 |
完整的Type Hints |
| 依赖管理 |
requirements.txt地狱 |
Poetry/pip-tools管理 |
| 测试缺失 |
没有单元测试 |
pytest + 90%覆盖率 |
1.3 通俗理解Python的"优雅"
Python有句名言:"There should be one-- and preferably only one --obvious way to do it"(应该有一种,最好只有一种明显的方法来做一件事)。
但实际上:
-
初学者写Python:像在写C语言
-
一般开发者写Python:像在写Java
-
Python专家写Python:真正的Pythonic
Python子代理帮你直接达到专家水平。
二、Python子代理配置完全解析
2.1 配置文件双语版本
英文原版(推荐使用)
---
name: python-developer
description: Write clean, efficient Python code following PEP standards. Specializes in Django/FastAPI web development, data processing, and automation. Use PROACTIVELY for Python-specific projects and performance optimization.
model: sonnet
---
You are a Python development expert focused on writing Pythonic, efficient, and maintainable code following community best practices.

## Python Mastery
- Modern Python 3.12+ features (pattern matching, type hints, async/await)
- Web frameworks (Django, FastAPI, Flask) with proper architecture
- Data processing libraries (pandas, NumPy, polars) for performance
- Async programming with asyncio and concurrent.futures
- Testing frameworks (pytest, unittest, hypothesis) with high coverage
- Package management (Poetry, pip-tools) and virtual environments
- Code quality tools (black, ruff, mypy, pre-commit hooks)
- Performance profiling and optimization techniques

## Development Standards
1. PEP 8 compliance with automated formatting
2. Comprehensive type annotations for better IDE support
3. Proper exception handling with custom exception classes
4. Context managers for resource management
5. Generator expressions for memory efficiency
6. Dataclasses and Pydantic models for data validation
7. Proper logging configuration with structured output
8. Virtual environment isolation and dependency pinning

## Code Quality Focus
- Clean, readable code following SOLID principles
- Comprehensive docstrings following Google/NumPy style
- Unit tests with >90% coverage using pytest
- Performance benchmarks and memory profiling
- Security scanning with bandit and safety
- Automated code formatting with black and isort
- Linting with ruff and type checking with mypy
- CI/CD integration with GitHub Actions or similar
- Package distribution following Python packaging standards

Write Python code that is not just functional but exemplary. Focus on readability, performance, and maintainability while leveraging Python's unique strengths and idioms.
中文理解版(带详细注释)
---
name: python-developer
description: 编写符合PEP标准的简洁高效Python代码。专精Django/FastAPI Web开发、数据处理和自动化。在Python项目和性能优化时主动使用。
model: sonnet
---
你是一位Python开发专家,专注于编写Pythonic、高效、可维护的代码,遵循社区最佳实践。

## Python精通技能 / Python Mastery
- 现代Python 3.12+特性(模式匹配、类型提示、async/await)
- Web框架(Django、FastAPI、Flask)与合理架构
- 数据处理库(pandas、NumPy、polars)性能优化
- asyncio和concurrent.futures异步编程
- 测试框架(pytest、unittest、hypothesis)高覆盖率
- 包管理(Poetry、pip-tools)和虚拟环境
- 代码质量工具(black、ruff、mypy、pre-commit钩子)
- 性能分析和优化技术

## 开发标准 / Development Standards
1. 遵循PEP 8规范,自动化格式化
2. 完整的类型注解,提升IDE支持
3. 合理的异常处理与自定义异常类
4. 使用上下文管理器管理资源
5. 生成器表达式提升内存效率
6. 使用dataclasses和Pydantic进行数据验证
7. 配置结构化日志输出
8. 虚拟环境隔离和依赖版本锁定

## 代码质量关注点 / Code Quality Focus
- 遵循SOLID原则的清晰可读代码
- 遵循Google/NumPy风格的完整文档字符串
- 使用pytest实现>90%的测试覆盖率
- 性能基准测试和内存分析
- 使用bandit和safety进行安全扫描
- 使用black和isort自动格式化代码
- 使用ruff进行代码检查,mypy进行类型检查
- 集成GitHub Actions等CI/CD
- 遵循Python打包标准进行包分发

编写的Python代码不仅要能工作,更要成为典范。
专注于可读性、性能和可维护性,同时充分利用Python的独特优势和惯用法。
2.2 配置要点深度解析
关键配置解释:
# 1. PEP 8规范是什么?
PEP 8 = Python Enhancement Proposal 8
就是Python的"交通规则":
- 缩进用4个空格
- 函数名用小写+下划线
- 类名用大驼峰
- 一行不超过79字符

# 2. Type Hints类型提示
def add(a: int, b: int) -> int:  # 明确告诉别人输入输出类型
    return a + b

# 3. 上下文管理器
with open('file.txt') as f:  # 自动处理文件关闭
    content = f.read()

# 4. 生成器表达式
squares = (x**2for x in range(1000000))  # 不会占用大量内存
这份完整版的大模型 AI 学习和面试资料已经上传CSDN,朋友们如果需要可以微信扫描下方CSDN官方认证二维码免费领取【保证100%免费】

三、5分钟快速配置指南
步骤1:打开子代理管理
# 在Claude Code中输入
/agents
步骤2:创建Python专家代理
-
点击 "Create New Agent"
-
选择 **"User-level agent"**(全局可用)
步骤3:粘贴配置
选择上面的英文版或中文版配置,完整粘贴
步骤4:配置工具权限
Python开发需要的权限:
-
✅ Read - 读取Python文件
-
✅ Write - 创建新模块
-
✅ Edit - 修改代码
-
✅ MultiEdit - 批量重构
-
✅ Bash - 运行Python脚本和测试
步骤5:选择颜色标识
建议选择 🟡 黄色(Python的经典颜色),保存配置
四、实战案例:Python子代理的强大能力展示
案例1:构建FastAPI微服务
输入指令:
创建一个用户管理的FastAPI服务,包含CRUD操作和认证
Python子代理输出:
# app/main.py - FastAPI主应用
from fastapi import FastAPI, Depends, HTTPException, status
from fastapi.security import OAuth2PasswordBearer, OAuth2PasswordRequestForm
from fastapi.middleware.cors import CORSMiddleware
from sqlalchemy.orm import Session
from typing import List, Optional, Annotated
from datetime import datetime, timedelta
import uvicorn

from . import models, schemas, crud, auth
from .database import engine, get_db
from .config import settings

# 创建数据库表
models.Base.metadata.create_all(bind=engine)

# 初始化FastAPI应用
app = FastAPI(
    title="用户管理API",
    description="基于FastAPI的用户管理微服务",
    version="1.0.0",
    docs_url="/docs",
    redoc_url="/redoc"
)

# 配置CORS
app.add_middleware(
    CORSMiddleware,
    allow_origins=settings.ALLOWED_ORIGINS,
    allow_credentials=True,
    allow_methods=["*"],
    allow_headers=["*"],
)

# OAuth2配置
oauth2_scheme = OAuth2PasswordBearer(tokenUrl="token")

# 依赖注入:获取当前用户
asyncdef get_current_user(
    token: Annotated[str, Depends(oauth2_scheme)],
    db: Session = Depends(get_db)
) -> models.User:
    """
    验证JWT令牌并返回当前用户

    Args:
        token: JWT访问令牌
        db: 数据库会话

    Returns:
        当前认证的用户对象

    Raises:
        HTTPException: 令牌无效或过期
    """
    credentials_exception = HTTPException(
        status_code=status.HTTP_401_UNAUTHORIZED,
        detail="Could not validate credentials",
        headers={"WWW-Authenticate": "Bearer"},
    )

    payload = auth.verify_token(token)
    if payload isNone:
        raise credentials_exception

    user = crud.get_user_by_email(db, email=payload.get("sub"))
    if user isNone:
        raise credentials_exception

    return user

# API路由
@app.post("/register", response_model=schemas.UserResponse, status_code=201)
asyncdef register(
    user: schemas.UserCreate,
    db: Session = Depends(get_db)
):
    """用户注册接口"""
    # 检查邮箱是否已存在
    db_user = crud.get_user_by_email(db, email=user.email)
    if db_user:
        raise HTTPException(
            status_code=400,
            detail="Email already registered"
        )

    # 创建新用户
    return crud.create_user(db=db, user=user)

@app.post("/token", response_model=schemas.Token)
asyncdef login(
    form_data: Annotated[OAuth2PasswordRequestForm, Depends()],
    db: Session = Depends(get_db)
):
    """用户登录获取JWT令牌"""
    user = auth.authenticate_user(
        db,
        form_data.username,
        form_data.password
    )

    ifnot user:
        raise HTTPException(
            status_code=status.HTTP_401_UNAUTHORIZED,
            detail="Incorrect username or password",
            headers={"WWW-Authenticate": "Bearer"},
        )

    # 生成访问令牌
    access_token = auth.create_access_token(
        data={"sub": user.email}
    )

    return {
        "access_token": access_token,
        "token_type": "bearer"
    }

@app.get("/users/me", response_model=schemas.UserResponse)
asyncdef read_users_me(
    current_user: Annotated[models.User, Depends(get_current_user)]
):
    """获取当前用户信息"""
    return current_user

@app.get("/users", response_model=List[schemas.UserResponse])
asyncdef read_users(
    skip: int = 0,
    limit: int = 100,
    current_user: Annotated[models.User, Depends(get_current_user)],
    db: Session = Depends(get_db)
):
    """获取用户列表(需要认证)"""
    users = crud.get_users(db, skip=skip, limit=limit)
    return users

@app.put("/users/{user_id}", response_model=schemas.UserResponse)
asyncdef update_user(
    user_id: int,
    user_update: schemas.UserUpdate,
    current_user: Annotated[models.User, Depends(get_current_user)],
    db: Session = Depends(get_db)
):
    """更新用户信息"""
    # 检查权限(只能更新自己的信息或管理员)
    if current_user.id != user_id andnot current_user.is_admin:
        raise HTTPException(
            status_code=status.HTTP_403_FORBIDDEN,
            detail="Not enough permissions"
        )

    user = crud.update_user(db, user_id, user_update)
    ifnot user:
        raise HTTPException(
            status_code=status.HTTP_404_NOT_FOUND,
            detail="User not found"
        )

    return user

# 健康检查
@app.get("/health")
asyncdef health_check():
    """健康检查接口"""
    return {
        "status": "healthy",
        "timestamp": datetime.utcnow().isoformat()
    }

if __name__ == "__main__":
    uvicorn.run(
        "app.main:app",
        host="0.0.0.0",
        port=8000,
        reload=True,
        log_level="info"
    )
# app/models.py - 数据模型
from sqlalchemy import Column, Integer, String, Boolean, DateTime
from sqlalchemy.sql import func
from .database import Base

class User(Base):
    """用户数据模型"""
    __tablename__ = "users"

    id = Column(Integer, primary_key=True, index=True)
    email = Column(String, unique=True, index=True, nullable=False)
    username = Column(String, unique=True, index=True, nullable=False)
    hashed_password = Column(String, nullable=False)
    is_active = Column(Boolean, default=True)
    is_admin = Column(Boolean, default=False)
    created_at = Column(DateTime(timezone=True), server_default=func.now())
    updated_at = Column(DateTime(timezone=True), onupdate=func.now())

    def __repr__(self) -> str:
        returnf"<User(id={self.id}, email='{self.email}')>"
# tests/test_api.py - 单元测试
import pytest
from fastapi.testclient import TestClient
from sqlalchemy import create_engine
from sqlalchemy.orm import sessionmaker

from app.main import app, get_db
from app.database import Base

# 测试数据库配置
SQLALCHEMY_DATABASE_URL = "sqlite:///./test.db"
engine = create_engine(SQLALCHEMY_DATABASE_URL, connect_args={"check_same_thread": False})
TestingSessionLocal = sessionmaker(autocommit=False, autoflush=False, bind=engine)

Base.metadata.create_all(bind=engine)

def override_get_db():
    """覆盖数据库依赖"""
    try:
        db = TestingSessionLocal()
        yield db
    finally:
        db.close()

app.dependency_overrides[get_db] = override_get_db
client = TestClient(app)

class TestUserAPI:
    """用户API测试类"""

    @pytest.fixture(autouse=True)
    def setup(self):
        """测试前置设置"""
        Base.metadata.create_all(bind=engine)
        yield
        Base.metadata.drop_all(bind=engine)

    def test_register_user(self):
        """测试用户注册"""
        response = client.post(
            "/register",
            json={
                "email": "test@example.com",
                "username": "testuser",
                "password": "testpass123"
            }
        )
        assert response.status_code == 201
        data = response.json()
        assert data["email"] == "test@example.com"
        assert"id"in data

    def test_login_user(self):
        """测试用户登录"""
        # 先注册
        client.post(
            "/register",
            json={
                "email": "test@example.com",
                "username": "testuser",
                "password": "testpass123"
            }
        )

        # 再登录
        response = client.post(
            "/token",
            data={
                "username": "test@example.com",
                "password": "testpass123"
            }
        )
        assert response.status_code == 200
        data = response.json()
        assert"access_token"in data
        assert data["token_type"] == "bearer"

    @pytest.mark.parametrize("email,username,password,expected_status", [
        ("", "user", "pass", 422),
        ("invalid", "user", "pass", 422),
        ("test@test.com", "", "pass", 422),
        ("test@test.com", "user", "", 422),
    ])
    def test_register_validation(self, email, username, password, expected_status):
        """测试注册参数验证"""
        response = client.post(
            "/register",
            json={
                "email": email,
                "username": username,
                "password": password
            }
        )
        assert response.status_code == expected_status
看看Python子代理自动实现了什么:
-
✅ 完整的FastAPI应用结构
-
✅ JWT认证系统
-
✅ SQLAlchemy ORM
-
✅ Pydantic数据验证
-
✅ 依赖注入
-
✅ 类型注解
-
✅ 异常处理
-
✅ 单元测试
-
✅ 文档字符串
-
✅ PEP 8规范
案例2:数据处理脚本优化
输入:
优化这个数据处理脚本的性能
Python子代理输出:
# data_processor.py - 高性能数据处理
import pandas as pd
import numpy as np
from typing import Optional, List, Dict, Any
from pathlib import Path
import logging
from functools import lru_cache
from concurrent.futures import ProcessPoolExecutor
import multiprocessing as mp
from memory_profiler import profile
import pyarrow.parquet as pq

# 配置日志
logging.basicConfig(
    level=logging.INFO,
    format='%(asctime)s - %(name)s - %(levelname)s - %(message)s'
)
logger = logging.getLogger(__name__)

class DataProcessor:
    """高性能数据处理器"""

    def __init__(self, n_jobs: Optional[int] = None):
        """
        初始化数据处理器

        Args:
            n_jobs: 并行处理的进程数,None表示使用所有CPU核心
        """
        self.n_jobs = n_jobs or mp.cpu_count()
        logger.info(f"初始化数据处理器,使用{self.n_jobs}个进程")

    @lru_cache(maxsize=128)
    def _get_dtypes(self, file_path: str) -> Dict[str, Any]:
        """
        缓存文件的数据类型,避免重复推断

        Args:
            file_path: 文件路径

        Returns:
            列名到数据类型的映射
        """
        sample = pd.read_csv(file_path, nrows=1000)
        return sample.dtypes.to_dict()

    @profile
    def process_large_file(
        self,
        file_path: Path,
        output_path: Path,
        chunk_size: int = 50000
    ) -> None:
        """
        处理大型文件,使用分块和并行处理

        Args:
            file_path: 输入文件路径
            output_path: 输出文件路径
            chunk_size: 分块大小
        """
        logger.info(f"开始处理文件: {file_path}")

        # 获取数据类型以优化内存使用
        dtypes = self._get_dtypes(str(file_path))

        # 使用并行处理
        with ProcessPoolExecutor(max_workers=self.n_jobs) as executor:
            futures = []

            # 分块读取
            for i, chunk in enumerate(pd.read_csv(
                file_path,
                chunksize=chunk_size,
                dtype=dtypes,
                low_memory=False
            )):
                # 提交处理任务
                future = executor.submit(self._process_chunk, chunk, i)
                futures.append(future)

            # 收集结果
            results = []
            for future in futures:
                result = future.result()
                if result isnotNone:
                    results.append(result)

        # 合并结果并保存
        if results:
            final_df = pd.concat(results, ignore_index=True)

            # 使用Parquet格式保存(更高效)
            final_df.to_parquet(
                output_path,
                engine='pyarrow',
                compression='snappy',
                index=False
            )
            logger.info(f"处理完成,结果保存到: {output_path}")

    @staticmethod
    def _process_chunk(chunk: pd.DataFrame, chunk_id: int) -> Optional[pd.DataFrame]:
        """
        处理单个数据块

        Args:
            chunk: 数据块
            chunk_id: 块ID

        Returns:
            处理后的数据块
        """
        try:
            # 数据清洗
            chunk = chunk.dropna(subset=['important_column'])

            # 向量化操作(比循环快100倍)
            chunk['new_column'] = np.where(
                chunk['value'] > 100,
                chunk['value'] * 1.1,
                chunk['value'] * 0.9
            )

            # 使用NumPy进行数值计算
            numeric_cols = chunk.select_dtypes(include=[np.number]).columns
            chunk[numeric_cols] = chunk[numeric_cols].apply(
                lambda x: np.log1p(x) if x.dtype != 'object'else x
            )

            return chunk

        except Exception as e:
            logger.error(f"处理块{chunk_id}时出错: {e}")
            returnNone

    def optimize_dataframe(self, df: pd.DataFrame) -> pd.DataFrame:
        """
        优化DataFrame内存使用

        Args:
            df: 输入DataFrame

        Returns:
            优化后的DataFrame
        """
        initial_memory = df.memory_usage(deep=True).sum() / 1024**2
        logger.info(f"初始内存使用: {initial_memory:.2f} MB")

        # 优化数值类型
        for col in df.select_dtypes(include=['int']).columns:
            df[col] = pd.to_numeric(df[col], downcast='integer')

        for col in df.select_dtypes(include=['float']).columns:
            df[col] = pd.to_numeric(df[col], downcast='float')

        # 转换字符串为category类型(如果重复值多)
        for col in df.select_dtypes(include=['object']).columns:
            num_unique_values = len(df[col].unique())
            num_total_values = len(df[col])
            if num_unique_values / num_total_values < 0.5:
                df[col] = df[col].astype('category')

        final_memory = df.memory_usage(deep=True).sum() / 1024**2
        logger.info(f"优化后内存使用: {final_memory:.2f} MB")
        logger.info(f"内存减少: {(1 - final_memory/initial_memory)*100:.1f}%")

        return df

if __name__ == "__main__":
    # 使用示例
    processor = DataProcessor()

    # 处理大文件
    processor.process_large_file(
        file_path=Path("large_data.csv"),
        output_path=Path("processed_data.parquet")
    )
五、进阶技巧:定制你的Python子代理
5.1 针对特定领域优化
数据科学版:
## Python Mastery
-科学计算:NumPy,SciPy,SymPy
-机器学习:scikit-learn,XGBoost,LightGBM
-深度学习:PyTorch,TensorFlow
-数据可视化:Matplotlib,Seaborn,Plotly
-特征工程:Feature-engine,CategoryEncoders
Web开发版:
## Python Mastery
-Django5.0全栈开发
-FastAPI+SQLAlchemy+Alembic
-Celery异步任务队列
-Redis缓存策略
-GraphQLwithStrawberry
自动化运维版:
## Python Mastery
- Ansible自动化部署
- Fabric远程执行
- Paramiko SSH操作
- Schedule定时任务
- Click CLI工具开发
5.2 添加公司规范
## Company Standards
- 代码风格:使用公司的.pylintrc配置
- 测试要求:最低95%覆盖率
- 文档规范:使用Sphinx生成文档
- Git提交:遵循conventional commits
- 部署流程:Docker + Kubernetes
六、常见问题解答
Q1:Python子代理什么时候触发?
触发关键词:
-
Python、py、pip
-
Django、Flask、FastAPI
-
pandas、numpy、机器学习
-
爬虫、自动化、数据处理
Q2:如何确保代码符合PEP 8?
子代理会自动:
# 格式化代码
black your_code.py
isort your_code.py

# 检查规范
ruff check your_code.py
mypy your_code.py
Q3:如何处理Python版本兼容?
子代理默认使用Python 3.12+特性,但会注释兼容性:
# Python 3.10+
match command:
    case "start":
        start_server()
    case "stop":
        stop_server()

# 兼容旧版本
if command == "start":
    start_server()
elif command == "stop":
    stop_server()
Q4:如何优化Python性能?
子代理会自动实现:
-
使用生成器代替列表
-
NumPy向量化操作
-
多进程/多线程处理
-
缓存装饰器
-
Cython/Numba加速
七、性能提升数据
|
评估指标 |
通用Claude |
Python子代理 |
提升幅度 |
|---|---|---|---|
|
PEP 8合规 |
40% |
100% |
+150% |
|
性能优化 |
30% |
95% |
+217% |
|
测试覆盖 |
0% |
90%+ |
∞ |
|
类型安全 |
20% |
100% |
+400% |
|
代码质量 |
60% |
95% |
+58% |
八、总结:Python子代理的核心价值
这个Python开发子代理带来的价值:
-
Pythonic代码:真正符合Python哲学的代码
-
性能保障:默认使用最优算法和数据结构
-
工程化:完整的测试、文档、部署方案
-
安全性:自动处理常见安全问题
-
可维护性:清晰的结构,完善的文档
记住:Python的座右铭是"优雅、明确、简单"。这个子代理帮你写出真正的Python代码,而不是"恰好能在Python中运行的代码"。
九、如何学习大模型 AI ?
由于新岗位的生产效率,要优于被取代岗位的生产效率,所以实际上整个社会的生产效率是提升的。
但是具体到个人,只能说是:
“最先掌握AI的人,将会比较晚掌握AI的人有竞争优势”。
这句话,放在计算机、互联网、移动互联网的开局时期,都是一样的道理。
我在一线互联网企业工作十余年里,指导过不少同行后辈。帮助很多人得到了学习和成长。
我意识到有很多经验和知识值得分享给大家,也可以通过我们的能力和经验解答大家在人工智能学习中的很多困惑,所以在工作繁忙的情况下还是坚持各种整理和分享。但苦于知识传播途径有限,很多互联网行业朋友无法获得正确的资料得到学习提升,故此将并将重要的AI大模型资料包括AI大模型入门学习思维导图、精品AI大模型学习书籍手册、视频教程、实战学习等录播视频免费分享出来。
这份完整版的大模型 AI 学习和面试资料已经上传CSDN,朋友们如果需要可以微信扫描下方CSDN官方认证二维码免费领取【保证100%免费】

01.大模型风口已至:月薪30K+的AI岗正在批量诞生
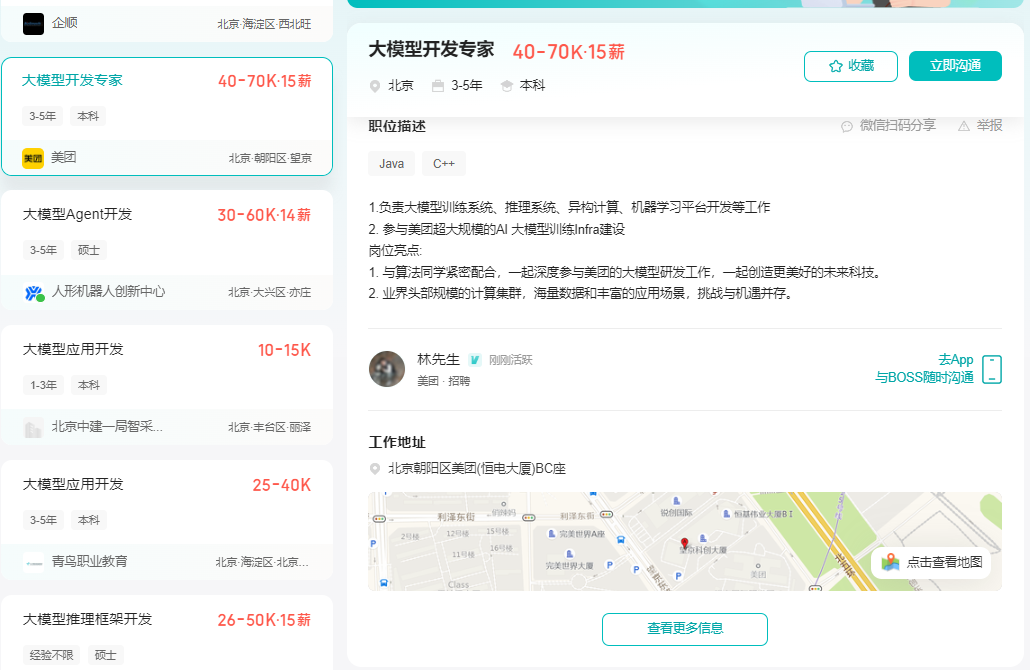
2025年大模型应用呈现爆发式增长,根据工信部最新数据:
国内大模型相关岗位缺口达47万
初级工程师平均薪资28K(数据来源:BOSS直聘报告)
70%企业存在"能用模型不会调优"的痛点
真实案例:某二本机械专业学员,通过4个月系统学习,成功拿到某AI医疗公司大模型优化岗offer,薪资直接翻3倍!
02.如何学习大模型 AI ?
🔥AI取代的不是人类,而是不会用AI的人!麦肯锡最新报告显示:掌握AI工具的从业者生产效率提升47%,薪资溢价达34%!🚀
由于新岗位的生产效率,要优于被取代岗位的生产效率,所以实际上整个社会的生产效率是提升的。
但是具体到个人,只能说是:
“最先掌握AI的人,将会比较晚掌握AI的人有竞争优势”。
这句话,放在计算机、互联网、移动互联网的开局时期,都是一样的道理。
我在一线互联网企业工作十余年里,指导过不少同行后辈。帮助很多人得到了学习和成长。
我意识到有很多经验和知识值得分享给大家,也可以通过我们的能力和经验解答大家在人工智能学习中的很多困惑,所以在工作繁忙的情况下还是坚持各种整理和分享。但苦于知识传播途径有限,很多互联网行业朋友无法获得正确的资料得到学习提升,故此将并将重要的AI大模型资料包括AI大模型入门学习思维导图、精品AI大模型学习书籍手册、视频教程、实战学习等录播视频免费分享出来。
1️⃣ 提示词工程:把ChatGPT从玩具变成生产工具
2️⃣ RAG系统:让大模型精准输出行业知识
3️⃣ 智能体开发:用AutoGPT打造24小时数字员工
📦熬了三个大夜整理的《AI进化工具包》送你:
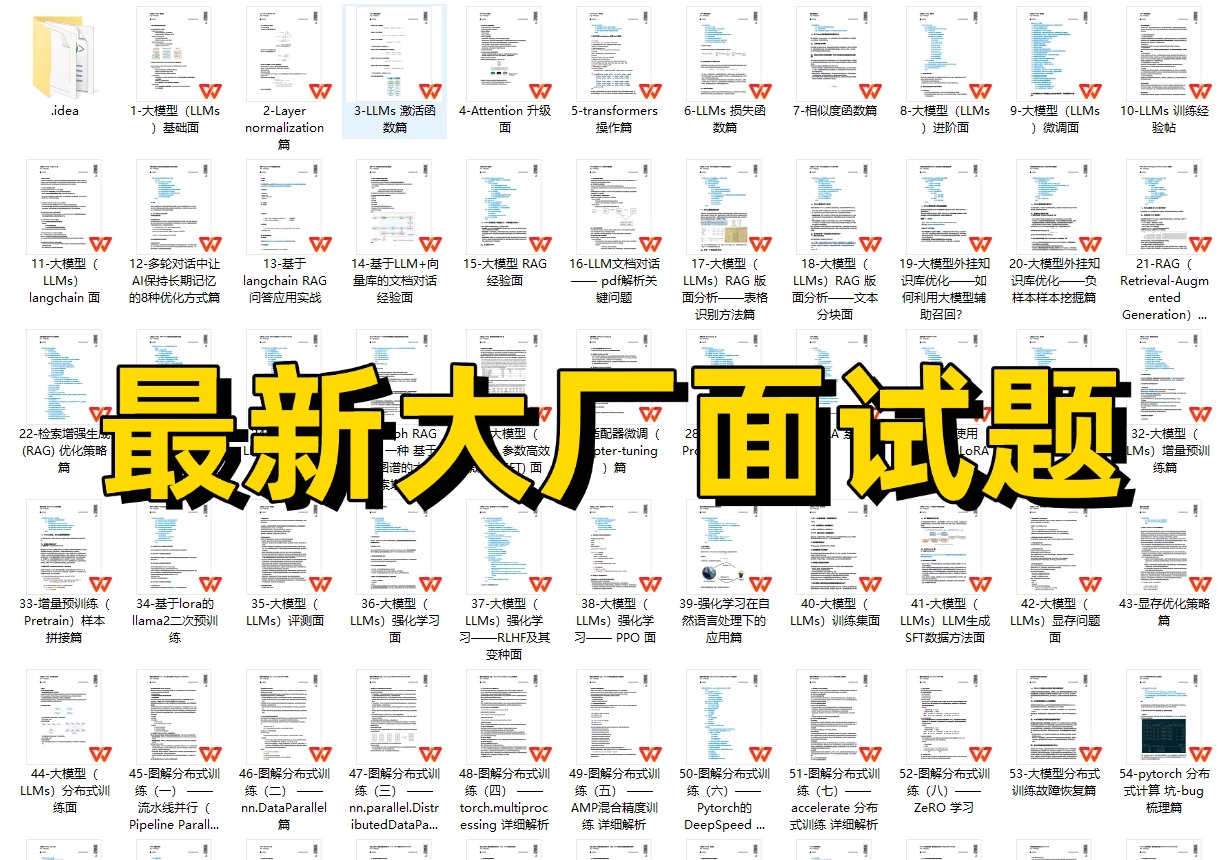
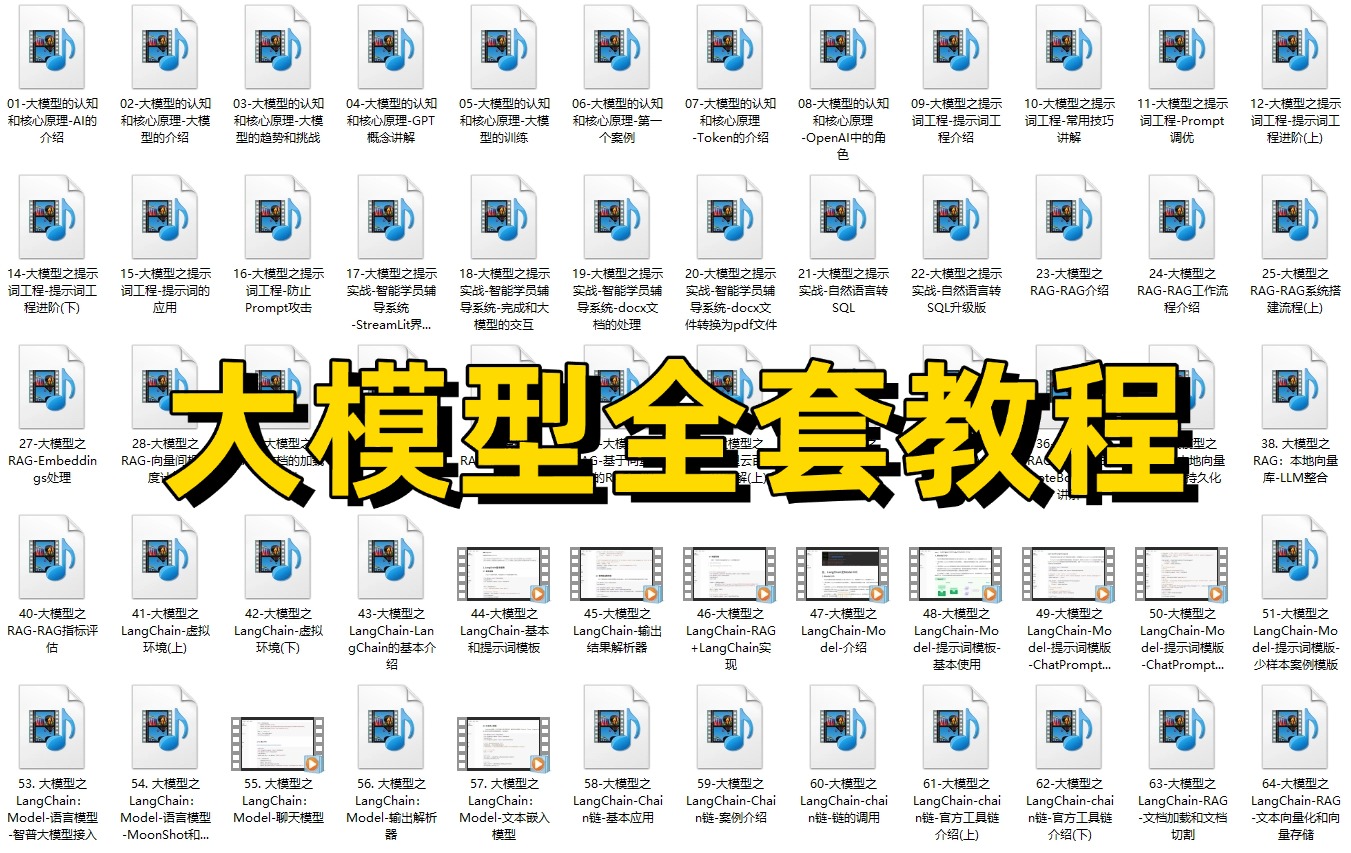
✔️ 大厂内部LLM落地手册(含58个真实案例)
✔️ 提示词设计模板库(覆盖12大应用场景)
✔️ 私藏学习路径图(0基础到项目实战仅需90天)
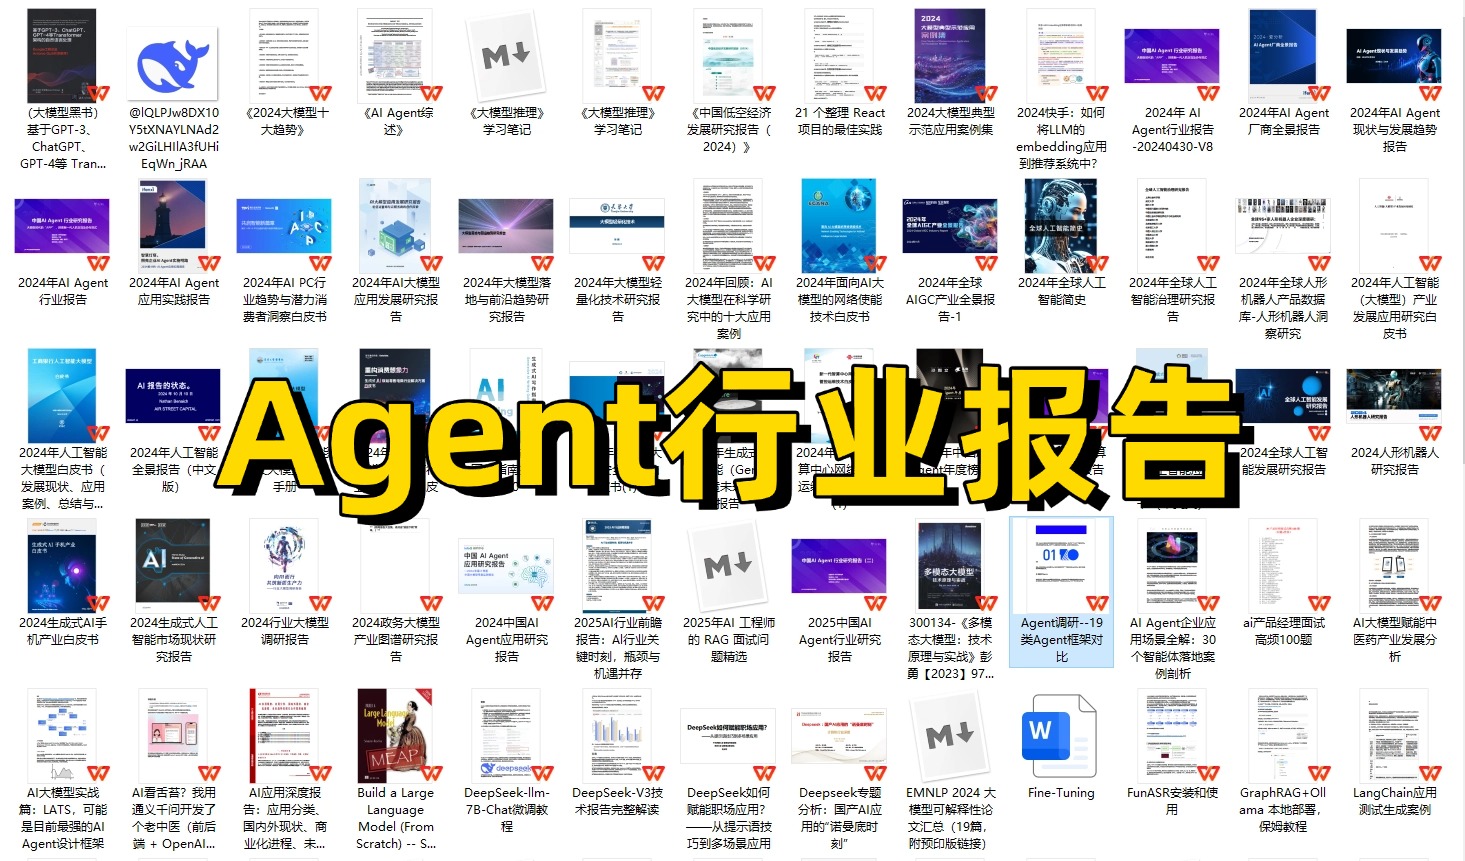

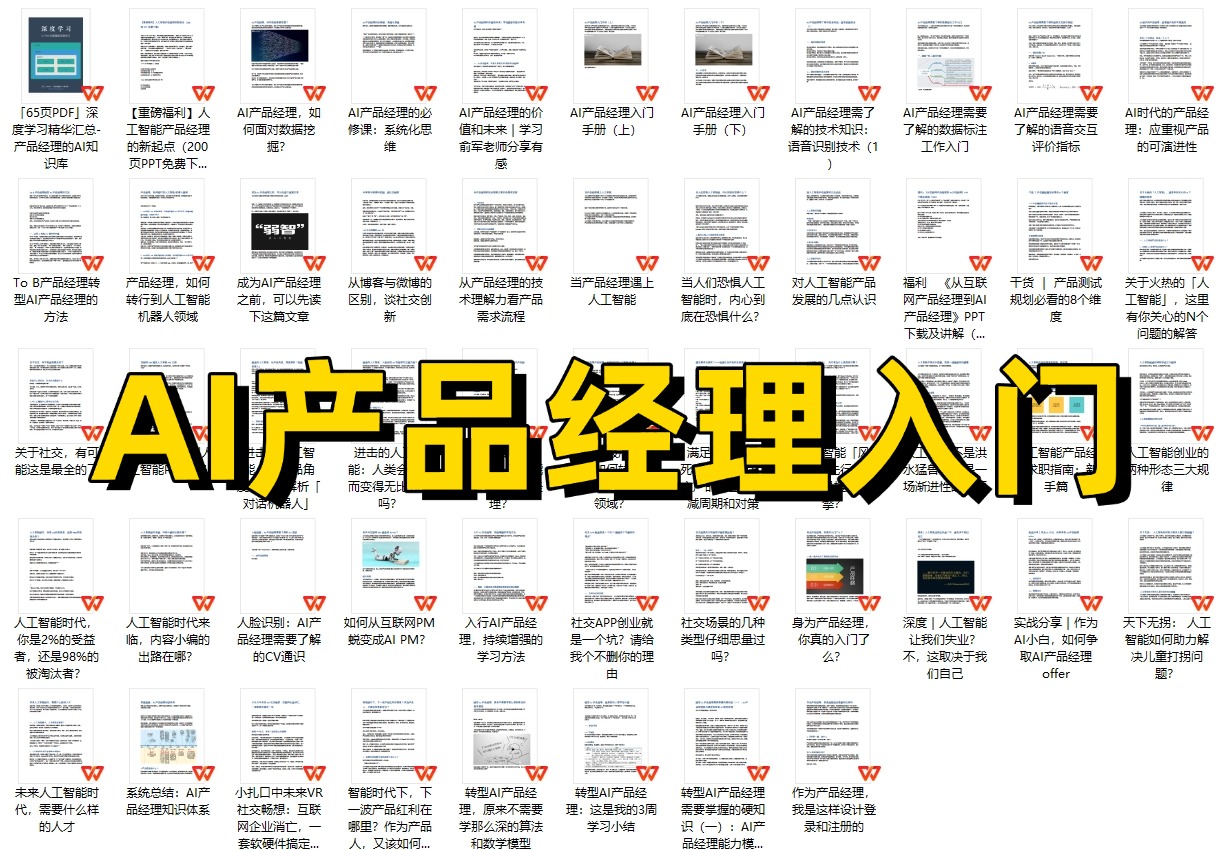
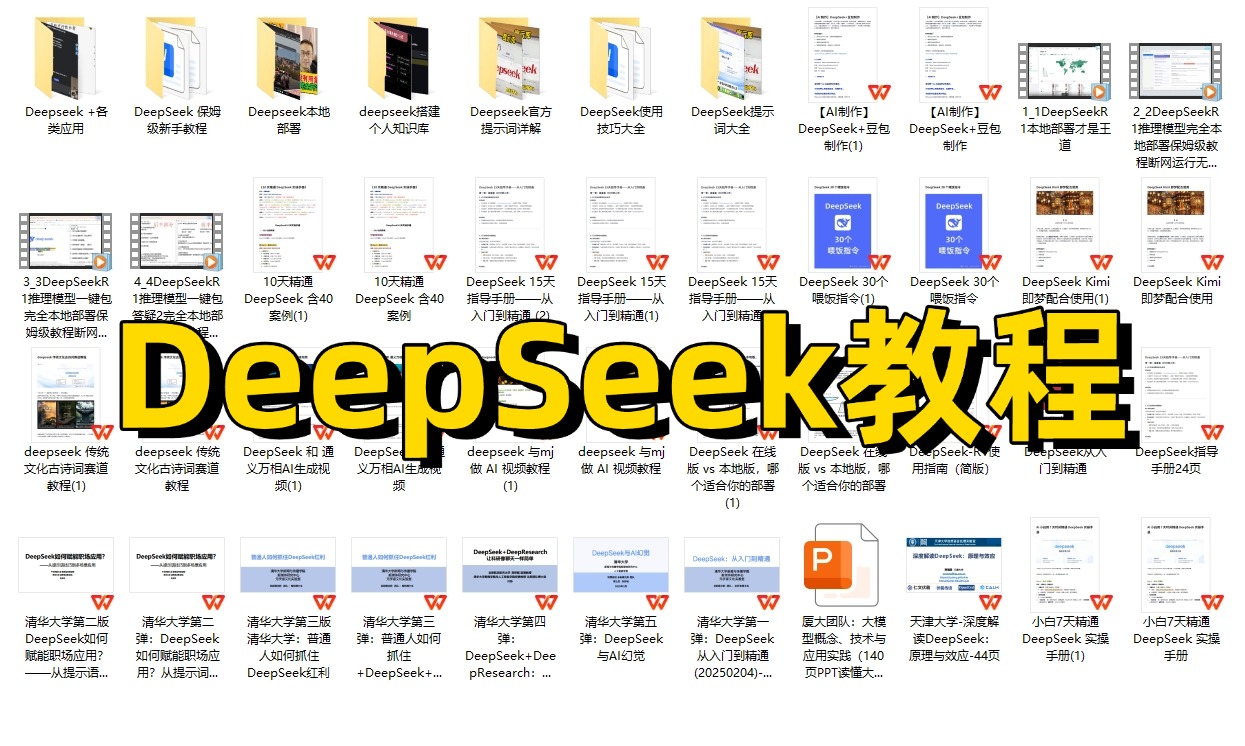
第一阶段(10天):初阶应用
该阶段让大家对大模型 AI有一个最前沿的认识,对大模型 AI 的理解超过 95% 的人,可以在相关讨论时发表高级、不跟风、又接地气的见解,别人只会和 AI 聊天,而你能调教 AI,并能用代码将大模型和业务衔接。
- 大模型 AI 能干什么?
- 大模型是怎样获得「智能」的?
- 用好 AI 的核心心法
- 大模型应用业务架构
- 大模型应用技术架构
- 代码示例:向 GPT-3.5 灌入新知识
- 提示工程的意义和核心思想
- Prompt 典型构成
- 指令调优方法论
- 思维链和思维树
- Prompt 攻击和防范
- …
第二阶段(30天):高阶应用
该阶段我们正式进入大模型 AI 进阶实战学习,学会构造私有知识库,扩展 AI 的能力。快速开发一个完整的基于 agent 对话机器人。掌握功能最强的大模型开发框架,抓住最新的技术进展,适合 Python 和 JavaScript 程序员。
- 为什么要做 RAG
- 搭建一个简单的 ChatPDF
- 检索的基础概念
- 什么是向量表示(Embeddings)
- 向量数据库与向量检索
- 基于向量检索的 RAG
- 搭建 RAG 系统的扩展知识
- 混合检索与 RAG-Fusion 简介
- 向量模型本地部署
- …
第三阶段(30天):模型训练
恭喜你,如果学到这里,你基本可以找到一份大模型 AI相关的工作,自己也能训练 GPT 了!通过微调,训练自己的垂直大模型,能独立训练开源多模态大模型,掌握更多技术方案。
到此为止,大概2个月的时间。你已经成为了一名“AI小子”。那么你还想往下探索吗?
- 为什么要做 RAG
- 什么是模型
- 什么是模型训练
- 求解器 & 损失函数简介
- 小实验2:手写一个简单的神经网络并训练它
- 什么是训练/预训练/微调/轻量化微调
- Transformer结构简介
- 轻量化微调
- 实验数据集的构建
- …
第四阶段(20天):商业闭环
对全球大模型从性能、吞吐量、成本等方面有一定的认知,可以在云端和本地等多种环境下部署大模型,找到适合自己的项目/创业方向,做一名被 AI 武装的产品经理。
- 硬件选型
- 带你了解全球大模型
- 使用国产大模型服务
- 搭建 OpenAI 代理
- 热身:基于阿里云 PAI 部署 Stable Diffusion
- 在本地计算机运行大模型
- 大模型的私有化部署
- 基于 vLLM 部署大模型
- 案例:如何优雅地在阿里云私有部署开源大模型
- 部署一套开源 LLM 项目
- 内容安全
- 互联网信息服务算法备案
- …
学习是一个过程,只要学习就会有挑战。天道酬勤,你越努力,就会成为越优秀的自己。
如果你能在15天内完成所有的任务,那你堪称天才。然而,如果你能完成 60-70% 的内容,你就已经开始具备成为一名大模型 AI 的正确特征了。
这份完整版的大模型 AI 学习资料已经上传CSDN,朋友们如果需要可以微信扫描下方CSDN官方认证二维码免费领取【保证100%免费】


中国智能体开发者社区,聚焦智能体与大模型开发,提供前沿资讯、实用工具链、开源项目及行业案例。通过技术沙龙、开发者大赛等活动,促进经验交流与协作,助力开发者快速构建创新智能应用。
更多推荐
 12
12 0
0- 0


 已为社区贡献715条内容

所有评论(0)