windows安装wsl+cuda+dify+ollama+wan等 记录
一、整体架构说明
Windows 11:宿主机操作系统,负责管理硬件资源、驱动和图形界面。
WSL2 + Ubuntu 22.04:Linux 子系统,用于运行深度学习框架和模型推理服务。
软件安装原则:
Windows 下安装:如 NVIDIA 驱动、Docker Desktop、WSL2、Ollama(部分功能)、Visual Studio Code。
Ubuntu 下安装:如 CUDA、cuDNN、PyTorch、Dify、DeepSeek、WAN2.2、Docker Engine。
各组件安装
1. NVIDIA 驱动
安装位置:Windows 下
说明:必须先安装 NVIDIA 显卡驱动,确保 WSL2 能识别 GPU。可使用 GeForce Experience 或官网下载最新驱动。
查看CUDA可安装版本(windows)
cmd运行
nvidia-smi
查看显卡支持版本
这里要求安装Visual Studio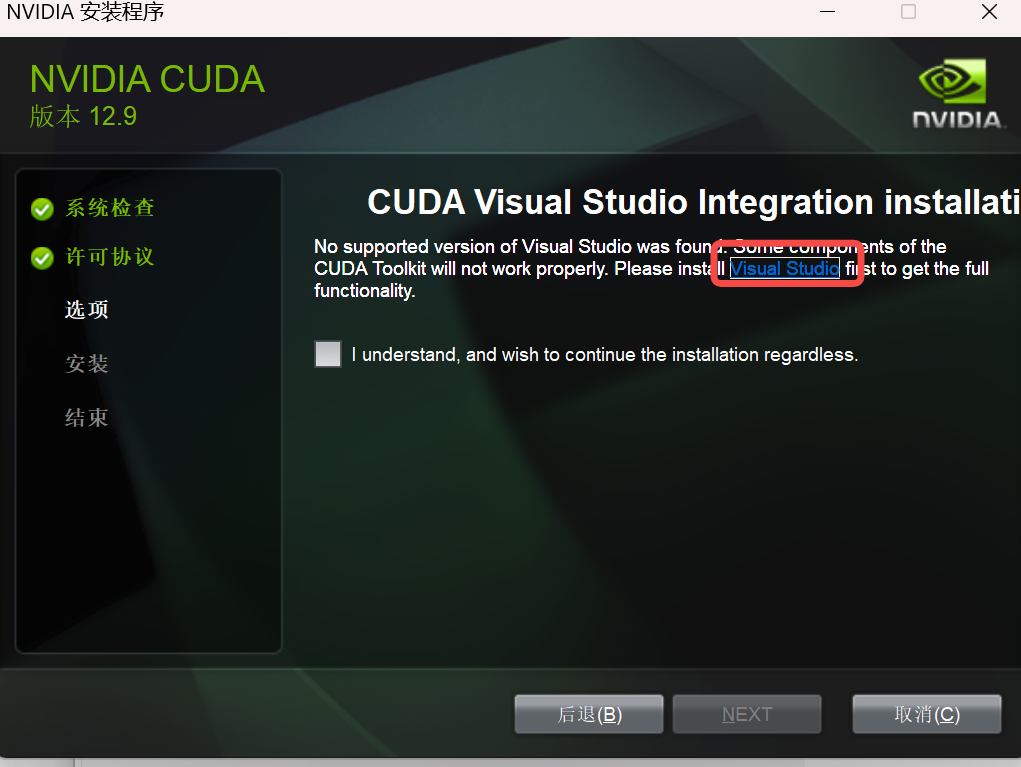
2. CUDA Toolkit
安装位置:Ubuntu 下(WSL2 环境)
说明:CUDA 是运行深度学习模型的基础。根据显卡驱动支持的版本选择合适 CUDA 版本。
windows下启动ubuntu
wsl -d Ubuntu-22.04
查看可安装版本
root@DESKTOP-FS908BQ:/mnt/c/WINDOWS/system32# nvidia-smi
Fri Feb 13 17:57:55 2026
+-----------------------------------------------------------------------------------------+
| NVIDIA-SMI 575.51.02              Driver Version: 576.02         CUDA Version: 12.9     |
|-----------------------------------------+------------------------+----------------------+
| GPU  Name                 Persistence-M | Bus-Id          Disp.A | Volatile Uncorr. ECC |
| Fan  Temp   Perf          Pwr:Usage/Cap |           Memory-Usage | GPU-Util  Compute M. |
|                                         |                        |               MIG M. |
|=========================================+========================+======================|
|   0  NVIDIA GeForce RTX 5060 Ti     On  |   00000000:02:00.0  On |                  N/A |
|  0%   27C    P5              5W /  180W |    1912MiB /  16311MiB |      1%      Default |
|                                         |                        |                  N/A |
+-----------------------------------------+------------------------+----------------------+

+-----------------------------------------------------------------------------------------+
| Processes:                                                                              |
|  GPU   GI   CI              PID   Type   Process name                        GPU Memory |
|        ID   ID                                                               Usage      |
|=========================================================================================|
|  No running processes found                                                             |
+-----------------------------------------------------------------------------------------+
去网站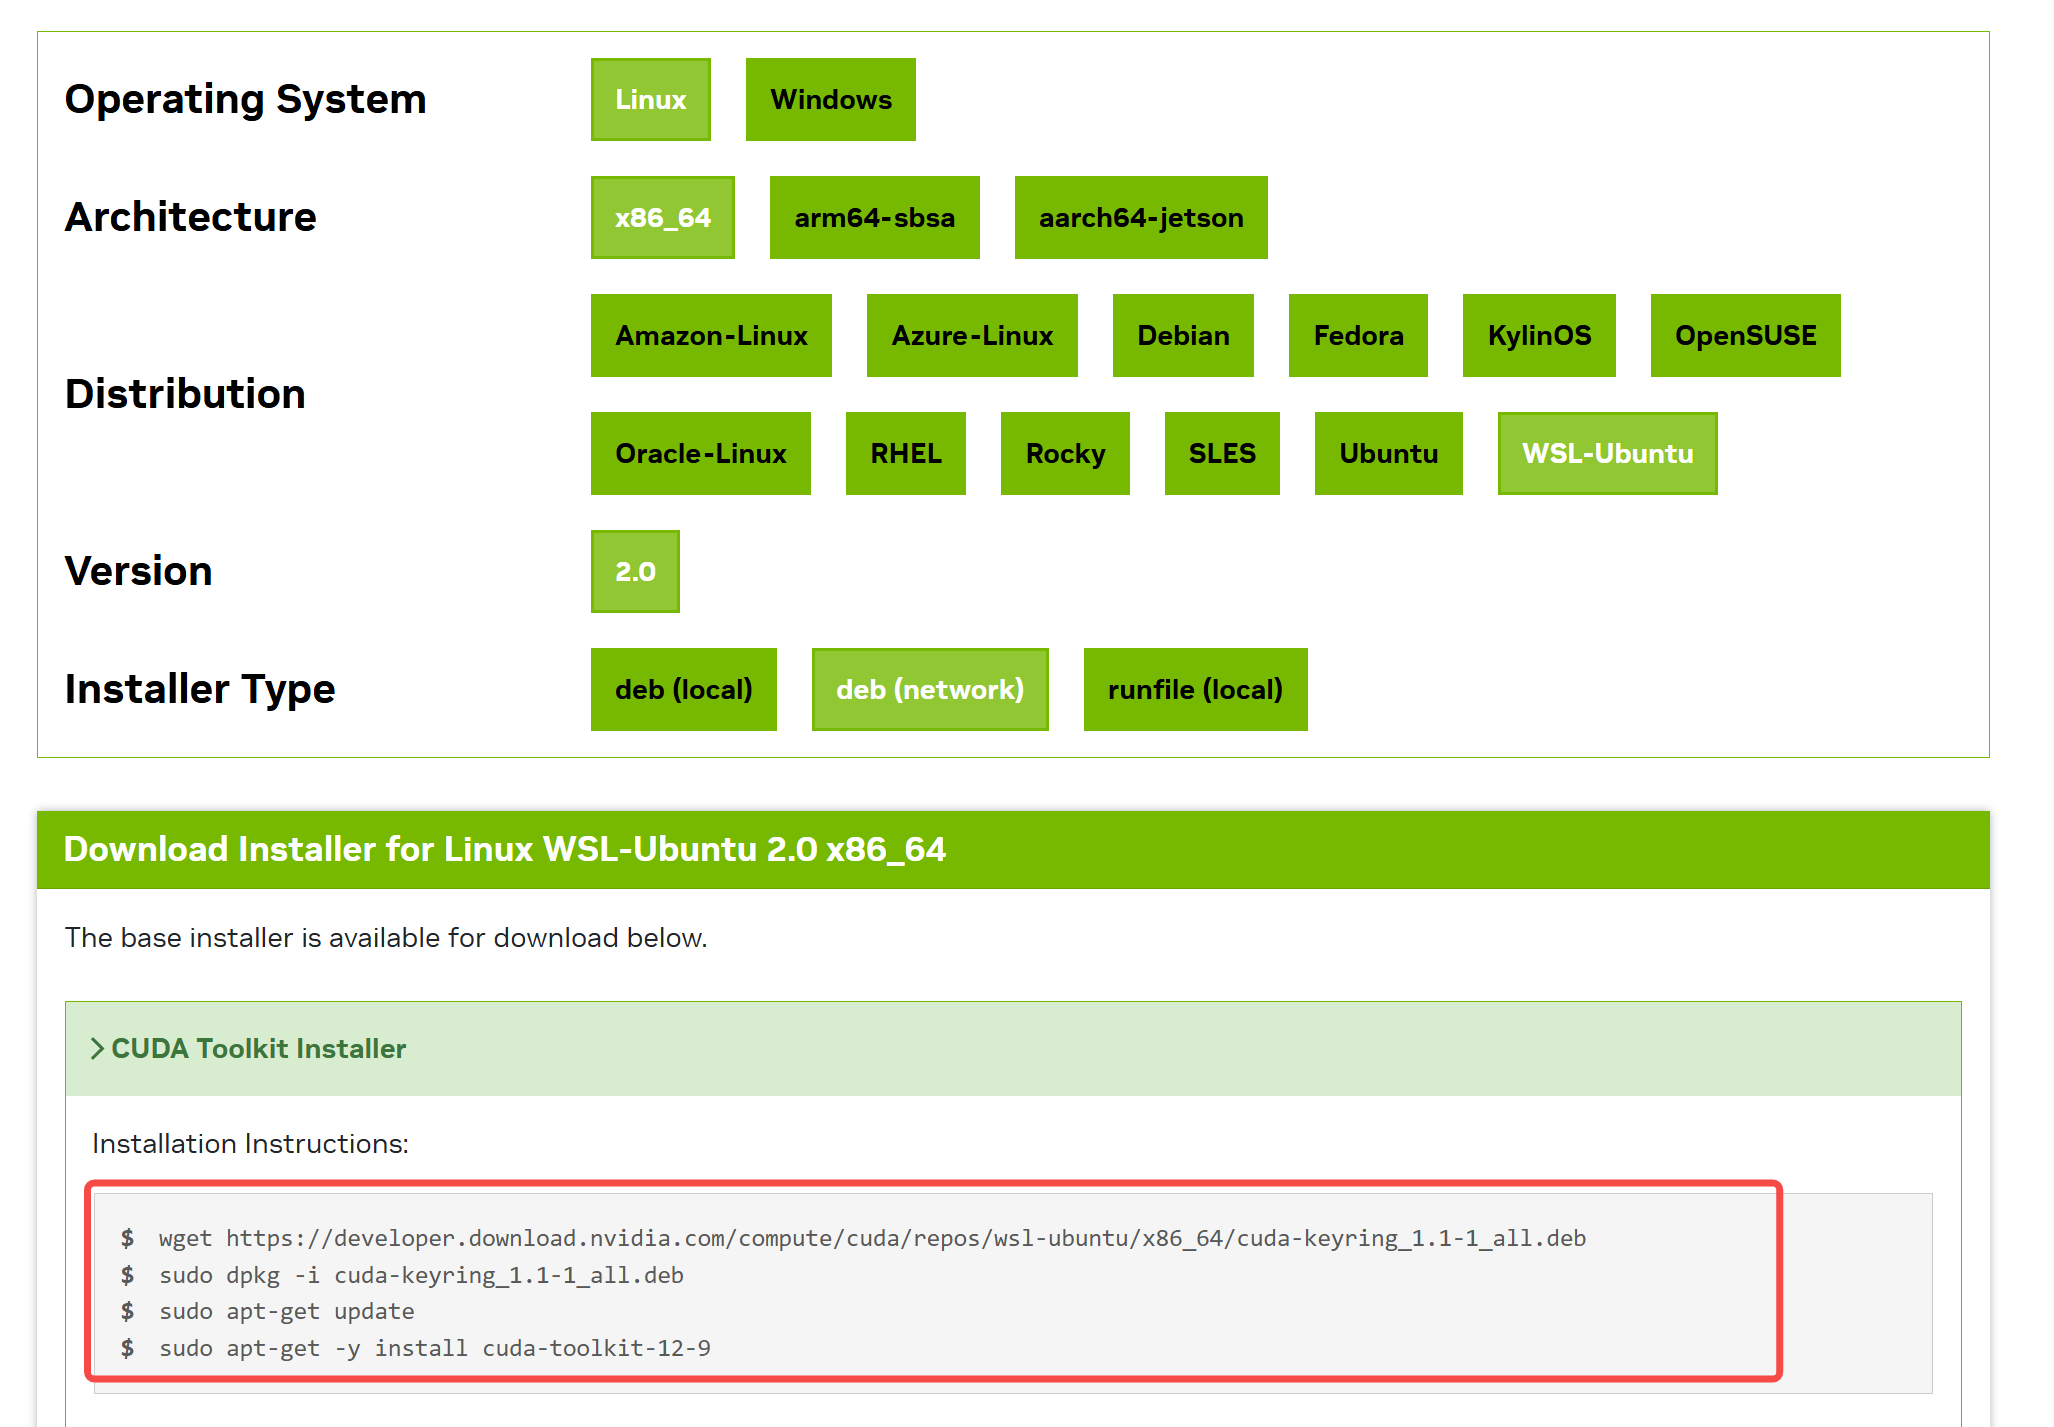

没有写入权限
更换目录
cd /tmp
再运行
wget https://developer.download.nvidia.com/compute/cuda/repos/wsl-ubuntu/x86_64/cuda-keyring_1.1-1_all.deb
sudo dpkg -i cuda-keyring_1.1-1_all.deb
sudo apt-get update
sudo apt-get -y install cuda-toolkit-12-9
时间比较长。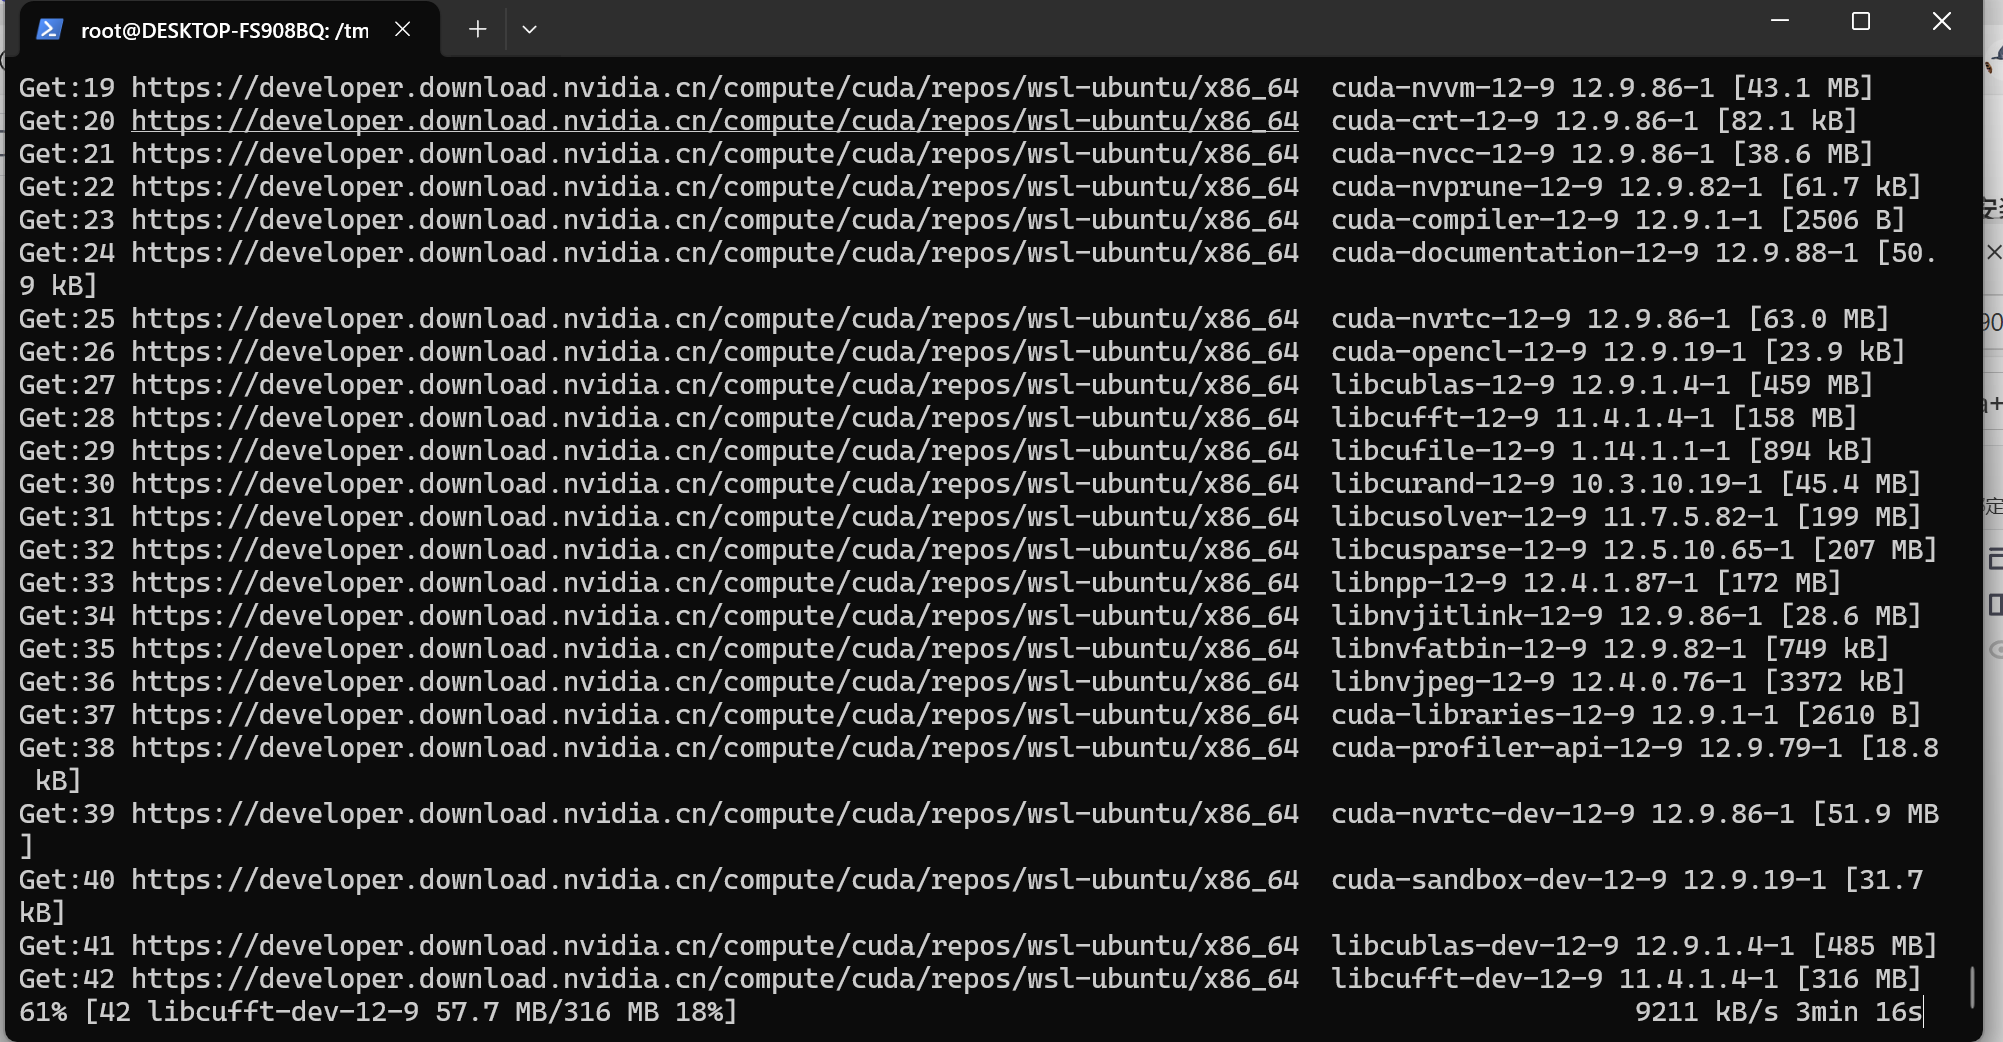
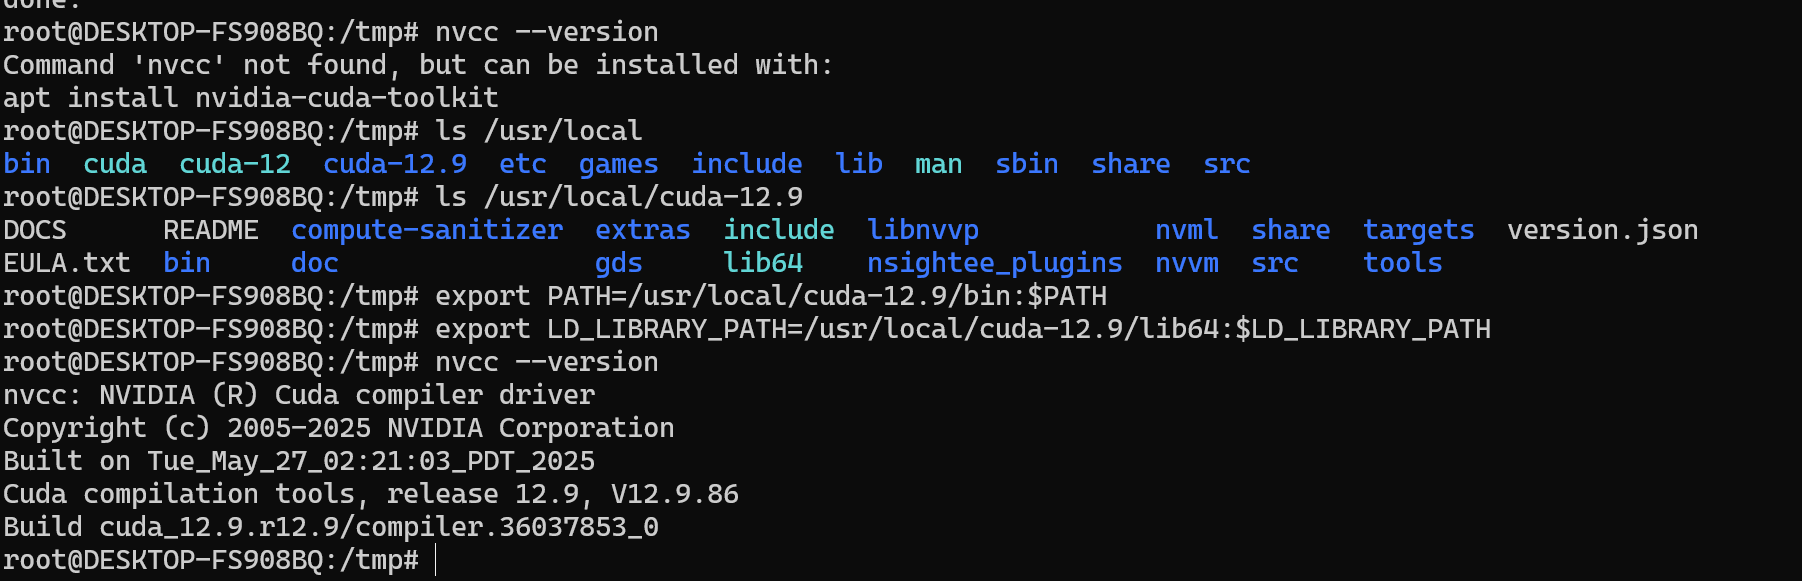
环境变量
export PATH=/usr/local/cuda-12.9/bin:$PATH
export LD_LIBRARY_PATH=/usr/local/cuda-12.9/lib64:$LD_LIBRARY_PATH
验证
nvcc --version
3. cuDNN
安装位置:Ubuntu 下
说明:cuDNN 是加速深度学习计算的库,需与 CUDA 版本匹配。
官网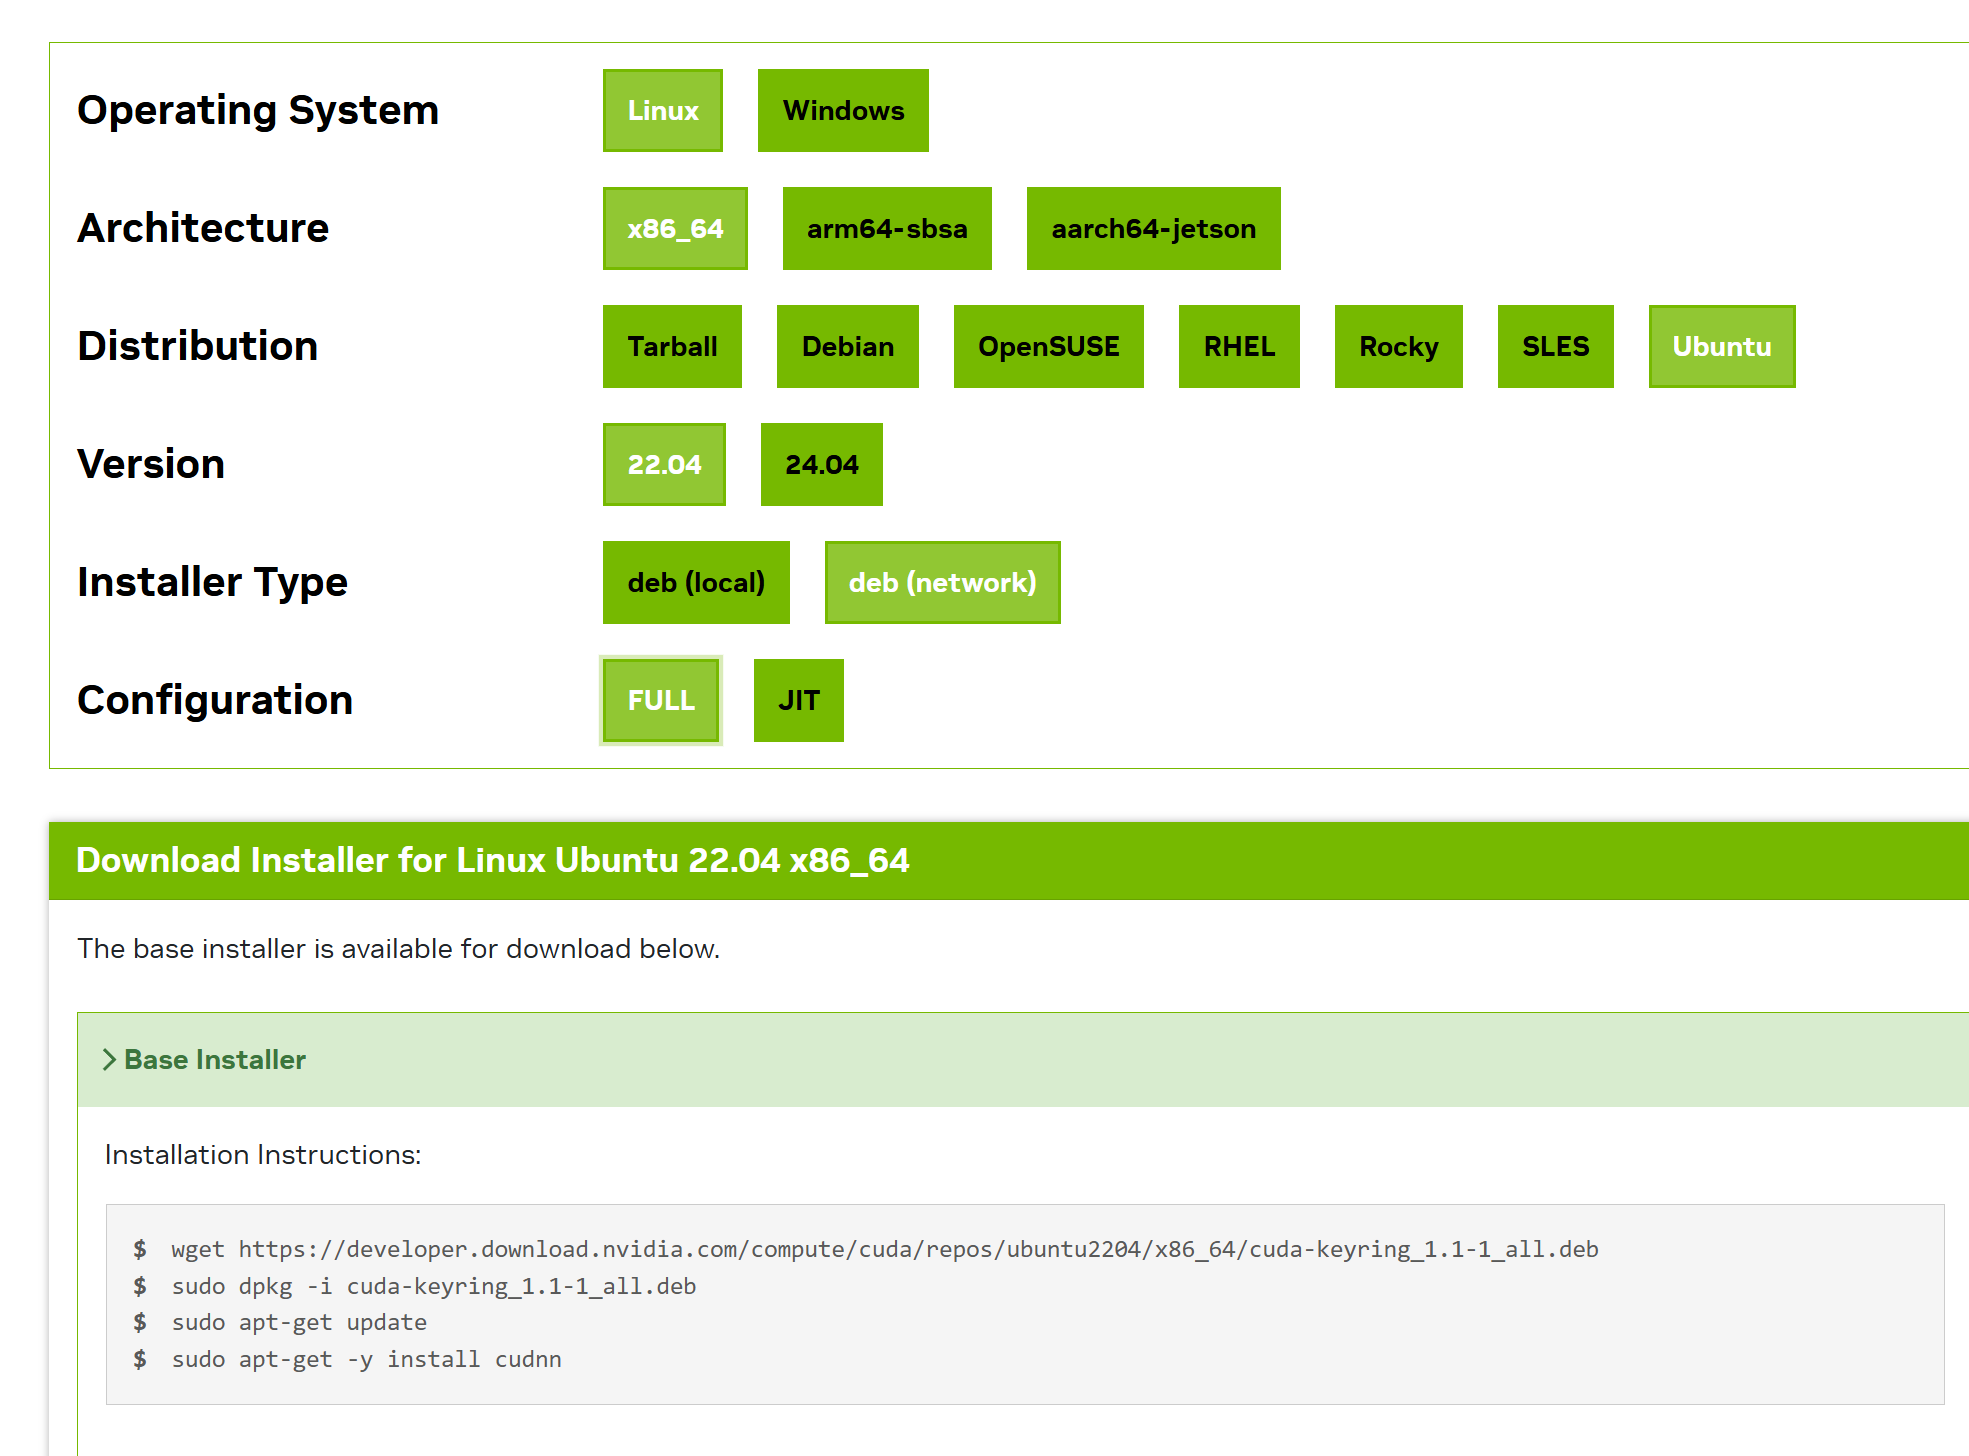
sudo apt install libcudnn8 libcudnn8-dev
验证
cat /usr/include/cudnn_version.h | grep CUDNN_MAJOR -A 2
Docker
安装位置:Windows 和 Ubuntu 均需安装
Windows:安装 Docker Desktop,启用 WSL2 后端。
Ubuntu:安装 Docker Engine 用于容器化部署。
ubuntu
sudo apt update
sudo apt install docker.io
sudo usermod -aG docker $USER
5. Ollama
安装位置:Windows 和 Ubuntu 均可安装,推荐在 Ubuntu 下运行模型服务。
说明:Ollama 是轻量级模型服务工具,支持在 WSL2 下运行大模型。
curl -fsSL https://ollama.com/install.sh | sh
上面下载太慢,使用国内镜像源)
sudo curl -L https://gh-proxy.com/https://github.com/ollama/ollama/releases/download/v0.5.11/ollama-linux-amd64.tgz -o /usr/local/ollama-linux-amd64.tgz
cd /usr/local/
sudo tar -zxvf ollama-linux-amd64.tgz -C /usr/local/
sudo chmod +x /usr/local/bin/ollama
创建系统服务
cat <<EOF | sudo tee /etc/systemd/system/ollama.service
[Unit]
Description=Ollama Service
After=network-online.target
[Service]
ExecStart=/usr/local/bin/ollama serve
User=root
Group=root
Restart=always
RestartSec=3
Environment="OLLAMA_HOST=0.0.0.0"
Environment="OLLAMA_ORIGINS=*"
[Install]
WantedBy=default.target
EOF
启动服务
sudo systemctl daemon-reload
sudo systemctl enable ollama
sudo systemctl start ollama
windows下验证启动情况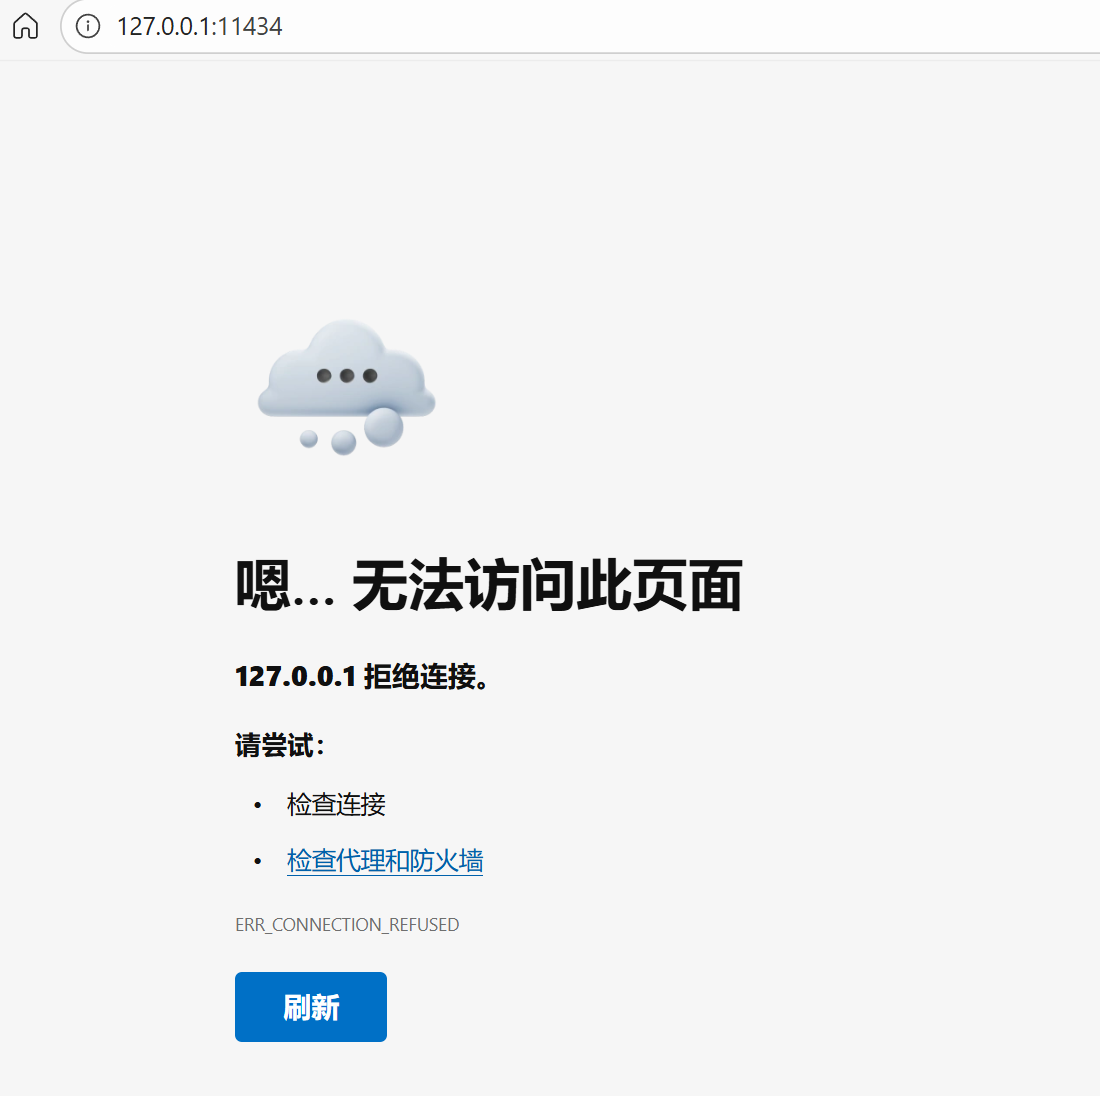
改成localhost正常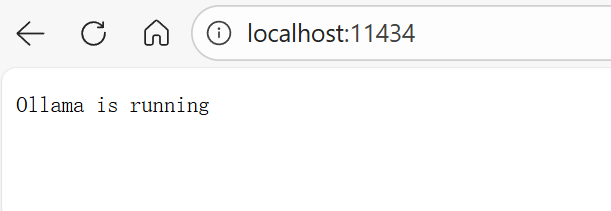
部署webUI
docker下部署
检查docker 运行情况。
查看运行中的docker
root@DESKTOP-FS908BQ:/usr/local# docker version
Client:
 Version:           28.2.2
 API version:       1.50
 Go version:        go1.23.1
 Git commit:        28.2.2-0ubuntu1~22.04.1
 Built:             Wed Sep 10 14:50:16 2025
 OS/Arch:           linux/amd64
 Context:           default

Server:
 Engine:
  Version:          28.2.2
  API version:      1.50 (minimum version 1.24)
  Go version:       go1.23.1
  Git commit:       28.2.2-0ubuntu1~22.04.1
  Built:            Wed Sep 10 14:50:16 2025
  OS/Arch:          linux/amd64
  Experimental:     false
 containerd:
  Version:          1.7.28
  GitCommit:
 runc:
  Version:          1.3.3-0ubuntu1~22.04.3
  GitCommit:
 docker-init:
  Version:          0.19.0
  GitCommit:
root@DESKTOP-FS908BQ:/usr/local# docker ps
CONTAINER ID   IMAGE     COMMAND   CREATED   STATUS    PORTS     NAMES
- 使用 Docker 运行 Open WebUI 并连接 Ollama
如果你使用 Docker 运行 Open WebUI,可以通过以下方式确保它能访问到本地的 Ollama:
docker run -d \
  -p 3000:8080 \
  --add-host=host.docker.internal:host-gateway \
  -v open-webui:/app/backend/data \
  --name open-webui \
  --restart always \
  ghcr.io/open-webui/open-webui:main
配置 Open WebUI 中的 Ollama 地址
在 Open WebUI 的界面中,进入设置或模型管理部分,将 Ollama 的地址设置为:
http://172.17.0.1:11434
启动模型
ollama run llama3
6. DeepSeek
安装位置:Ubuntu 下
说明:DeepSeek 可通过 WSL2 安装并运行模型,需配置 PyTorch、CUDA 环境。
可通过 pip 安装依赖:
pip install torch torchvision torchaudio --index-url https://download.pytorch.org/whl/cu121
7. Dify
安装位置:Ubuntu 下
说明:Dify 是开源大模型应用开发平台,需在 Ubuntu 下部署。
需要 Docker、Python 3.12、Node.js 等依赖。
部署方式:
docker-compose up -d
8. WAN2.2
安装位置:Ubuntu 下
说明:WAN2.2 是一个大模型推理框架,需在 Ubuntu 环境中编译安装。
依赖 CUDA 和 PyTorch。
安装命令:
pip install mamba_ssm-2.2.4+cu12torch2.6cxx11abiFALSE-cp310-cp310-linux_x86_64.whl
训练好的模型,可以放在windows下,利用mnt挂在windows路径方式访问gguf等模型。
# 在Ubuntu中访问Windows文件系统
/mnt/c/Users/YourUsername/path/to/your/model.gguf
一、windows安装部分
(一)安装linux虚拟机WSL
查看当前可用版本:wsl --list --online
在运行命令之前会提示一个安装提示。
安装好以后,在运行wsl --list --online
还有wsl --list --verbose才会有内容。
PS C:\WINDOWS\system32> wsl --list --verbose
  NAME            STATE           VERSION
* Ubuntu-22.04    Running         2
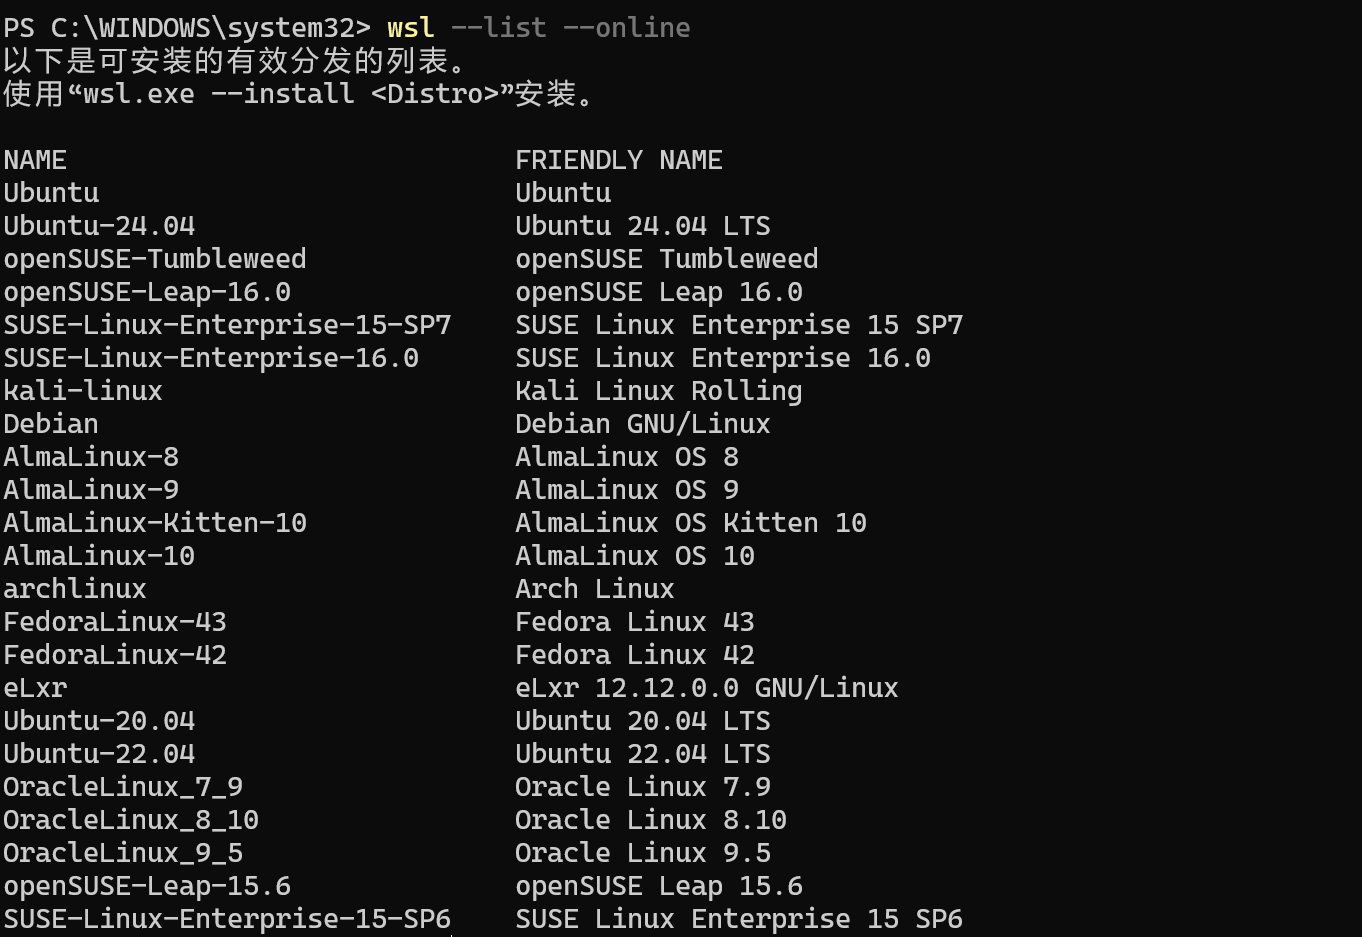
安装版本:wsl --install -d Ubuntu-22.04
重启电脑
PS C:\WINDOWS\system32> wsl --install -d Ubuntu-22.04
请求的操作成功。直到重新启动系统前更改将不会生效。
PS C:\WINDOWS\system32> wsl --install -d Ubuntu-22.04
wsl: 使用旧分发注册。请考虑改用基于 tar 的分发。
正在下载: Ubuntu 22.04 LTS
Ubuntu 22.04 LTS 已下载。
已成功安装分发。可以通过 “wsl.exe -d Ubuntu 22.04 LTS” 启动它
正在启动 Ubuntu 22.04 LTS...
Installing, this may take a few minutes...
Please create a default UNIX user account. The username does not need to match your Windows username.
For more information visit: https://aka.ms/wslusers
Enter new UNIX username: yuanda
New password:
Retype new password:
passwd: password updated successfully
Installation successful!
To run a command as administrator (user "root"), use "sudo <command>".
See "man sudo_root" for details.

Welcome to Ubuntu 22.04.5 LTS (GNU/Linux 6.6.87.2-microsoft-standard-WSL2 x86_64)

 * Documentation:  https://help.ubuntu.com
 * Management:     https://landscape.canonical.com
 * Support:        https://ubuntu.com/pro

 System information as of Fri Feb 13 16:35:17 CST 2026

  System load:  0.23                Processes:             77
  Usage of /:   0.1% of 1006.85GB   Users logged in:       0
  Memory usage: 3%                  IPv4 address for eth0: 172.19.58.250
  Swap usage:   0%


This message is shown once a day. To disable it please create the
/home/yuanda/.hushlogin file.
yuanda@DESKTOP-FS908BQ:~$
根据提示建立管理员账号,后输入logout
yuanda@DESKTOP-FS908BQ:~$ logout
PS C:\WINDOWS\system32>
命令:logout,提示请求操作成功。
在D盘(改你自己的盘)新建目录
D:\WSL\Ubuntu-22.04
导出Ubuntu-22.04为tar文件:wsl --export Ubuntu-22.04 D:\WSL\Ubuntu-22.04\Ubuntu-22.04.tar
PS C:\WINDOWS\system32> wsl --export Ubuntu-22.04 D:\WSL\Ubuntu-22.04\Ubuntu-22.04.tar
系统找不到指定的路径。
错误代码: Wsl/ERROR_PATH_NOT_FOUND
PS C:\WINDOWS\system32> wsl --export Ubuntu-22.04 D:\WSL\Ubuntu-22.04\Ubuntu-22.04.tar
系统找不到指定的路径。
错误代码: Wsl/ERROR_PATH_NOT_FOUND
PS C:\WINDOWS\system32> wsl --export Ubuntu-22.04 D:\WSL\Ubuntu-22.04\Ubuntu-22.04.tar
正在导出,这可能需要几分钟时间。 (1049 MB)

操作成功完成。
注销原来系统:wsl --unregister Ubuntu-22.04
ubuntu
PS C:\WINDOWS\system32> wsl --unregister Ubuntu-22.04
正在注销。
操作成功完成。
安装到D盘下wsl --import Ubuntu-22.04 d:\WSL\Ubuntu-22.04 d:\WSL\Ubuntu-22.04\Ubuntu-22.04.tar --version 2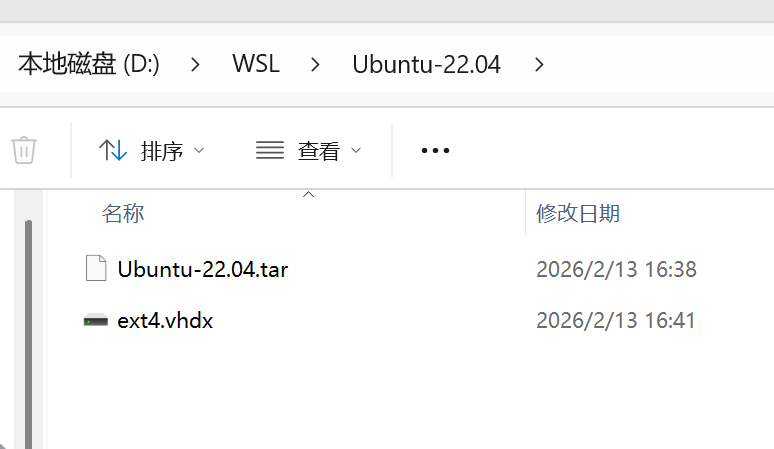
启动系统:先启动ubuntu系统,wsl -d Ubuntu-22.04
(二)安装dify
cd/d D:\DockerData\dify-main\docker
copy .env.example .env
docker compose up -d
检查docker compose ps
http://localhost:80
修改端口为81
重启
(三)安装ollama
ollama
deepseek-r1:1.5b
更新dify
cd dify/docker
docker compose down
git pull origin main
docker compose pull
docker compose up -d
{
“builder”: {
“gc”: {
“defaultKeepStorage”: “20GB”,
“enabled”: true
}
},
“experimental”: false,
“registry-mirrors”: [
“https://docker.1ms.run”,
“https://hub.rat.dev”,
“https://docker.1panel.live”,
“https://hub.rat.dev”,
“https://proxy.1panel.live”,
“https://ghcr.nju.edu.cn”,
“https://docker.registry.cyou”,
“https://dockercf.jsdelivr.fyi”,
“https://docker.rainbond.cc”,
“https://registry.cn-shenzhen.aliyuncs.com”,
“https://dockertest.jsdelivr.fyi”,
“https://mirror.aliyuncs.com”,
“https://mirror.baidubce.com”,
“https://docker.mirrors.ustc.edu.cn”,
“https://docker.mirrors.sjtug.sjtu.edu.cn”,
“https://mirror.iscas.ac.cn”,
“https://docker.nju.edu.cn”,
“https://docker.m.daocloud.io”,
“https://dockerproxy.com”,
“https://docker.jsdelivr.fyi”,
“https://docker-cf.registry.cyou”
]
}

火山引擎开发者社区是火山引擎打造的AI技术生态平台,聚焦Agent与大模型开发,提供豆包系列模型(图像/视频/视觉)、智能分析与会话工具,并配套评测集、动手实验室及行业案例库。社区通过技术沙龙、挑战赛等活动促进开发者成长,新用户可领50万Tokens权益,助力构建智能应用。
更多推荐
 5
5 0
0- 0


 已为社区贡献1条内容

所有评论(0)