Jupyter Notebook运行Milvus Lite
本文介绍了Python和Jupyter Notebook的安装方法,以及如何在Notebook中使用venv虚拟环境。重点演示了如何通过pip安装pymilvus和milvus-lite包,并运行Milvus向量数据库的官方示例代码,包括创建集合、插入向量数据、搜索查询和删除操作。示例展示了384维向量的处理流程,完成从数据插入到检索的完整操作,最后输出查询结果。整个过程验证了Milvus Lit
·
安装python和notebook
https://blog.csdn.net/Cosmoshhhyyy/article/details/153722910?spm=1001.2014.3001.5501
nodebook使用venv虚拟环境
https://blog.csdn.net/Cosmoshhhyyy/article/details/153724440?spm=1001.2014.3001.5501
pip3 install -U pymilvus
官网说下载了pymilvus就自带milvus-lite了,但是我这里还是报错缺少milvus-lite,下载一下。
pip3 install milvus_lite
运行官方demo:
from pymilvus import MilvusClient
import numpy as np
client = MilvusClient("./milvus_demo.db")
client.create_collection(
collection_name="demo_collection",
dimension=384 # The vectors we will use in this demo has 384 dimensions
)
docs = [
"Artificial intelligence was founded as an academic discipline in 1956.",
"Alan Turing was the first person to conduct substantial research in AI.",
"Born in Maida Vale, London, Turing was raised in southern England.",
]
vectors = [[ np.random.uniform(-1, 1) for _ in range(384) ] for _ in range(len(docs)) ]
data = [ {"id": i, "vector": vectors[i], "text": docs[i], "subject": "history"} for i in range(len(vectors)) ]
res = client.insert(
collection_name="demo_collection",
data=data
)
res = client.search(
collection_name="demo_collection",
data=[vectors[0]],
filter="subject == 'history'",
limit=2,
output_fields=["text", "subject"],
)
print(res)
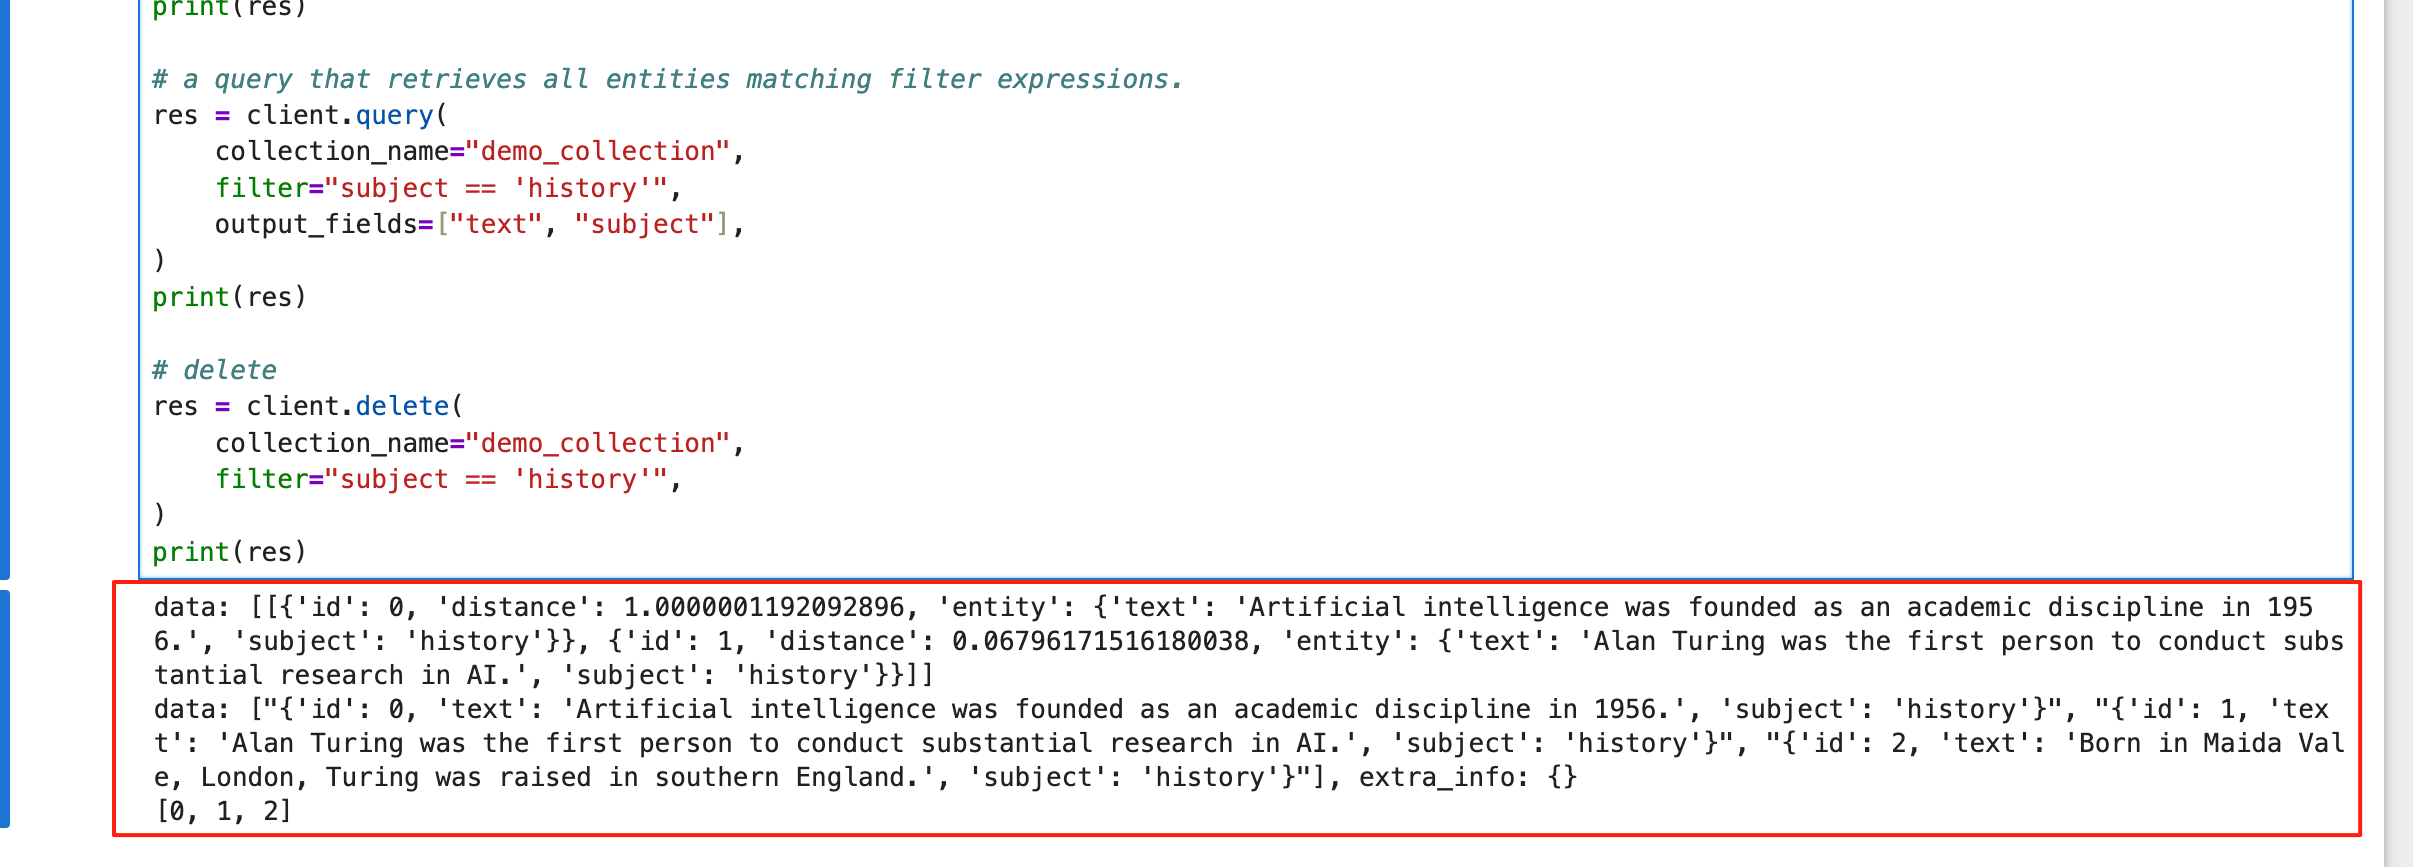
res = client.query(
collection_name="demo_collection",
filter="subject == 'history'",
output_fields=["text", "subject"],
)
print(res)
res = client.delete(
collection_name="demo_collection",
filter="subject == 'history'",
)
print(res)

火山引擎开发者社区是火山引擎打造的AI技术生态平台,聚焦Agent与大模型开发,提供豆包系列模型(图像/视频/视觉)、智能分析与会话工具,并配套评测集、动手实验室及行业案例库。社区通过技术沙龙、挑战赛等活动促进开发者成长,新用户可领50万Tokens权益,助力构建智能应用。
更多推荐
 1
1 0
0- 0


 已为社区贡献2条内容

所有评论(0)