windows下搭建comfyui环境,并实现文生图工作流
前置要求:conda环境搭建好,已经按照torch-cuda运行环境。
·
前置要求:conda环境搭建好,已经按照torch-cuda运行环境。
1、windows执行包下载
https://github.com/comfyanonymous/ComfyUI
下载comfyui源码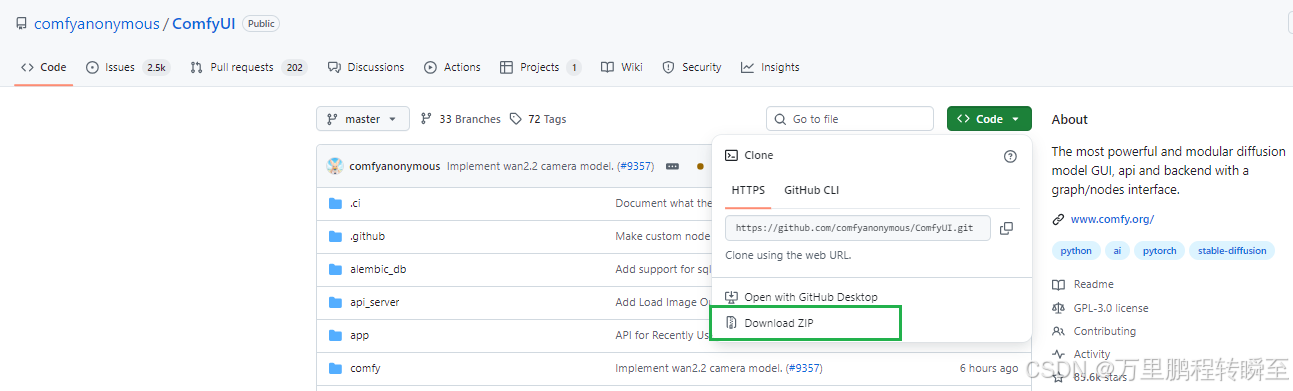
解压进入ComfyUI-master 源码目录,执行 pip install -r requirements.txt 安装依赖包。这里建议将代码放在不包含中文的路径下。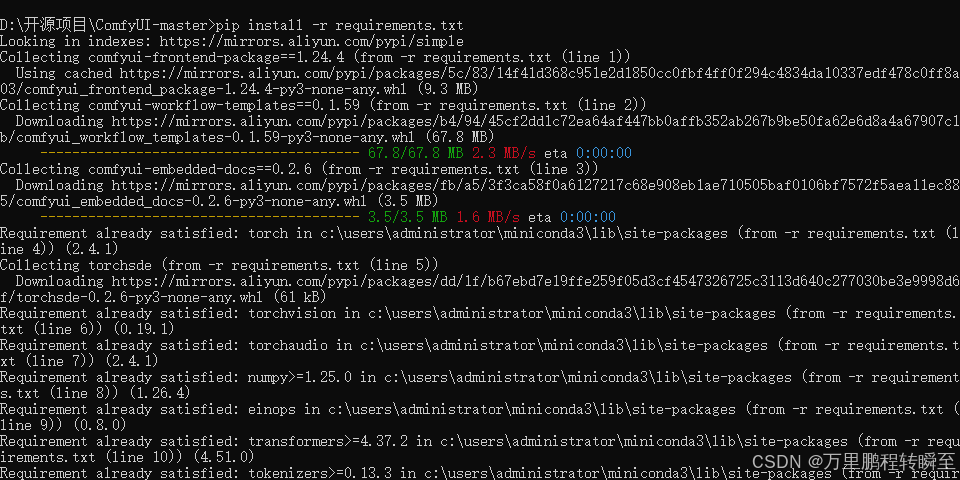
如果后续启动,运行时出现报错,自行按照其他额外依赖包
pip install diffusers
pip install ftfy
2、启动comfyui
在源码目录执行以下命令,启动comfyui程序
python main.py --force-fp16
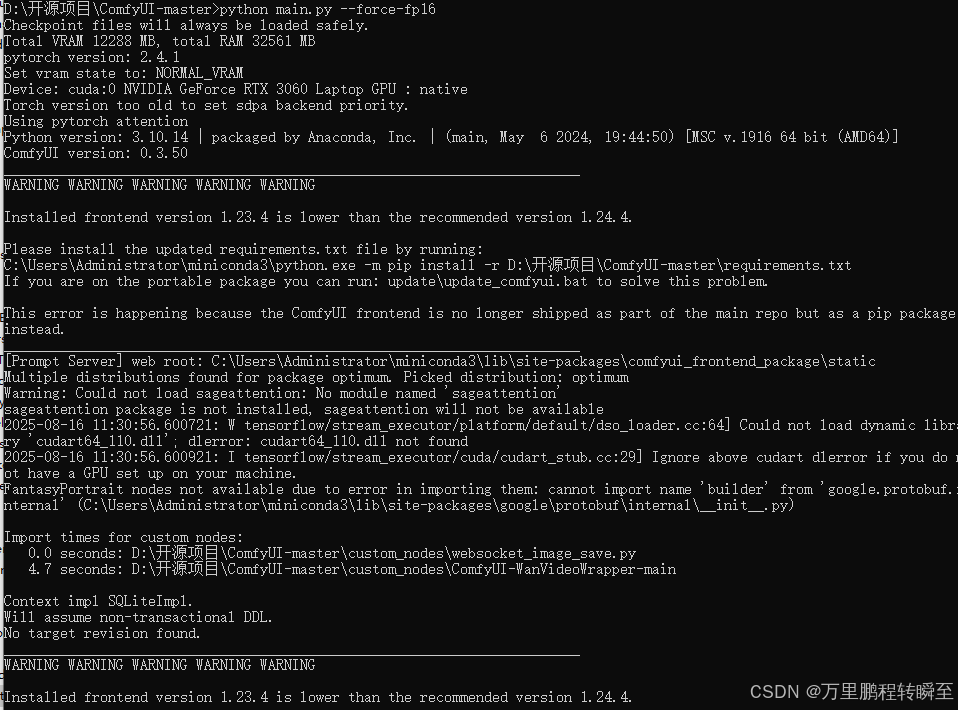
程序启动后,默认使用8188端口
通过浏览器打开 http://127.0.0.1:8188,可以看到以下界面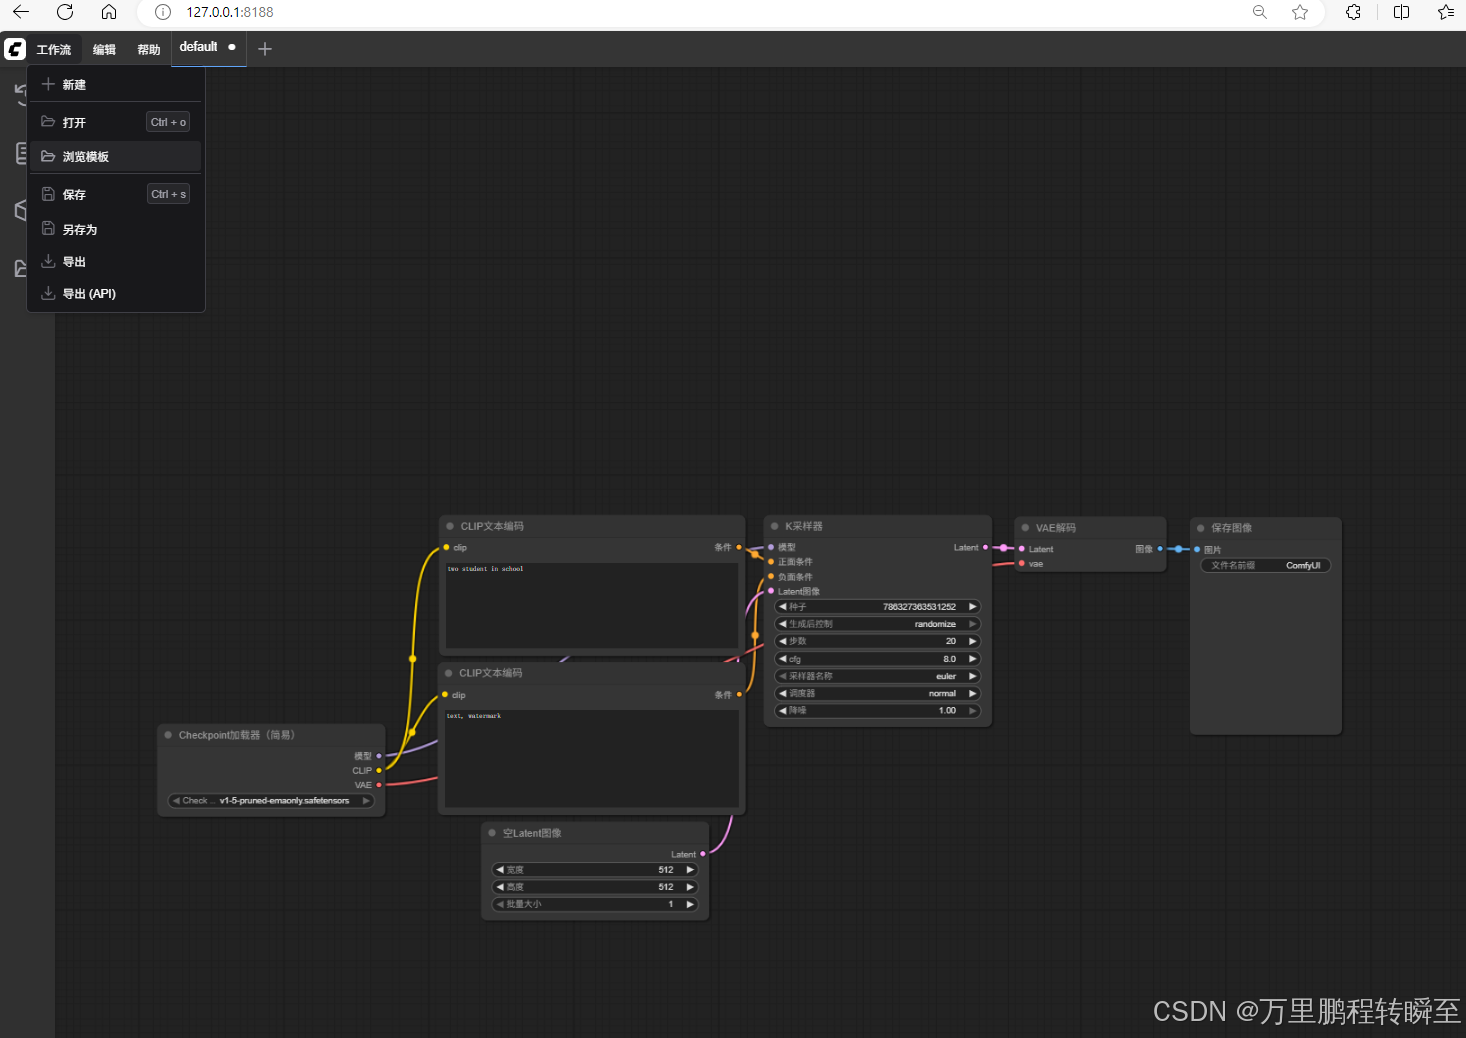
main程序一共有以下参数,–listen ,–port 分别用于指定ip与端口
usage: main.py [-h] [--listen [IP]] [--port PORT] [--tls-keyfile TLS_KEYFILE] [--tls-certfile TLS_CERTFILE]
               [--enable-cors-header [ORIGIN]] [--max-upload-size MAX_UPLOAD_SIZE] [--base-directory BASE_DIRECTORY]
               [--extra-model-paths-config PATH [PATH ...]] [--output-directory OUTPUT_DIRECTORY]
               [--temp-directory TEMP_DIRECTORY] [--input-directory INPUT_DIRECTORY] [--auto-launch]
               [--disable-auto-launch] [--cuda-device DEVICE_ID] [--default-device DEFAULT_DEVICE_ID]
               [--cuda-malloc | --disable-cuda-malloc] [--force-fp32 | --force-fp16]
               [--fp32-unet | --fp64-unet | --bf16-unet | --fp16-unet | --fp8_e4m3fn-unet | --fp8_e5m2-unet | --fp8_e8m0fnu-unet]
               [--fp16-vae | --fp32-vae | --bf16-vae] [--cpu-vae]
               [--fp8_e4m3fn-text-enc | --fp8_e5m2-text-enc | --fp16-text-enc | --fp32-text-enc | --bf16-text-enc]
               [--force-channels-last] [--directml [DIRECTML_DEVICE]] [--oneapi-device-selector SELECTOR_STRING]
               [--disable-ipex-optimize] [--supports-fp8-compute] [--preview-method [none,auto,latent2rgb,taesd]]
               [--preview-size PREVIEW_SIZE] [--cache-classic | --cache-lru CACHE_LRU | --cache-none]
               [--use-split-cross-attention | --use-quad-cross-attention | --use-pytorch-cross-attention | --use-sage-attention | --use-flash-attention]
               [--disable-xformers] [--force-upcast-attention | --dont-upcast-attention]
               [--gpu-only | --highvram | --normalvram | --lowvram | --novram | --cpu] [--reserve-vram RESERVE_VRAM]
               [--async-offload] [--force-non-blocking] [--default-hashing-function {md5,sha1,sha256,sha512}]
               [--disable-smart-memory] [--deterministic] [--fast [FAST ...]] [--mmap-torch-files] [--disable-mmap]
               [--dont-print-server] [--quick-test-for-ci] [--windows-standalone-build] [--disable-metadata]
               [--disable-all-custom-nodes]
               [--whitelist-custom-nodes WHITELIST_CUSTOM_NODES [WHITELIST_CUSTOM_NODES ...]] [--disable-api-nodes]
               [--multi-user] [--verbose [{DEBUG,INFO,WARNING,ERROR,CRITICAL}]] [--log-stdout]
               [--front-end-version FRONT_END_VERSION] [--front-end-root FRONT_END_ROOT]
               [--user-directory USER_DIRECTORY] [--enable-compress-response-body] [--comfy-api-base COMFY_API_BASE]
               [--database-url DATABASE_URL]
3、实现文生图工作流
在浏览器页面中点击 工作流=》 浏览模版
弹出以下界面,选择图片生成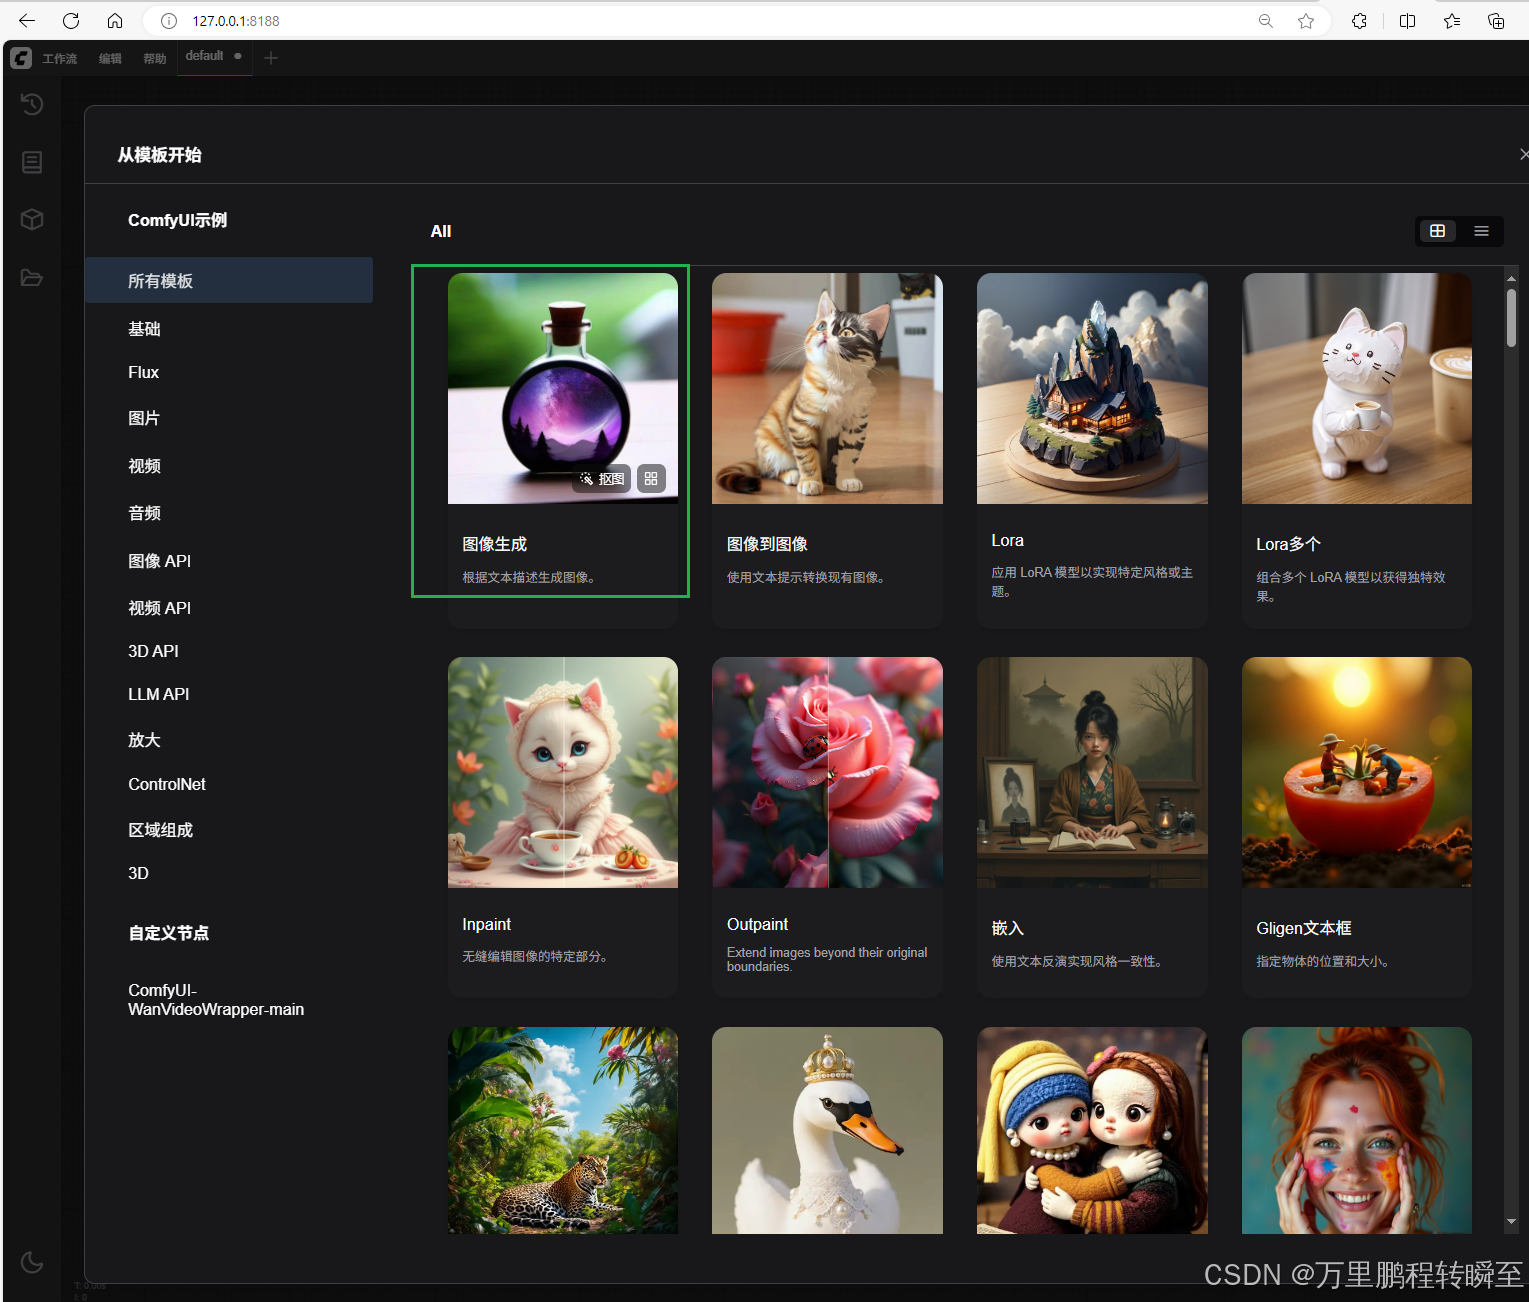
此时转到这个页面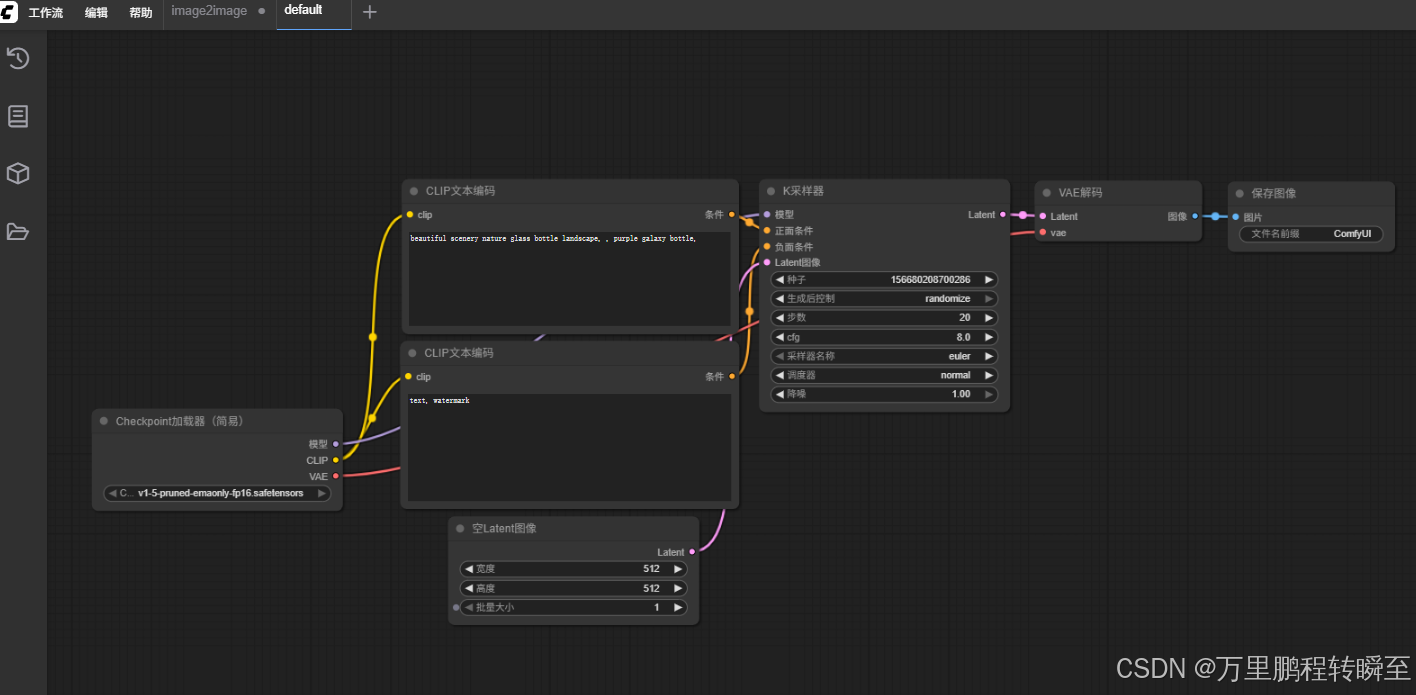
到 https://www.modelscope.cn/models/zhiheng/v1-5-pruned-emaonly.safetensors/files,下载模型
模型放到 models\checkpoints 目录下
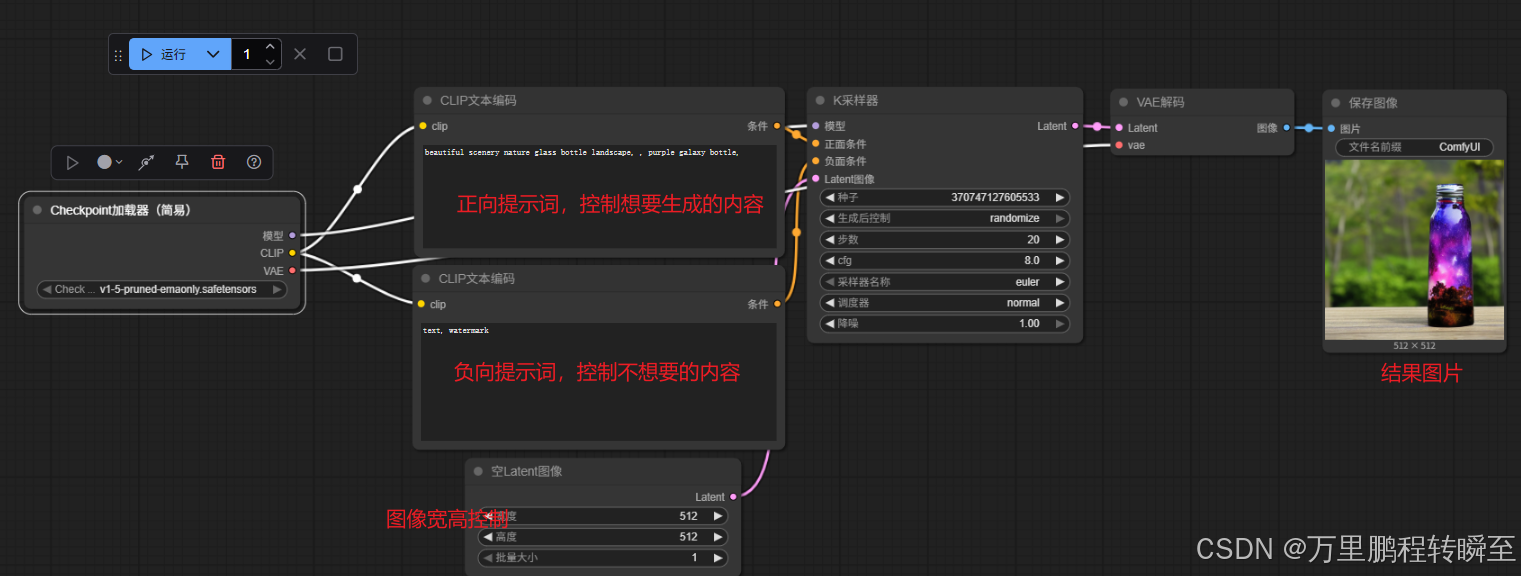
刷新浏览器页面,选择刚刚下载的权重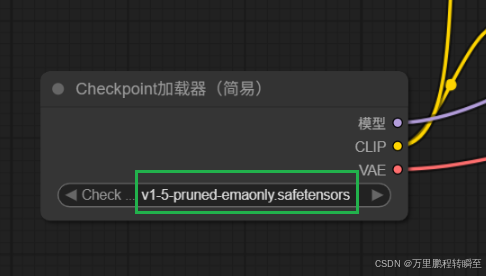
图生图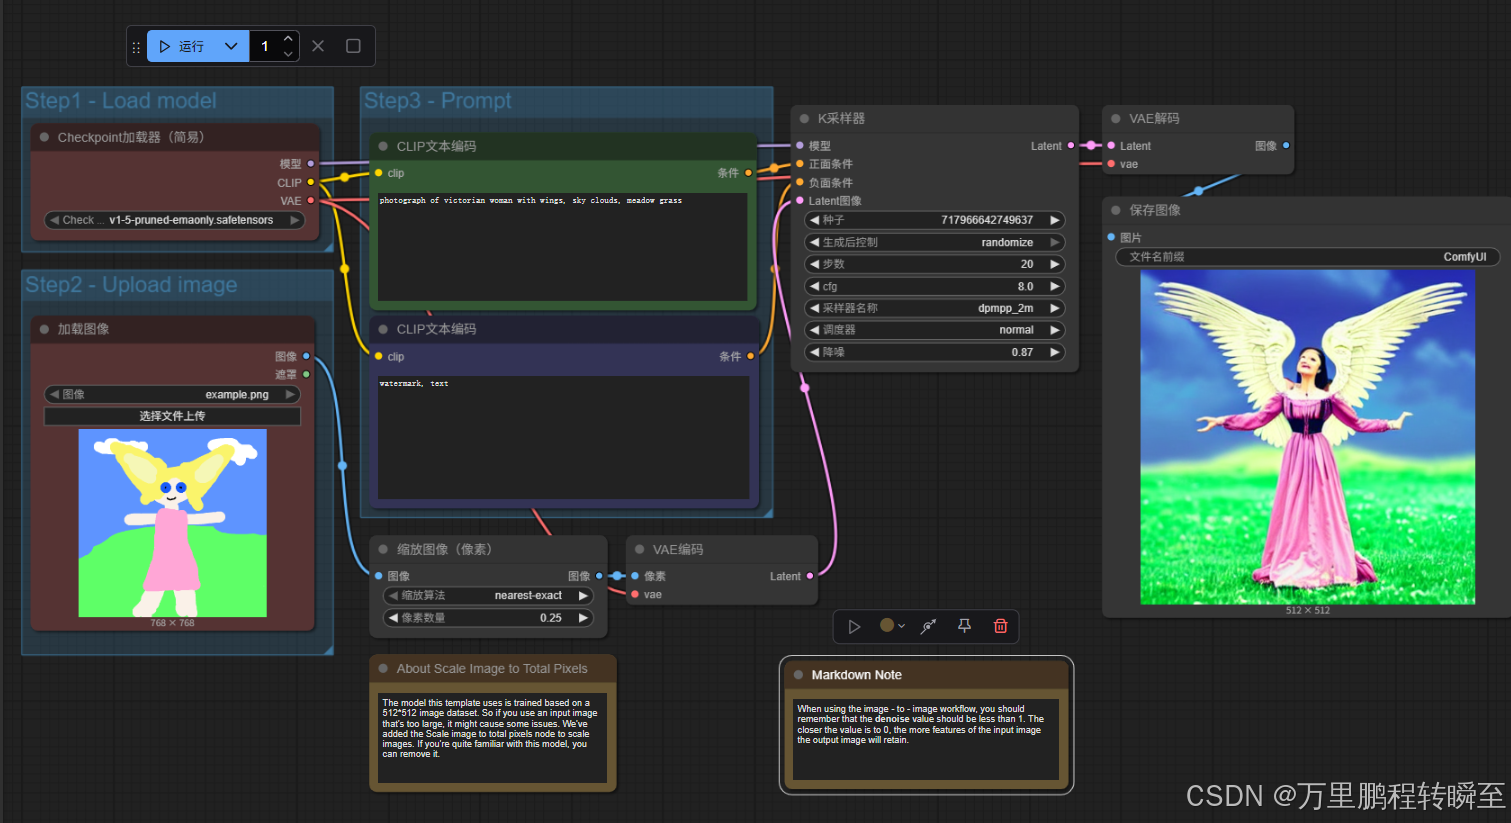

火山引擎开发者社区是火山引擎打造的AI技术生态平台,聚焦Agent与大模型开发,提供豆包系列模型(图像/视频/视觉)、智能分析与会话工具,并配套评测集、动手实验室及行业案例库。社区通过技术沙龙、挑战赛等活动促进开发者成长,新用户可领50万Tokens权益,助力构建智能应用。
更多推荐
 3
3 0
0- 0


 已为社区贡献23条内容

所有评论(0)