【新手教学】AutoIt工具和robot framework-Autoitlibrary库安装和使用
本文详细介绍了AutoIt工具和robotframework-autoitlibrary库的安装与使用方法。首先说明如何安装pywin32和robotframework-autoitlibrary库,包括管理员权限下安装失败的处理方法。然后指导AutoIt工具的下载和完整安装步骤。接着演示通过AutoIt Window Info工具获取界面元素信息,最后展示在RIDE中使用autoitlibrar
·
AutoIt工具和robot framework-Autoitlibrary库安装和使用
一、robotframework-autoitlibrary库安装
- 安装pywin32
autoitlibrary库依赖于 pywin32,因此先要安装;
命令:pip install pywin32
2. 安装robotframework-autoitlibrary库
使用命令:pip install robotframework-autoitlibrary
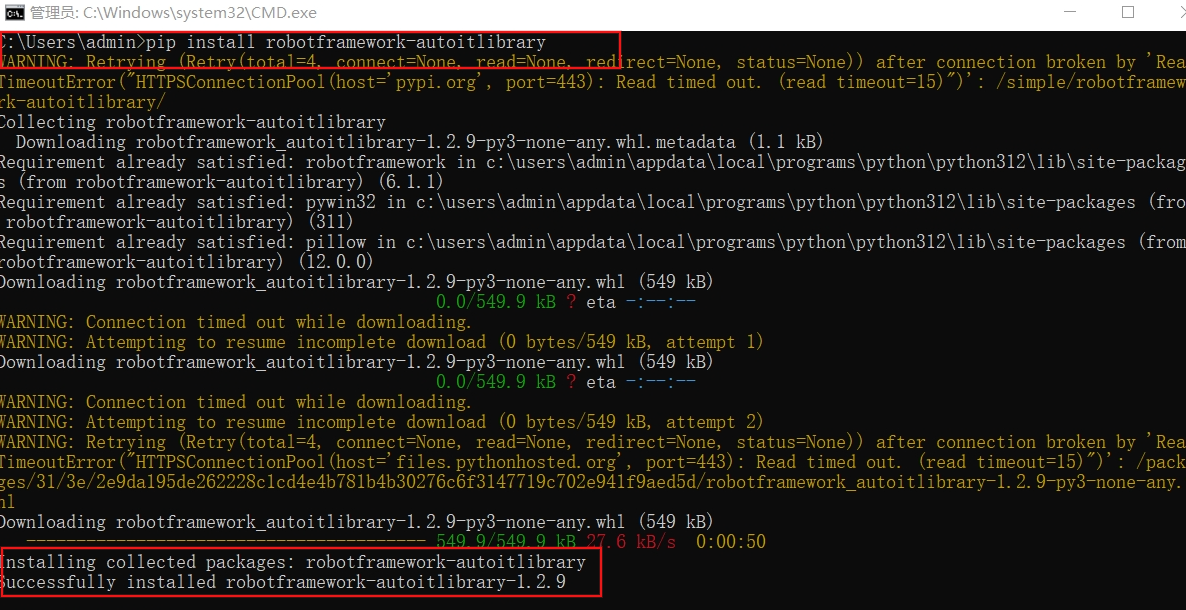
如果安装失败,请使用管理员终端窗口。在开始中搜索cmd,然后右击选择以管理员运行
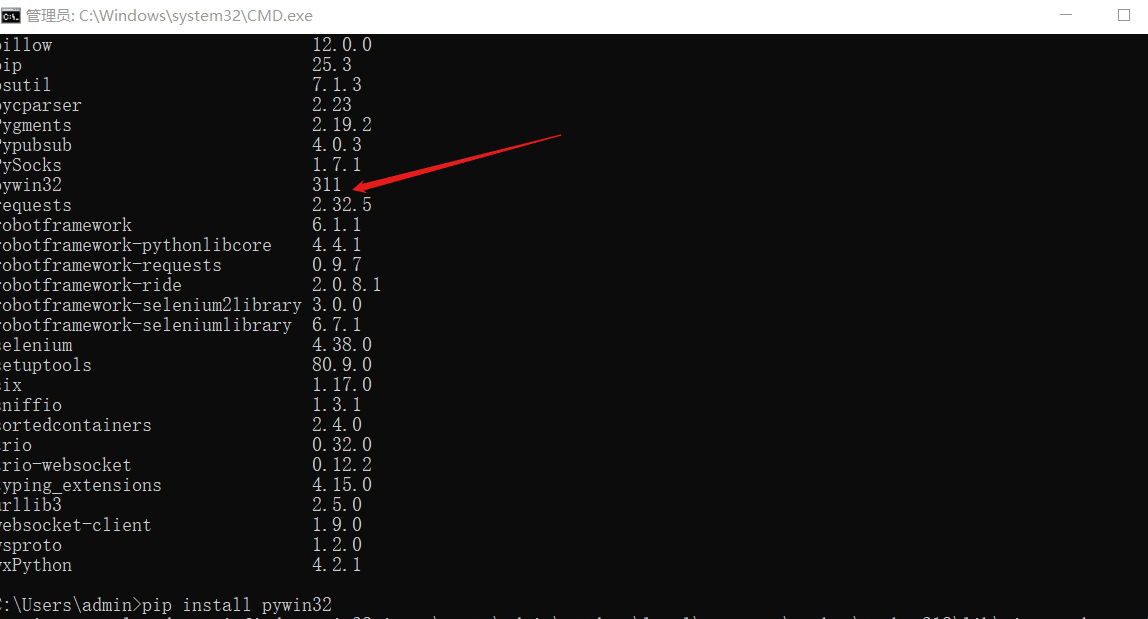
- 确认库安装成功
使用命令:pip list

- 导入
robotframework-autoitlibrary库
打开RIDE工具,在测试套件中点击Library按钮,导入autoitlibrary库。如果显示黑色,说明添加成功!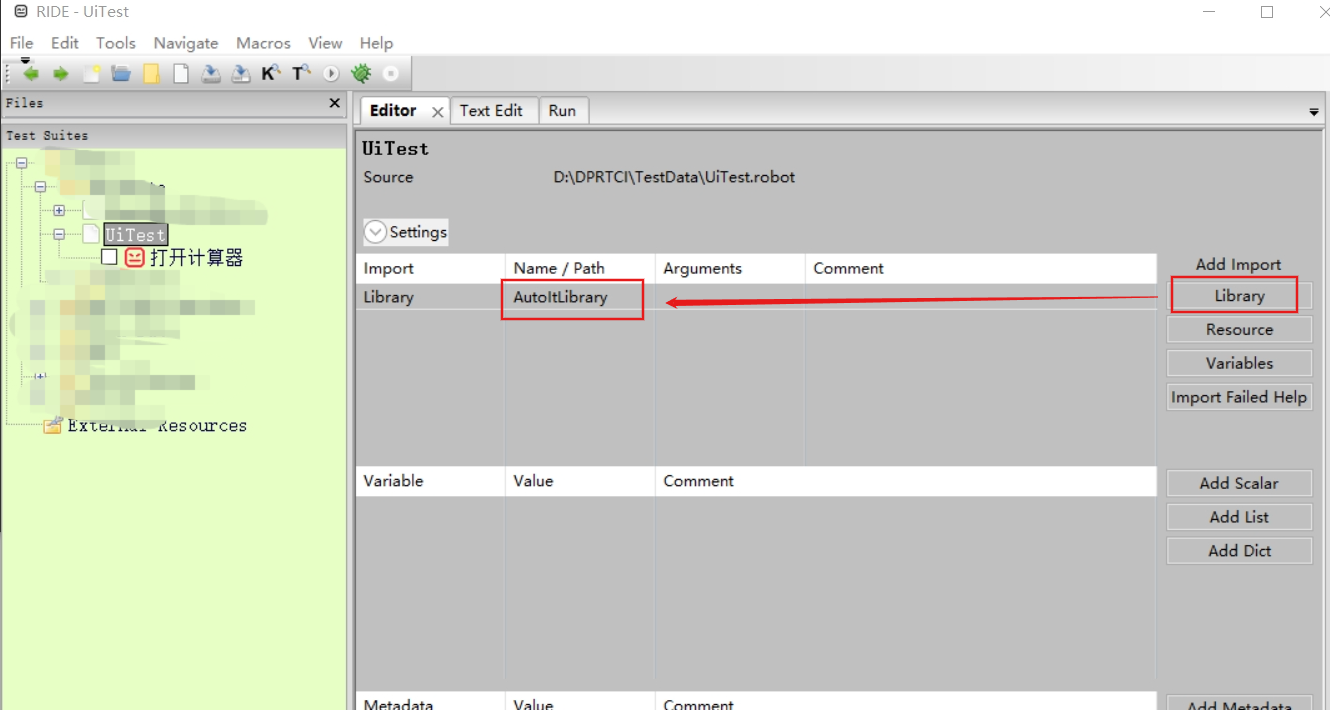
二、AutoIt工具安装
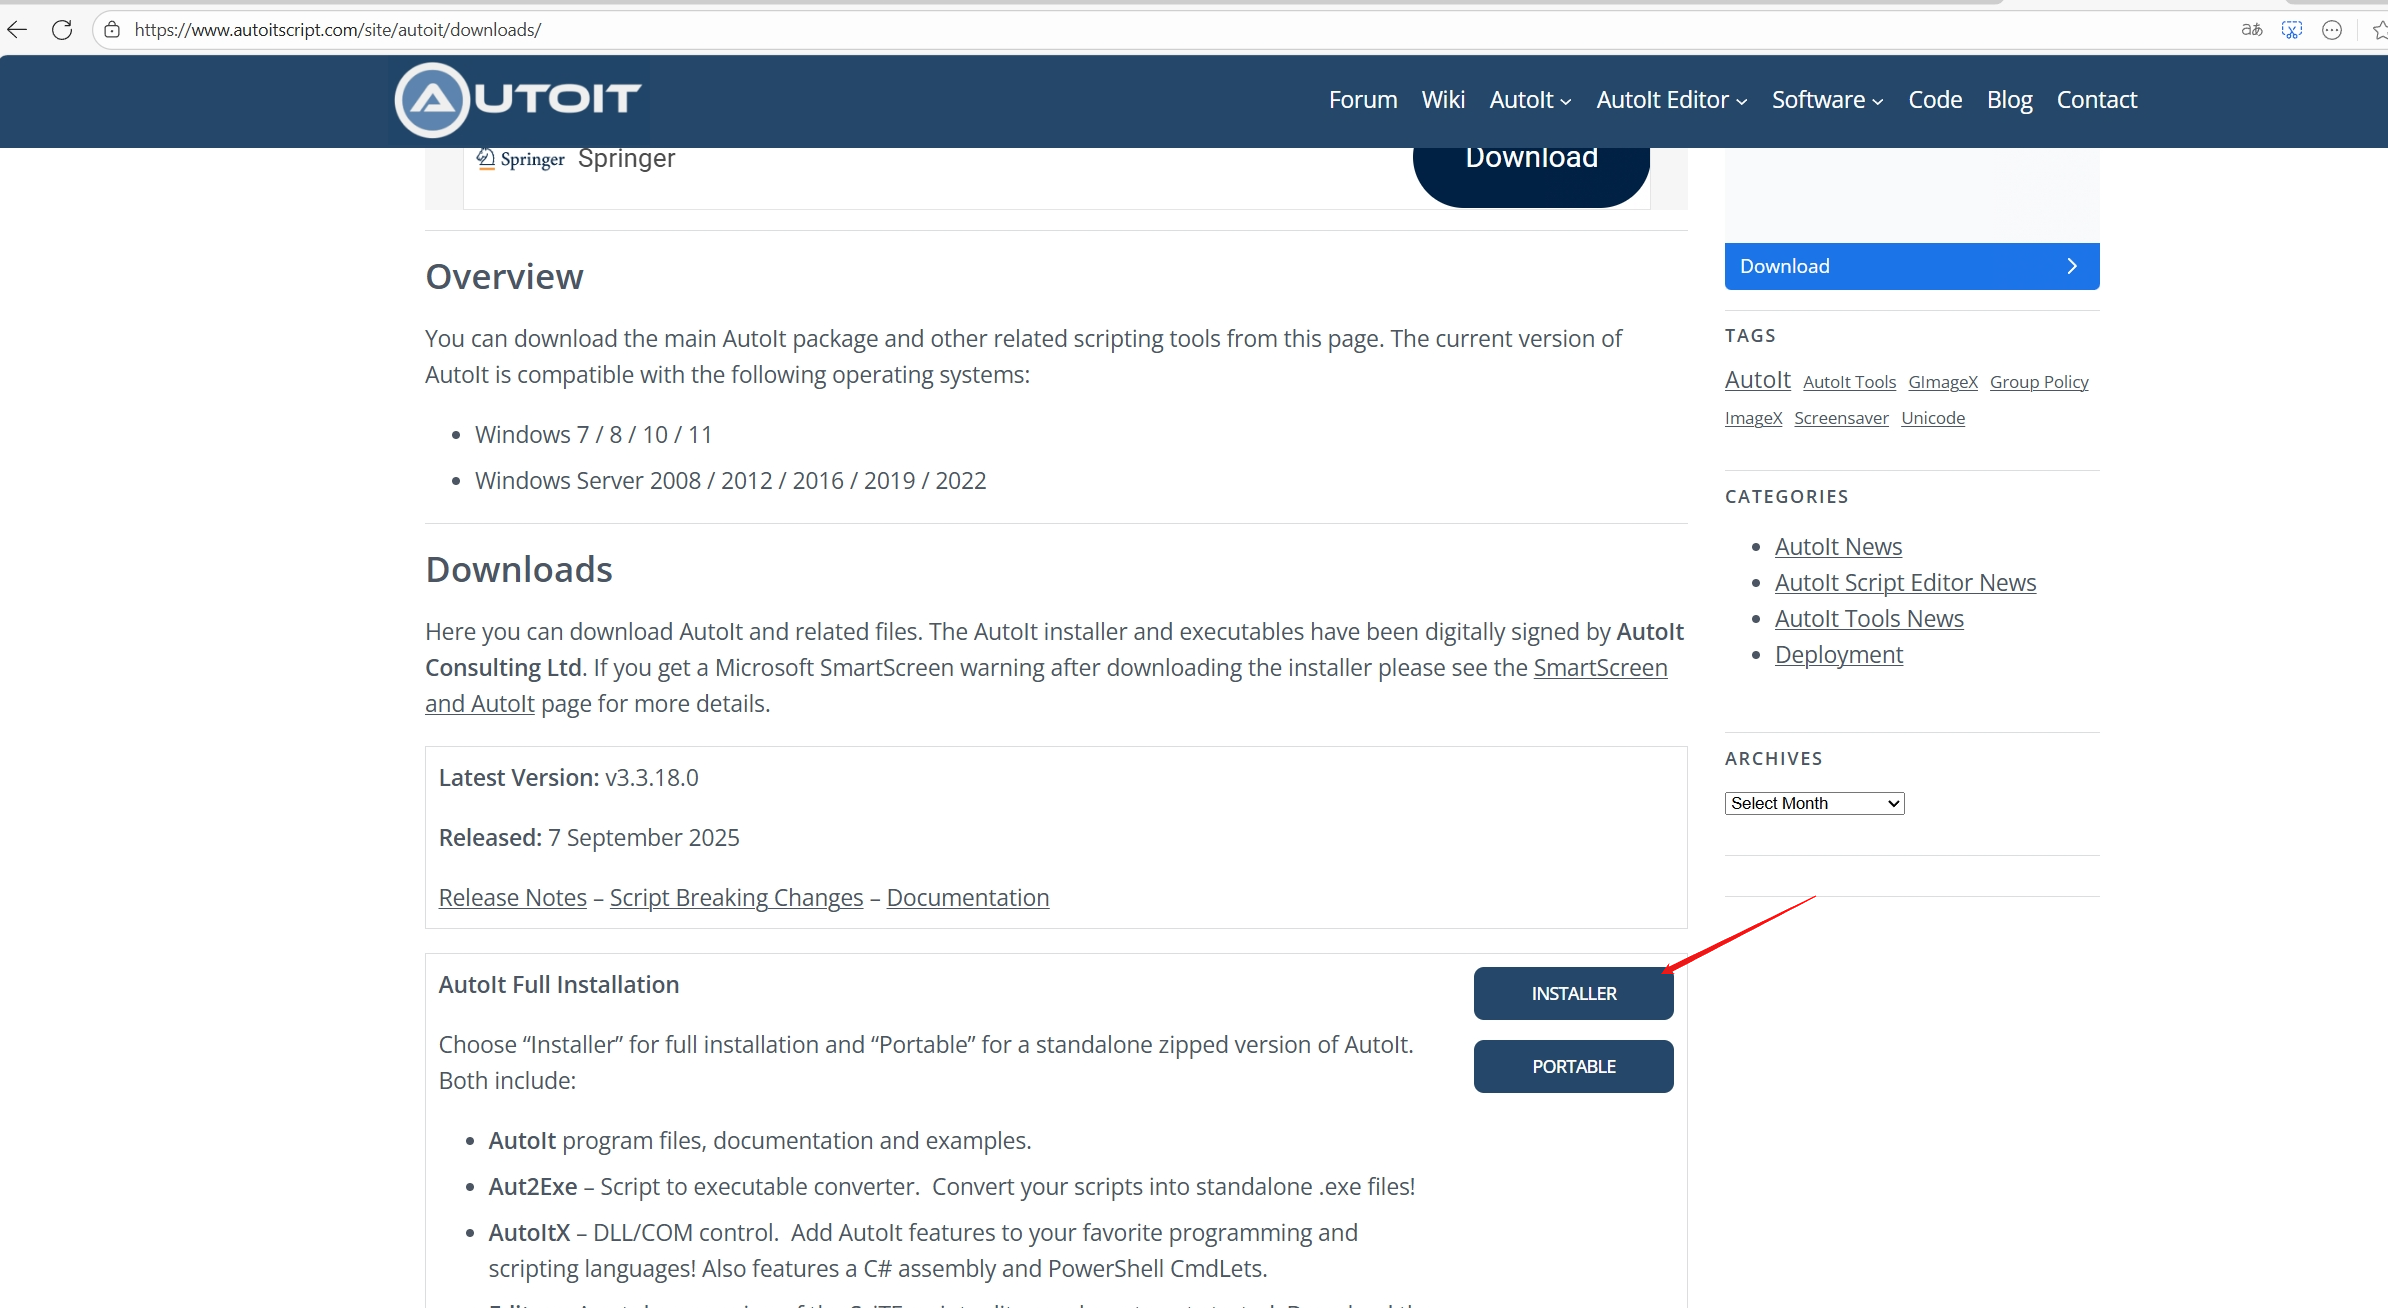
- autoit官网下载
进入AutoIt官网:地址
当前下载最新版本:autoit-v3.3.18.0-setup.zip
2. 解压下载的压缩包
找到下载的包,解压后双击打开: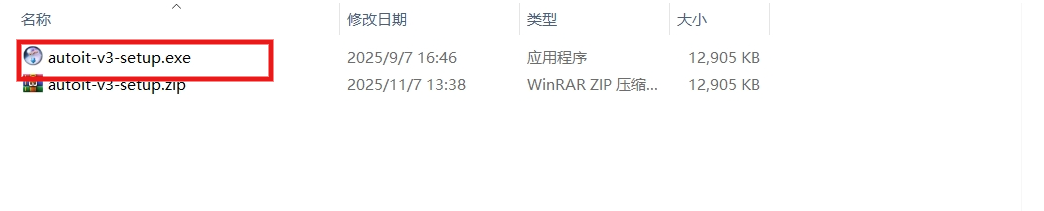
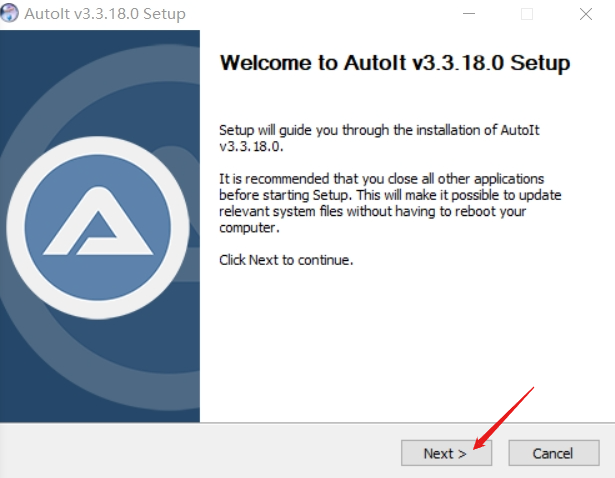
- AutoIt安装
点击下一步next,
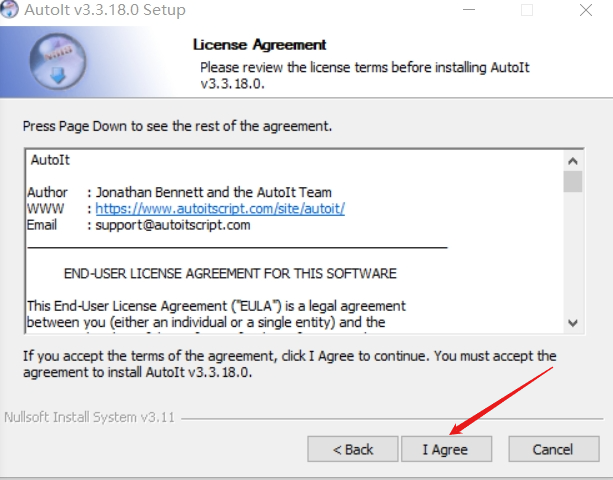
点击同意I Agree,
选择use native x64 tools by default,点击下一步next。也可以选下面x86那个(试过了,暂时没发现有啥影响)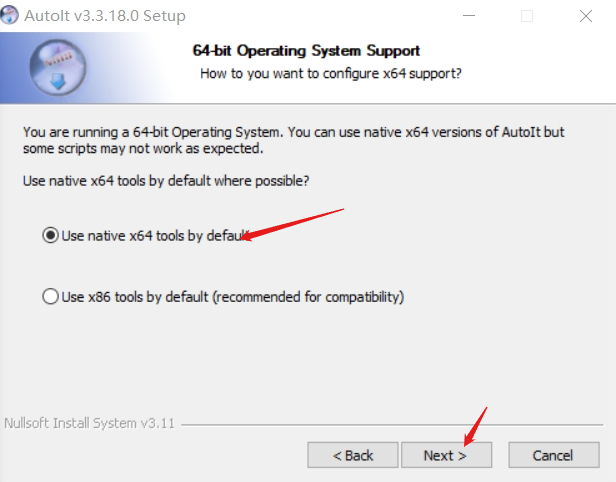
选择Run the script,点击下一步next,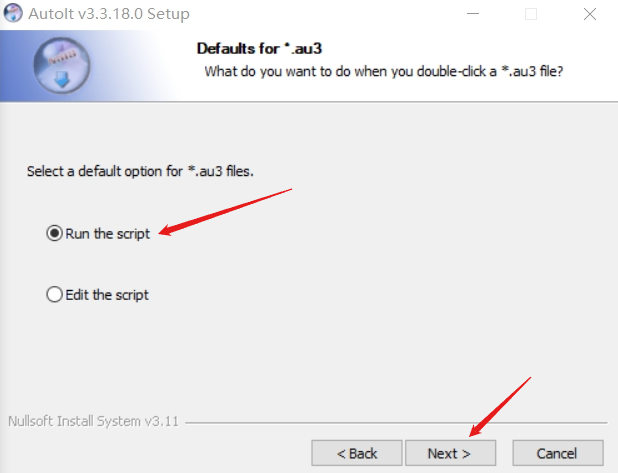
这里是插件,我们选择Full,全部选中,点击next,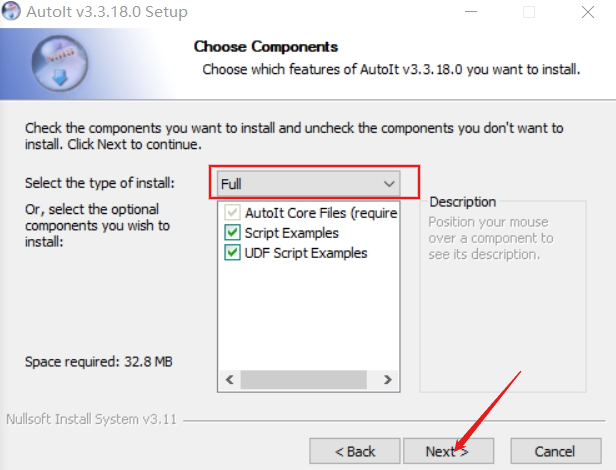
选择安装的位置,无特殊要求默认就行,点击Install,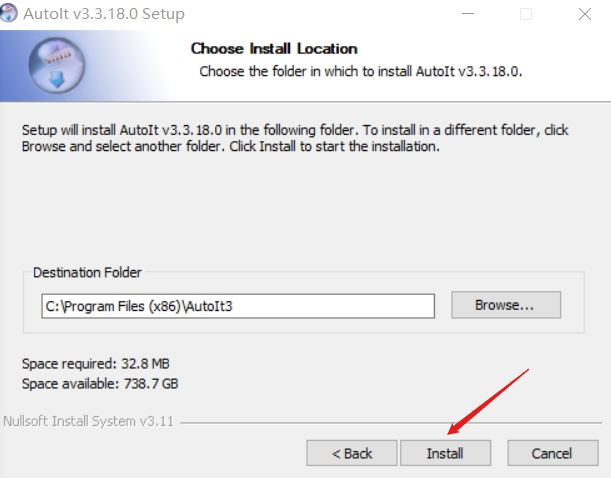
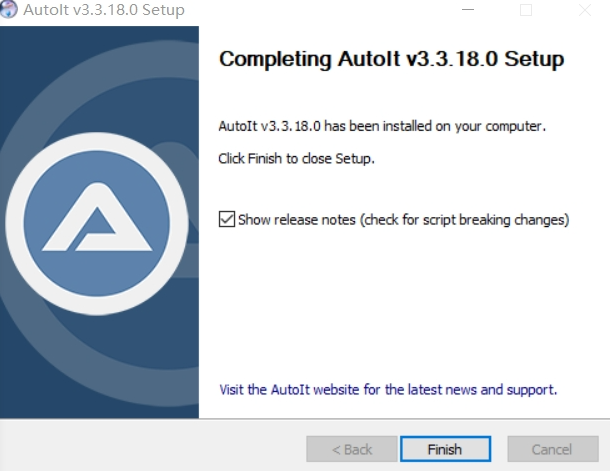
等待安装完成,点击Finish,完成安装。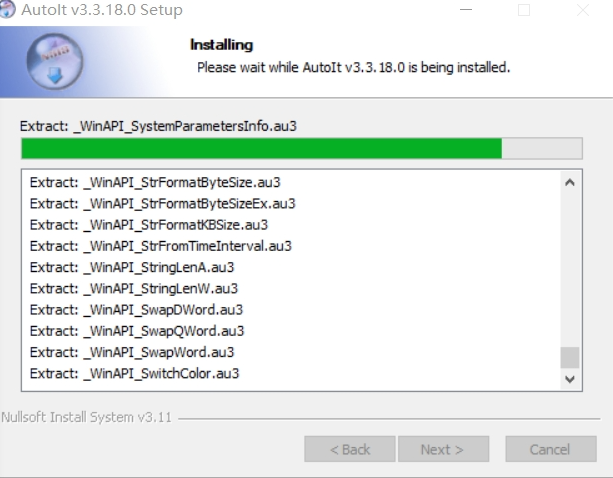
三、AutoIt工具使用
- 在开始搜索框中输入
AutoIt,找到Autoit Window Info(X64)打开,此时就打开了AutoIt工具。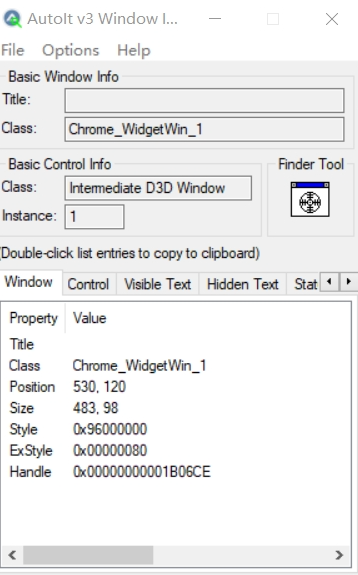
- 以Windows系统自带的计算器为例,我们打开计算器,此时我们通过拖动
Finder Tool到具体的按键,就可以获取到对应按键的标签等信息。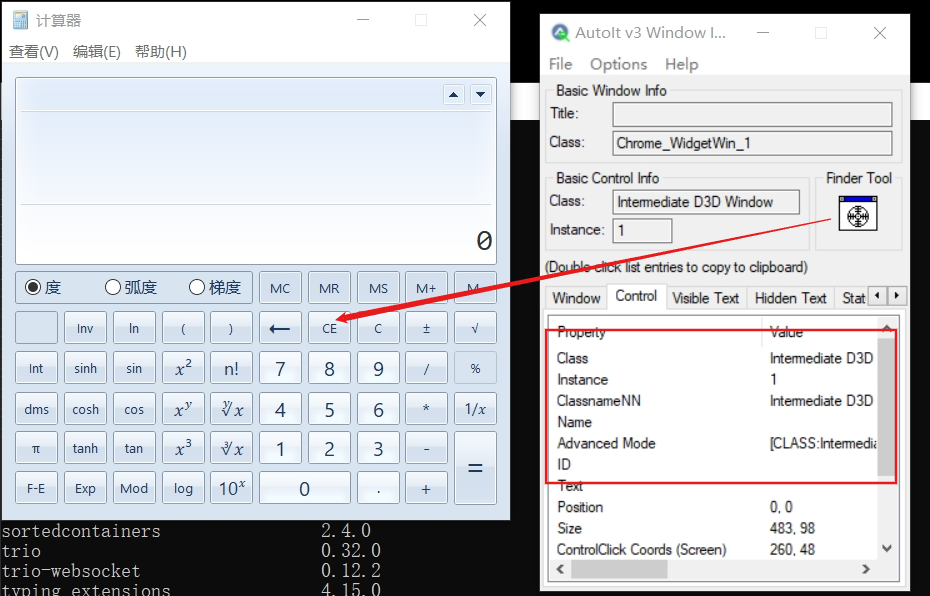
四、robotframework-autoitlibrary库使用
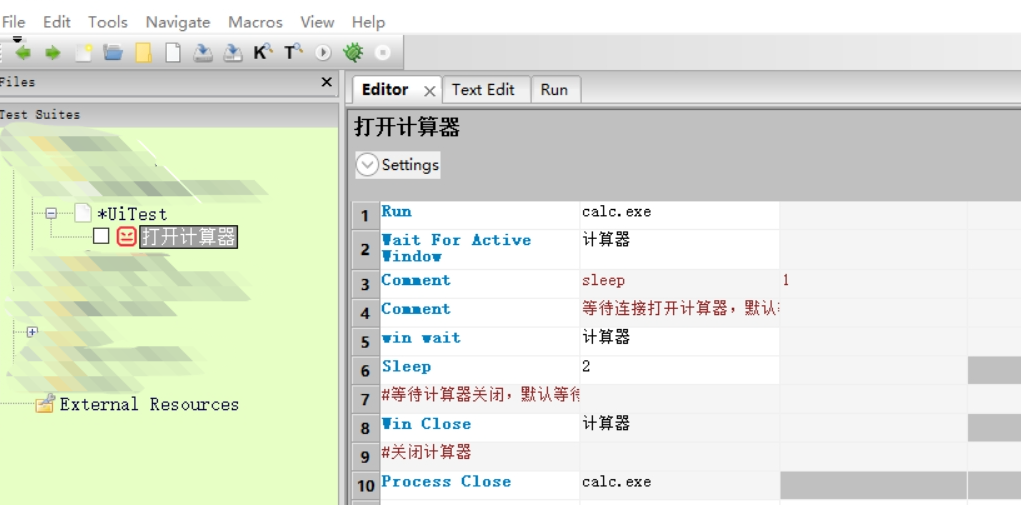
- 打开RIDE工具,新建工程,新建测试套件
UiTest,新建用例打开计算器,编写用例:
*** Settings ***
Library           AutoItLibrary

*** Test Cases ***
打开计算器
    Run    calc.exe
    Wait For Active Window    计算器
    Comment    sleep    1
    Comment    等待连接打开计算器,默认等待60秒
    win wait    计算器
    Sleep    2
    Comment    ${windowhandle}=    Control Click    Button4
    Comment    Control Click    计算器    Button23
    Comment    Control Click    计算器    Button10
    Comment    Control Click    计算器    Button28
    #等待计算器关闭,默认等待60秒
    Win Close    计算器
    #关闭计算器
    Process Close    calc.exe

中国智能体开发者社区,聚焦智能体与大模型开发,提供前沿资讯、实用工具链、开源项目及行业案例。通过技术沙龙、开发者大赛等活动,促进经验交流与协作,助力开发者快速构建创新智能应用。
更多推荐
 17
17 0
0- 0


 已为社区贡献3条内容

所有评论(0)