05_filebeat写入&logstash
·
05_filebeat写入&logstash

使用filebeat采集docker日志
- 安装docker
(1)安装docker
wget http://192.168.15.253/ElasticStack/day05-/softwares/docker-ce-23_0_1.tar.gz

 tar xf docker-ce-23_0_1.tar.gz

 yum -y localinstall /*.rpm


	(2)配置docker的镜像加速
[root@elk103 ~]# cat /etc/docker/daemon.json
{
  "data-root": "/var/lib/docker",
   "registry-mirrors": ["https://tuv7rqqq.mirror.aliyuncs.com","https://hub-mirror.c.1com/","https://docker.mirrors.ustc.edu.cn","https://reg-mirror.qiniu.com"]
}
[root@elk103 ~]#
[root@elk103 ~]#
[root@elk103~]# systemctl enable --now docker
Created symlink from /etc/systemd/system/multi-user.target.wants/docker.service to /usr/lib/systemd/system/docker.service.


	(3)下载nginx镜像
docker run -dp 88:80 --name mynginx --restart always nginx:1.22.1-alpine

docker run -dp 89:8080 --name mytomcat --restart always  tomcat:jre8-alpine
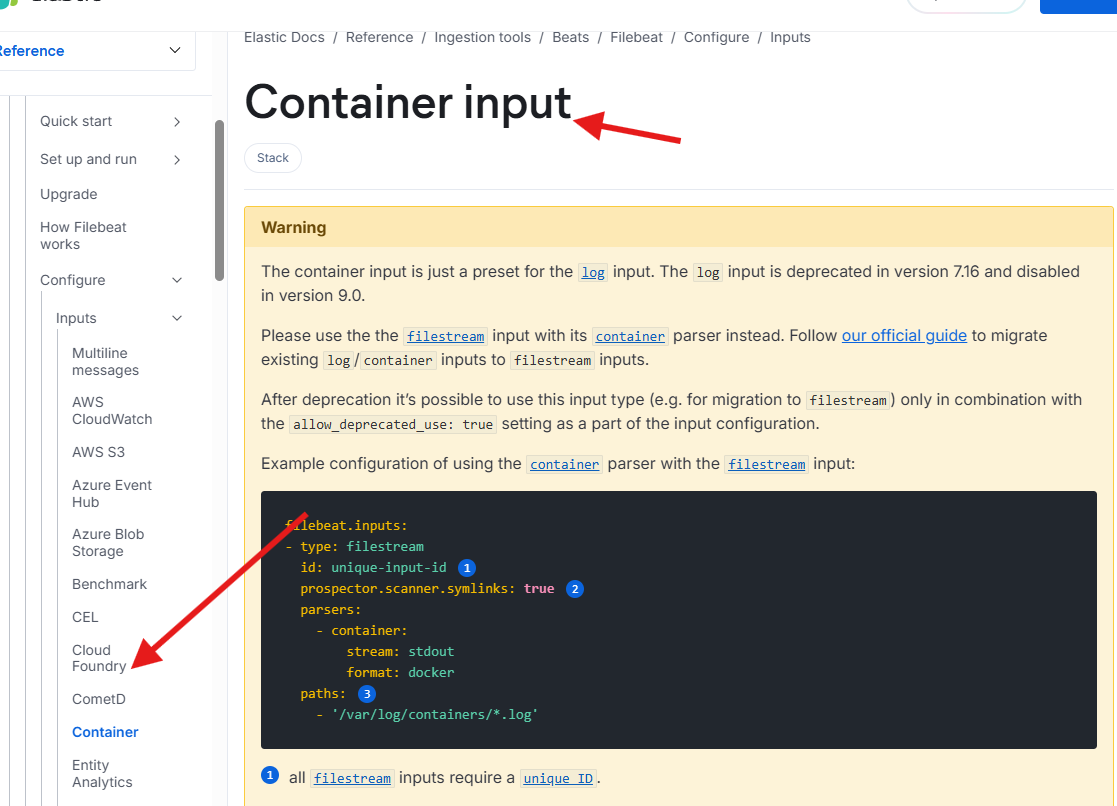
- 官方实例
**
- 编写filebeat文件
[root@elk103 filebeat-7.17.5-linux-x86_64]# cat config/12-container-to-console.yaml
filebeat.inputs:
- type: container
  paths:
    - '/var/lib/docker/containers/*/*.log'

# output.console:
#   pretty: true

output.elasticsearch:
  hosts: ["http://10.0.0.101:9200","http://10.0.0.102:9200","http://10.0.0.103:9200"]
filestream
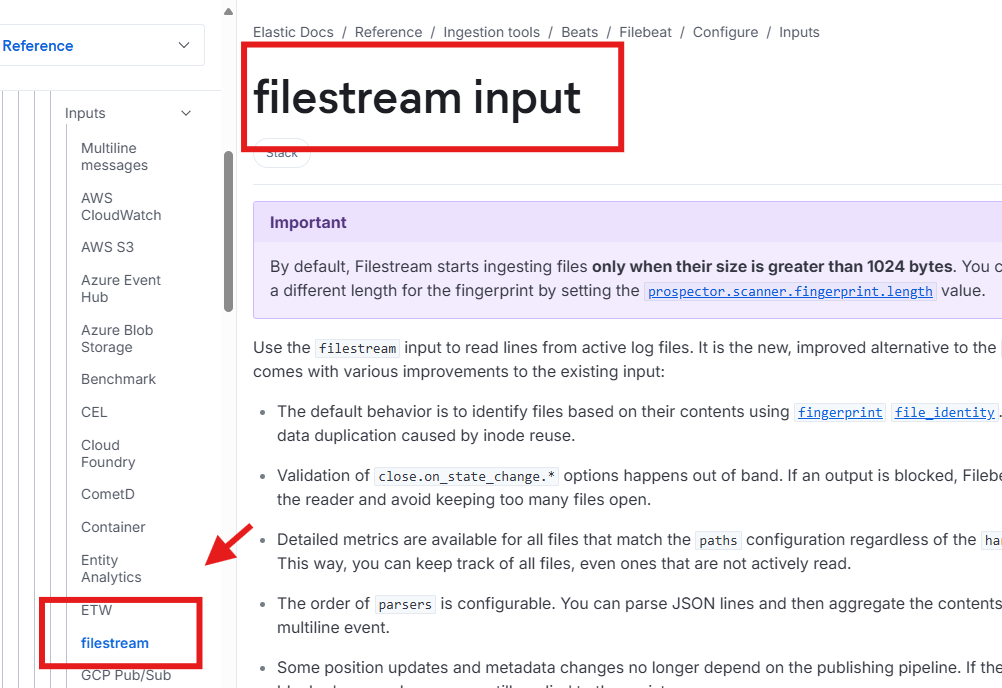
	写入数据到ES集群
[root@elk103 filebeat-7.17.5-linux-x86_64]# cat config/16-log-to-es.yaml
filebeat.inputs:
- type: filestream
  enabled: true
  paths:
    - /tmp/inux85/shopping.json
  parsers:
    - multiline:
        type: count
        count_lines: 7
    - ndjson:
       add_error_key: true
       overwrite_keys: true

# 将日志输出到ES集群
output.elasticsearch:
  # 指定ES集群地址
  hosts:
  - "http://10.0.0.101:9200"
  - "http://10.0.0.102:9200"
  - "http://10.0.0.103:9200"
  # 指定索引
  index: "linux85-shopping-%{+yyyy.MM.dd}"

# 禁用索引声明管理周期,若不禁用则自动忽略自定义索引名称
setup.ilm.enabled: false
# 设置索引模板的名称
setup.template.name: "-linux85-shopping"
# 指定索引模板的匹配模式
setup.template.pattern: "linux85-shopping-*"
# 是否覆盖原有的索引模板
setup.template.overwrite: true
# 设置索引模板
setup.template.settings:
  # 指定分片数量为8
  index.number_of_shards: 8
  # 指定副本数量为0
  index.number_of_replicas: 0
Logstash(转化,过滤,采集)
- rpm包安装
rpm -ivh 包的名称即可

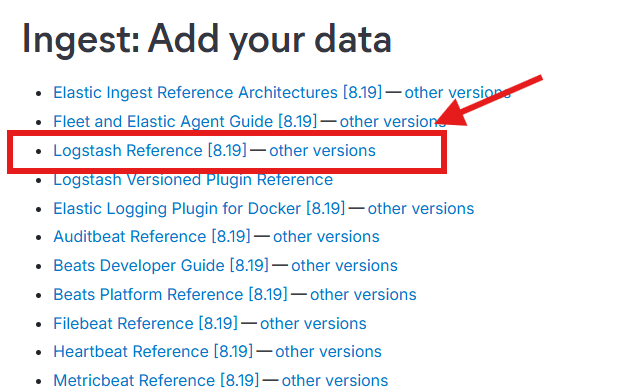
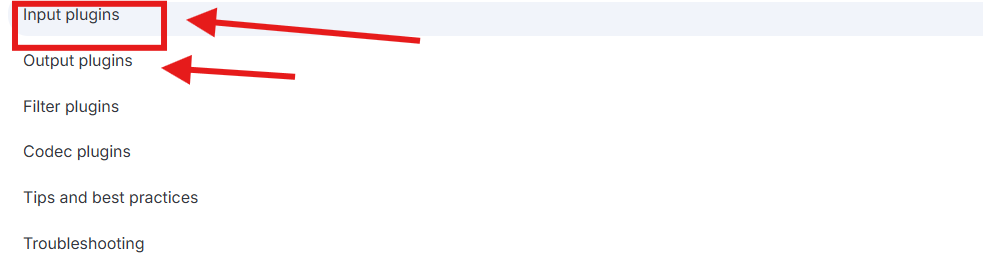
基于filebeat–>logstash

cat config/02-beats-to-stdout.conf
input {
  # 指定输入的类型是一个beats
  beats {
    # 指定监听的端口号
    port => 8888
  }
}

output {
  # 将数据在标准输出显示
  stdout {}

}
- 运行logstash
logstash -f 02-beats-to-stdout.conf
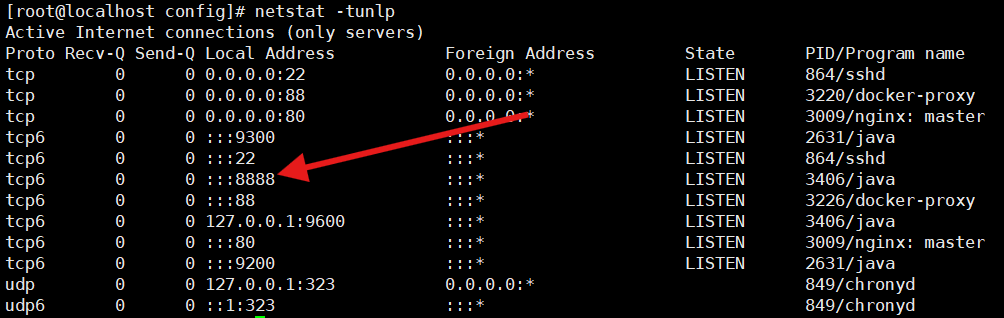
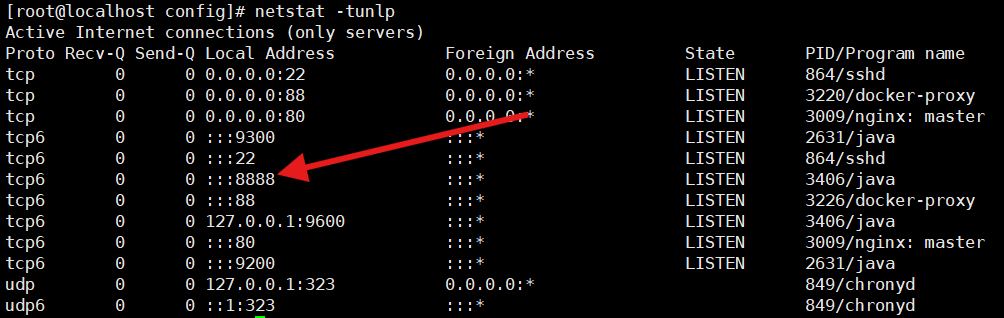
监听的是8888端口
启动filebeat实例写入数据
[root@elk103. filebeat-7.17.5-linux-x86_64]# cat config/18-nginx-to-logstash.yaml
filebeat.inputs:
- type: log
  paths:
    - /var/log/nginx/access.log*

# 将数据输出到logstash中
output.logstash:
  # 指定logstash的主机和端口
  hosts: ["10.0.0.102:8888"]
filebeat -e -c config/18-nginx-to-logstash.yaml
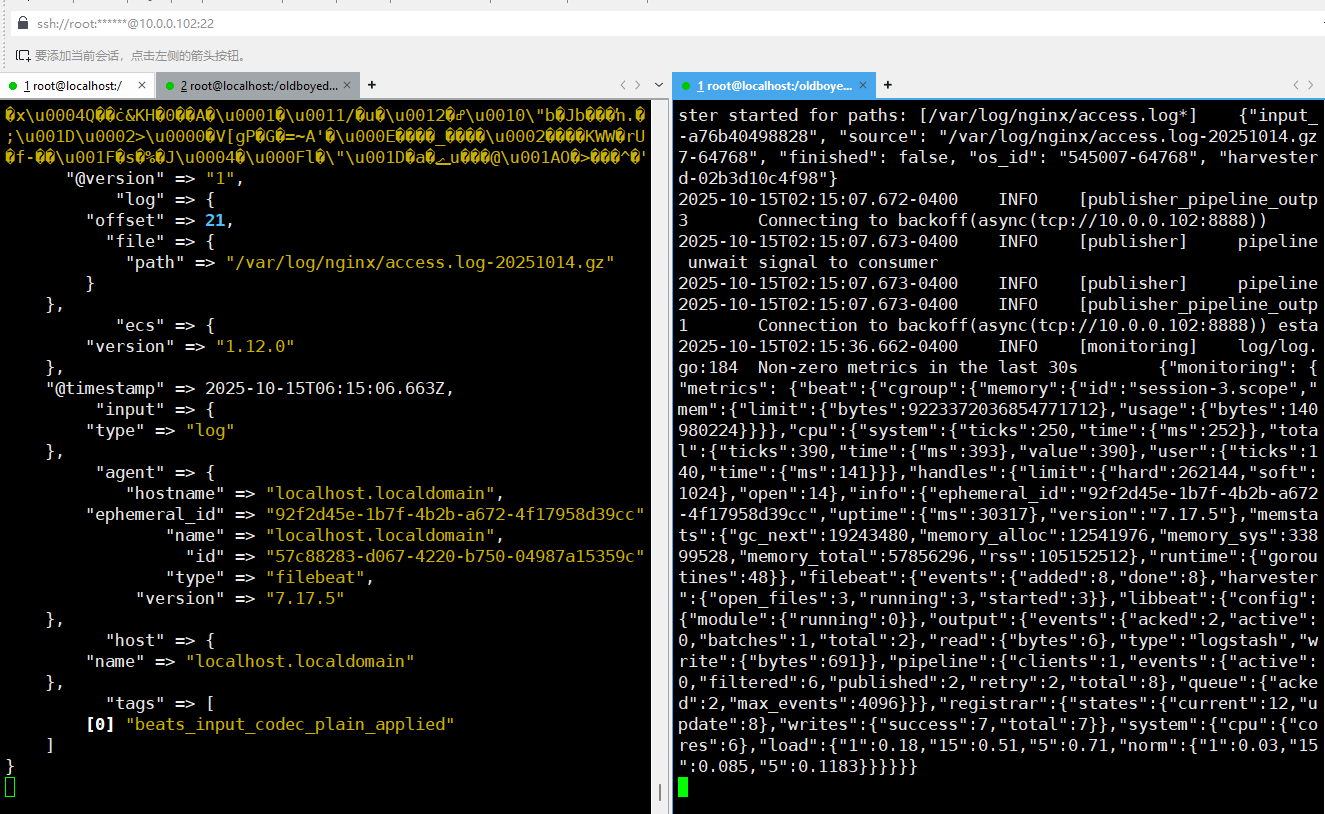
写入es集群中
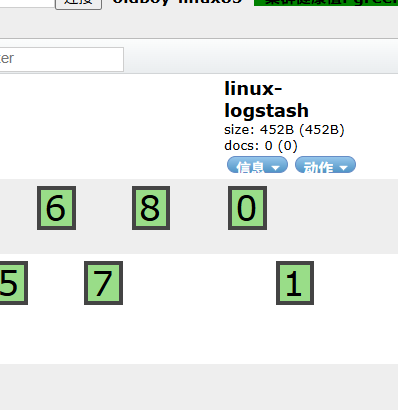
- 创建分片
PUT 10.0.0.101:9200/linux-logstash
{
    "settings":{
        "number_of_shards": 2,
        "number_of_replicas":0
    }
}
- 编写配置文件
[root@elk101~]# cat config/02-beats-to-stdout.conf
input {
  # 指定输入的类型是一个beats
  beats {
    # 指定监听的端口号
    port => 8888
  }
}

output {
  # 将数据在标准输出显示
  stdout {}

  # 将数据写入ES集群
  elasticsearch {
    # 指定ES主机地址
    hosts => ["http://localhost:9200"]
    # 指定索引名称
    index => "linux-logstash"
  }
}
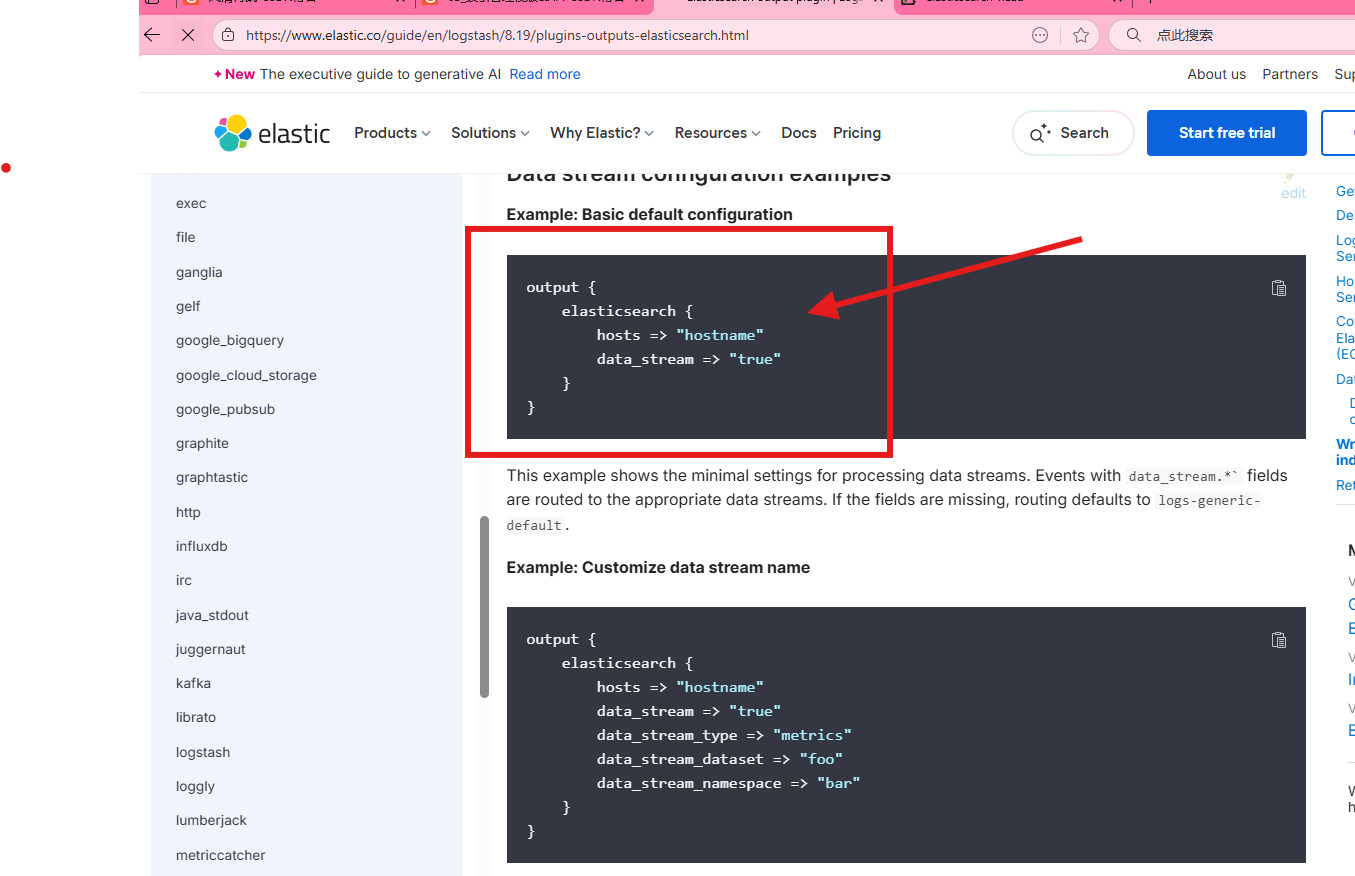
- 查看分片数据结果
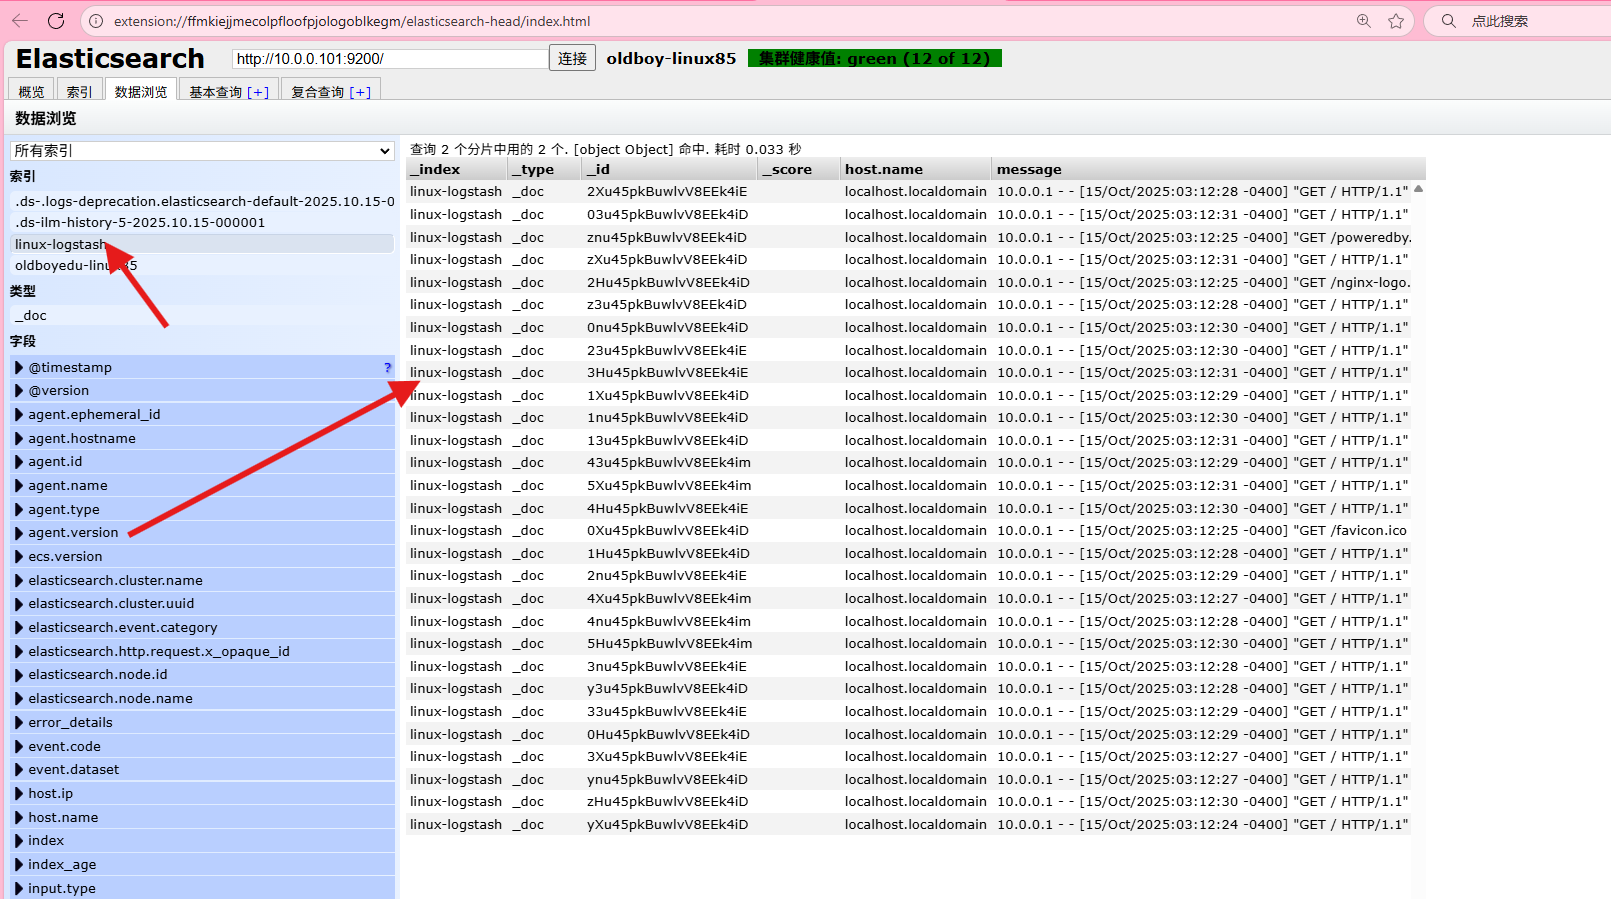
- ok数据写入成功
logstash过滤插件geoip
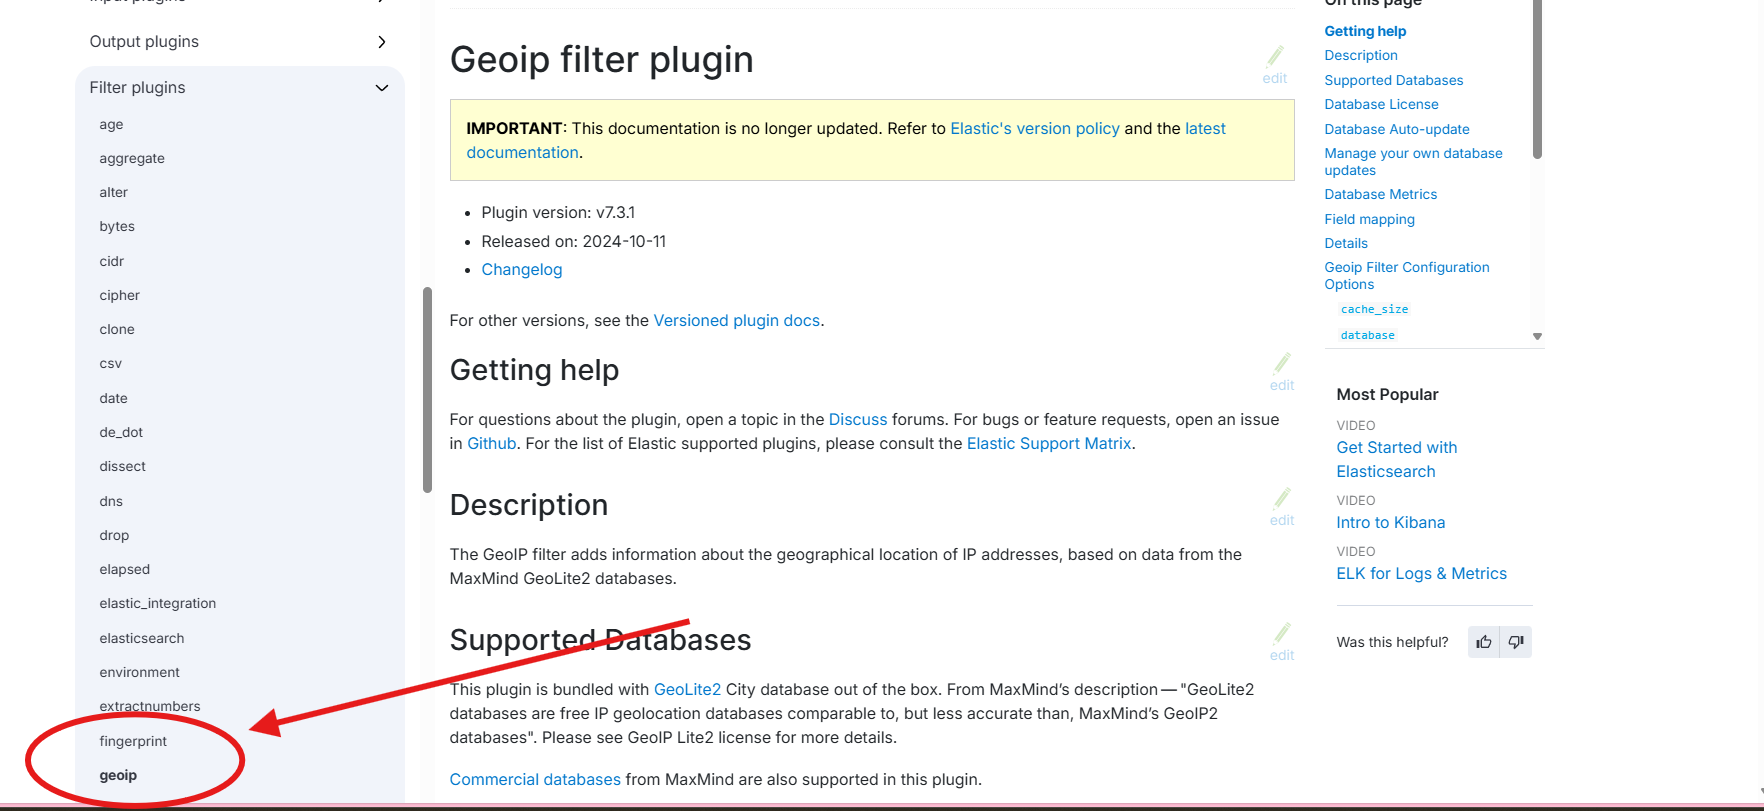
- 在过滤fileter的geoip
(1)logstash配置文件
[root@elk101.~]# cat config/03-beats-geoip-es.conf
input {
  # 指定输入的类型是一个beats
  beats {
    # 指定监听的端口号
    port => 8888
  }
}


filter {
  # 根据IP地址分析客户端的经纬度,国家,城市信息等。
  geoip {
     source => "clientip"
     remove_field => [ "agent","log","input","host","ecs","tags" ]
  }

}

output {
  # 将数据在标准输出显示
  #stdout {}

  # 将数据写入ES集群
 elasticsearch {
 #  # 指定ES主机地址
  hosts => ["http://localhost:9200"]
    # 指定索引名称
  index => "-linux85-logstash"
  }
}
- 运行
[root@elk101..com ~]# logstash -rf config/03-beats-geoip-es.conf
- filebeat 采集数据到logstash中
[root@elk103 filebeat-7.17.5-linux-x86_64]# cat config/18-nginx-to-logstash.yaml
filebeat.inputs:
- type: log
  paths:
    - /var/log/nginx/access.log*
  json.keys_under_root: true
  json.add_error_key: true


# 将数据输出到logstash中
output.logstash:
  # 指定logstash的主机和端口
  hosts: ["10.0.0.102:8888"]
- 日志格式
[root@elk103]# cat /var/log/nginx/access.log
{"@timestamp":"2023-04-06T16:17:43+08:00","host":"10.0.0.103","clientip":"110.110.110.110","SendBytes":615,"responsetime":0.000,"upstreamtime":"-","upstreamhost":"-","http_host":"10.0.0.103","uri":"/index.html","domain":"10.0.0.103","xff":"-","referer":"-","tcp_xff":"-","http_user_agent":"curl/7.29.0","status":"200"}
{"@timestamp":"2023-04-06T18:18:18+08:00","host":"10.0.0.103","clientip":"101.231.54.100","SendBytes":0,"responsetime":0.000,"upstreamtime":"-","upstreamhost":"-","http_host":"10.0.0.103","uri":"/index.html","domain":"10.0.0.103","xff":"-","referer":"-","tcp_xff":"-","http_user_agent":"Mozilla/5.0 (iPad; CPU OS 13_3 like Mac OS X) AppleWebKit/605.1.15 (KHTML, like Gecko) CriOS/87.0.4280.77 Mobile/15E148 Safari/604.1","status":"304"}
{"@timestamp":"2023-04-07T08:18:32+08:00","host":"10.0.0.103","clientip":"219.141.136.10","SendBytes":0,"responsetime":0.000,"upstreamtime":"-","upstreamhost":"-","http_host":"10.0.0.103","uri":"/index.html","domain":"10.0.0.103","xff":"-","referer":"-","tcp_xff":"-","http_user_agent":"Mozilla/5.0 (iPhone; CPU iPhone OS 13_2_3 like Mac OS X) AppleWebKit/605.1.15 (KHTML, like Gecko) Version/13.0.3 Mobile/15E148 Safari/604.1","status":"304"}
{"@timestamp":"2023-04-07T10:18:52+08:00","host":"10.0.0.103","clientip":"221.118.208.184","SendBytes":0,"responsetime":0.000,"upstreamtime":"-","upstreamhost":"-","http_host":"10.0.0.103","uri":"/index.html","domain":"10.0.0.103","xff":"-","referer":"-","tcp_xff":"-","http_user_agent":"Mozilla/5.0 (iPhone; CPU iPhone OS 13_2_3 like Mac OS X) AppleWebKit/605.1.15 (KHTML, like Gecko) Version/13.0.3 Mobile/15E148 Safari/604.1","status":"304"}
{"@timestamp":"2023-04-07T12:19:07+08:00","host":"10.0.0.103","clientip":"21.118.208.84","SendBytes":0,"responsetime":0.000,"upstreamtime":"-","upstreamhost":"-","http_host":"10.0.0.103","uri":"/index.html","domain":"10.0.0.103","xff":"-","referer":"-","tcp_xff":"-","http_user_agent":"Mozilla/5.0 (Linux; Android 10; SM-G981B) AppleWebKit/537.36 (KHTML, like Gecko) Chrome/80.0.3987.162 Mobile Safari/537.36","status":"404"}
[root@elk103.oldboyedu.com oldboyedu-linux85]#
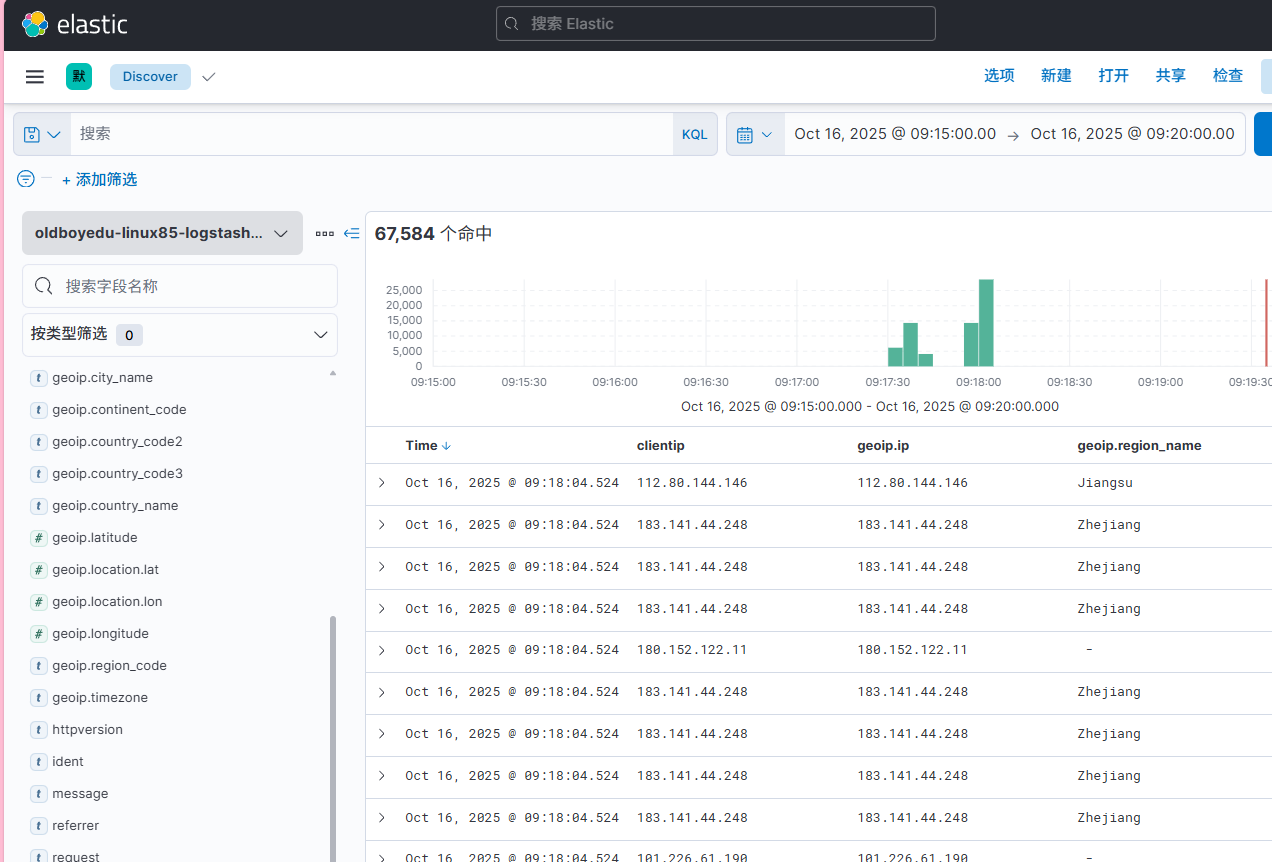
- 结果
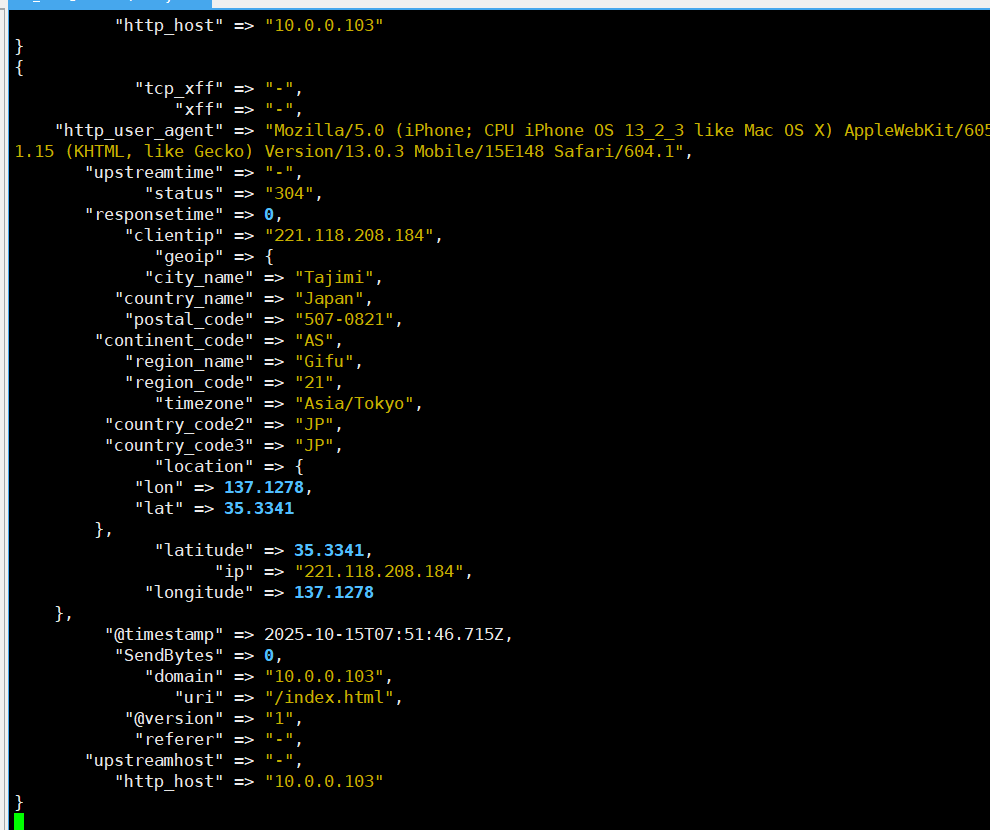
logstash解析nginx原生日志并分析IP地址实战
filter插件grok—用正则的方式去过滤数据
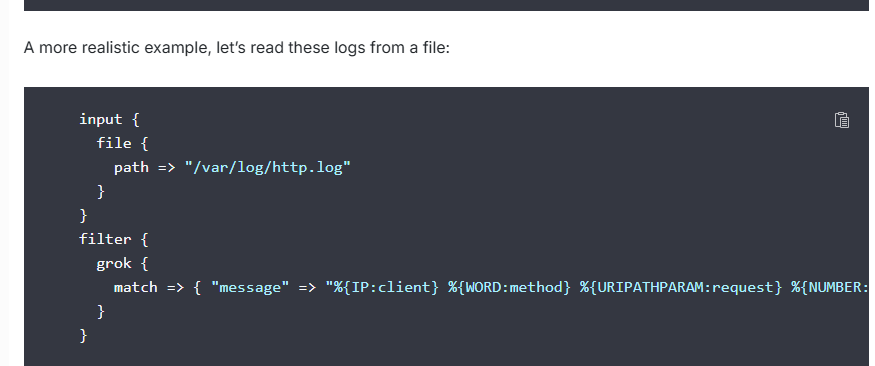
[root@localhost config]# cat 02beat-grok.conf
input {
  # 指定输入的类型是一个beats
  beats {
    # 指定监听的端口号
    port => 8888
  }
}


filter {
  grok {
      match => { "message" => "%{HTTPD_COMBINEDLOG}" }
      remove_field => [ "agent","log","input","host","ecs","tags" ]
   }

  geoip {
     source => "clientip"
  }

}

output {
  # 将数据在标准输出显示
  stdout {}

  # 将数据写入ES集群
  #elasticsearch {
 #  # 指定ES主机地址
   # hosts => ["http://localhost:9200"]
    # 指定索引名称
   # index => "oldboyedu-linux85-logstash"
 # }
}
[root@localhost config]#
- 写filebeat日志采集
[root@localhost filebeat-7.17.5-linux-x86_64]# cat config/01-nginx-to-logstash.yaml
filebeat.inputs:
- type: log
  paths:
    - /var/log/nginx/access.log*
  json.keys_under_root: true
  json.add_error_key: true


# 将数据输出到logstash中
output.logstash:
  # 指定logstash的主机和端口
  hosts: ["10.0.0.102:8888"]
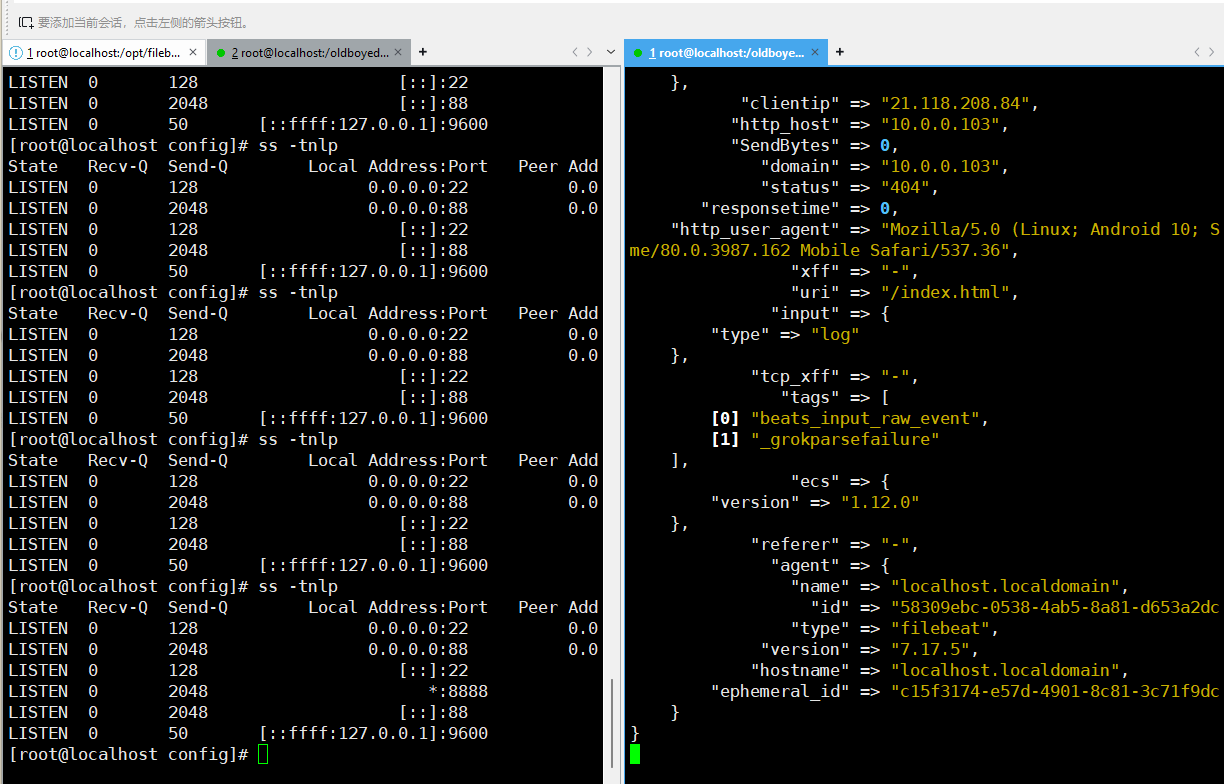
-
然后可以将stuout{}关闭
-
写入分片
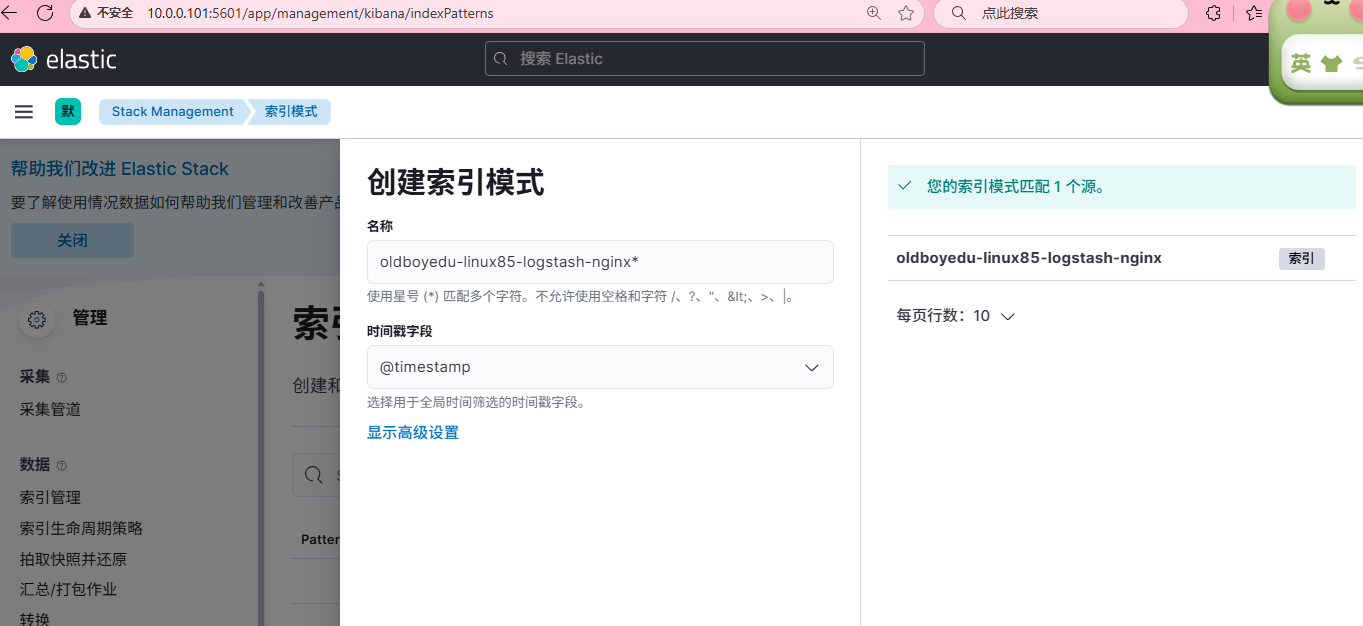
- 通过图形化的方式

中国智能体开发者社区,聚焦智能体与大模型开发,提供前沿资讯、实用工具链、开源项目及行业案例。通过技术沙龙、开发者大赛等活动,促进经验交流与协作,助力开发者快速构建创新智能应用。
更多推荐


 6
6 0
0- 0


 已为社区贡献1条内容

所有评论(0)