计算机图形学【图像处理】
利用泊松编辑实现图像间的对象转移;通过拼接由多幅图像生成一幅新图像;尝试将一幅图像到另一幅图像的颜色转移。
·
**泊松编辑技术**
泊松编辑是一种图像合成技术,它允许用户将一个区域(源区域)从一个图像(源图像)无缝地复制到另一个图像(目标图像)中,同时保持源区域在目标图像中的外观和光影效果一致。这种技术通过求解泊松方程来实现,可以确保复制的区域与目标图像的背景自然融合,常用于图像修复、对象插入等场景。
**图像拼接技术**
图像拼接是将多幅图像组合成一幅单一的、连贯的图像的过程。它通常涉及到图像的对齐、变换和融合等步骤,以确保拼接后的图像在视觉上是一致的。图像拼接技术广泛应用于全景摄影、图像增强、视频监控等领域,可以为用户提供更广阔的视野或更丰富的图像信息。
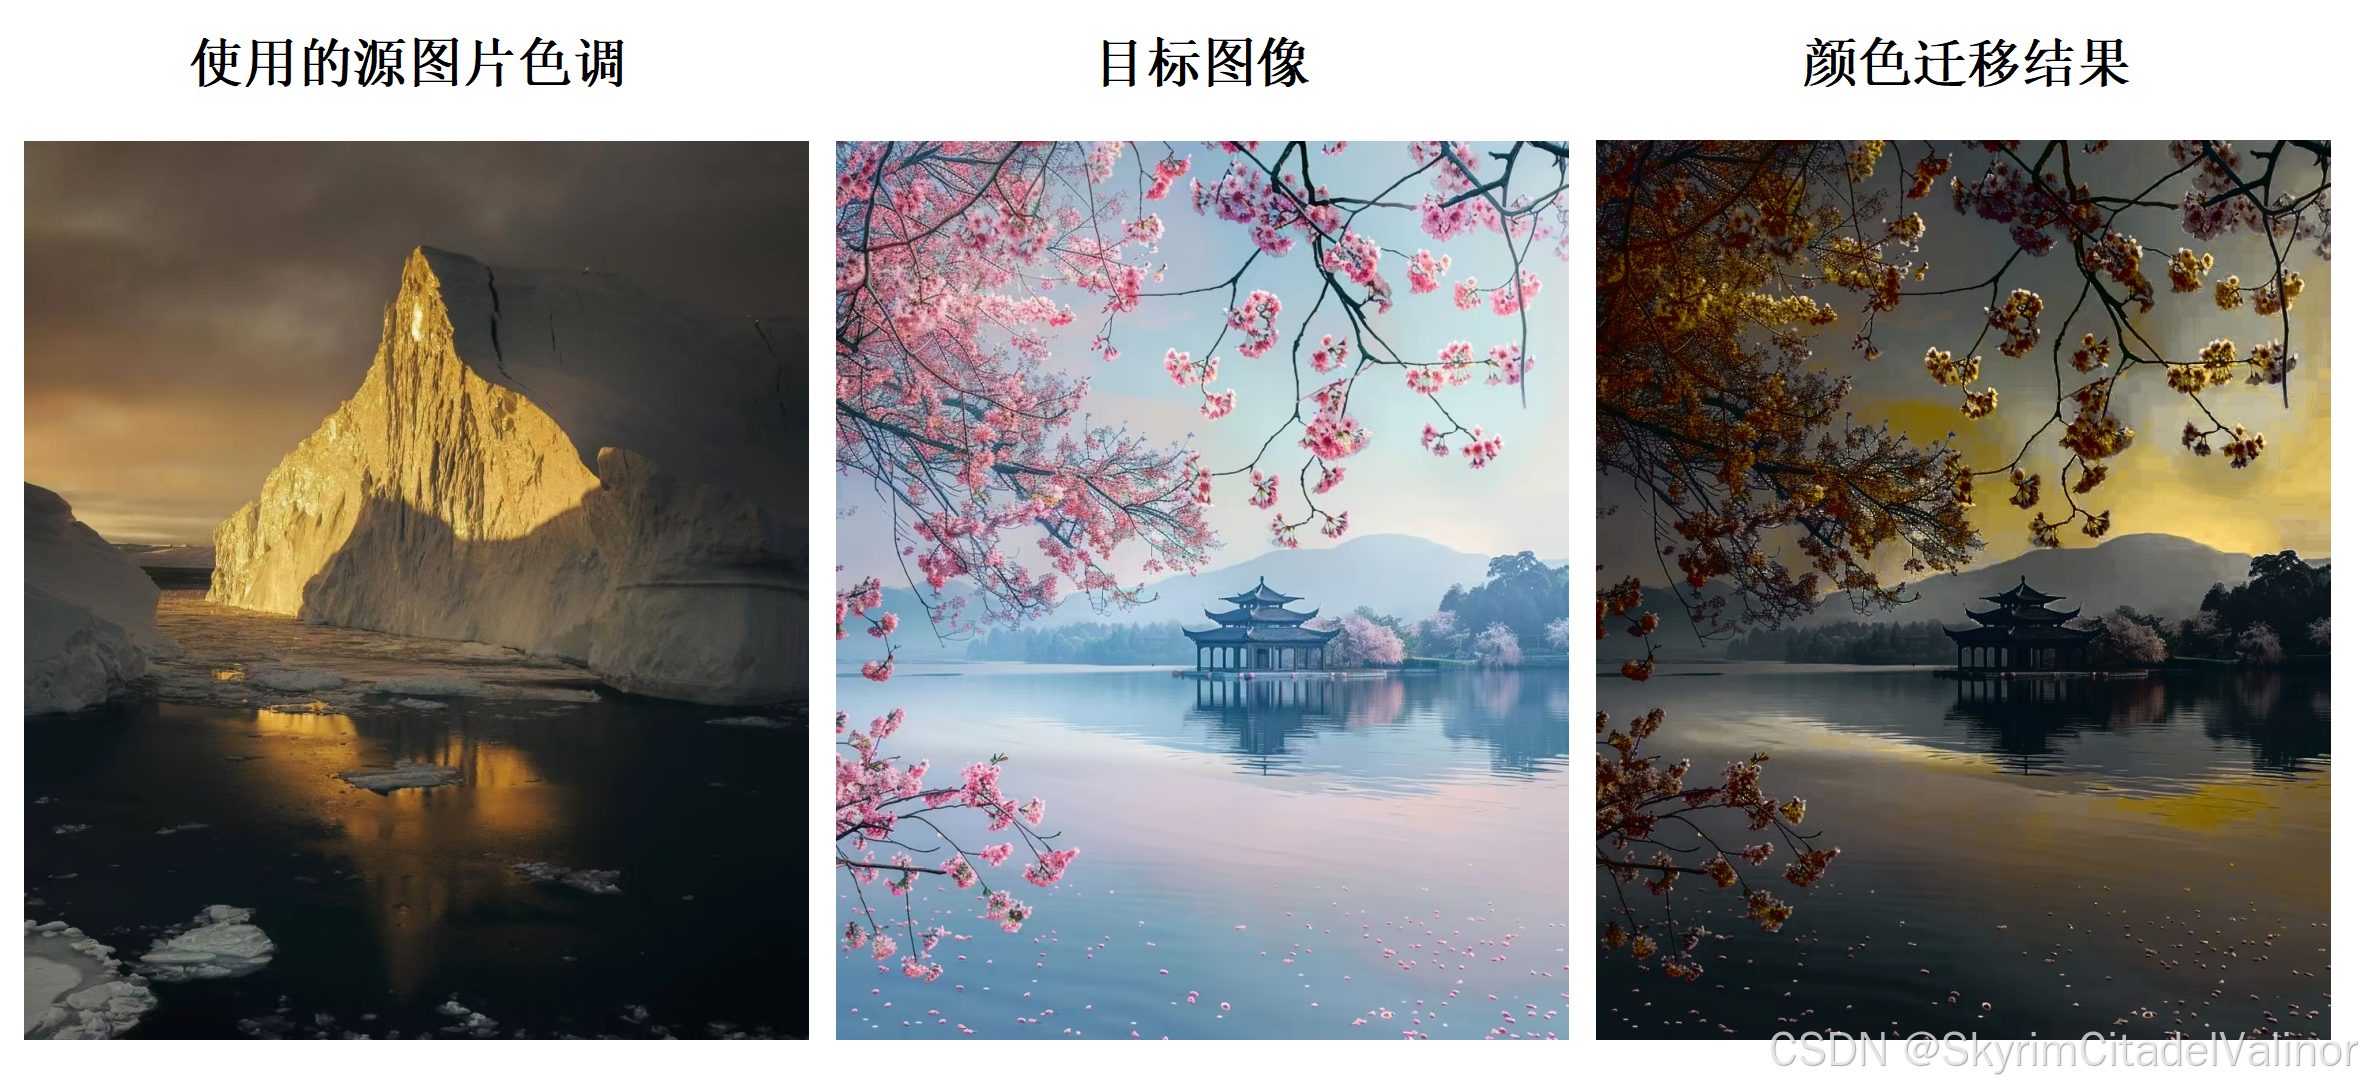
**颜色转移技术**
颜色转移是一种图像处理技术,它将一幅图像(源图像)的色彩特征转移到另一幅图像(目标图像)上。这种技术通过分析源图像和目标图像的颜色分布,然后应用某种算法(如颜色映射、颜色直方图匹配等)来改变目标图像的颜色,使其反映源图像的调色板和色调。颜色转移技术常用于图像美化、风格转换等场景。
好,以下是速成品,所以很简单,还有点拙劣。
看(参考)吧。
实践成果
Poisson Editing
方案文件目录:
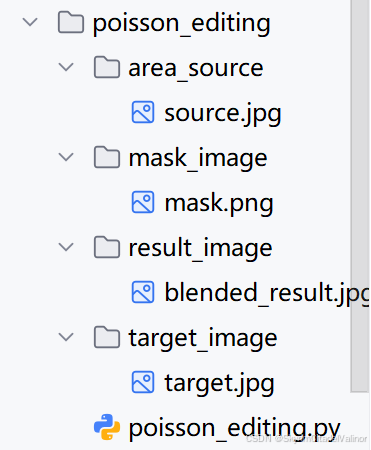
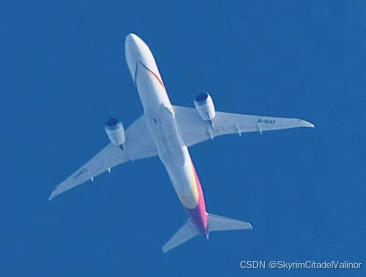
要融合的源图像:
要融合到的目标图像:

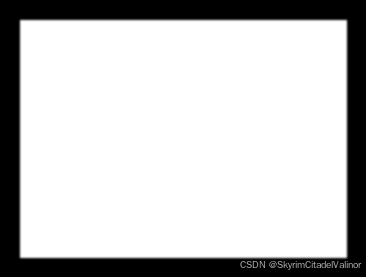
生成的掩码:
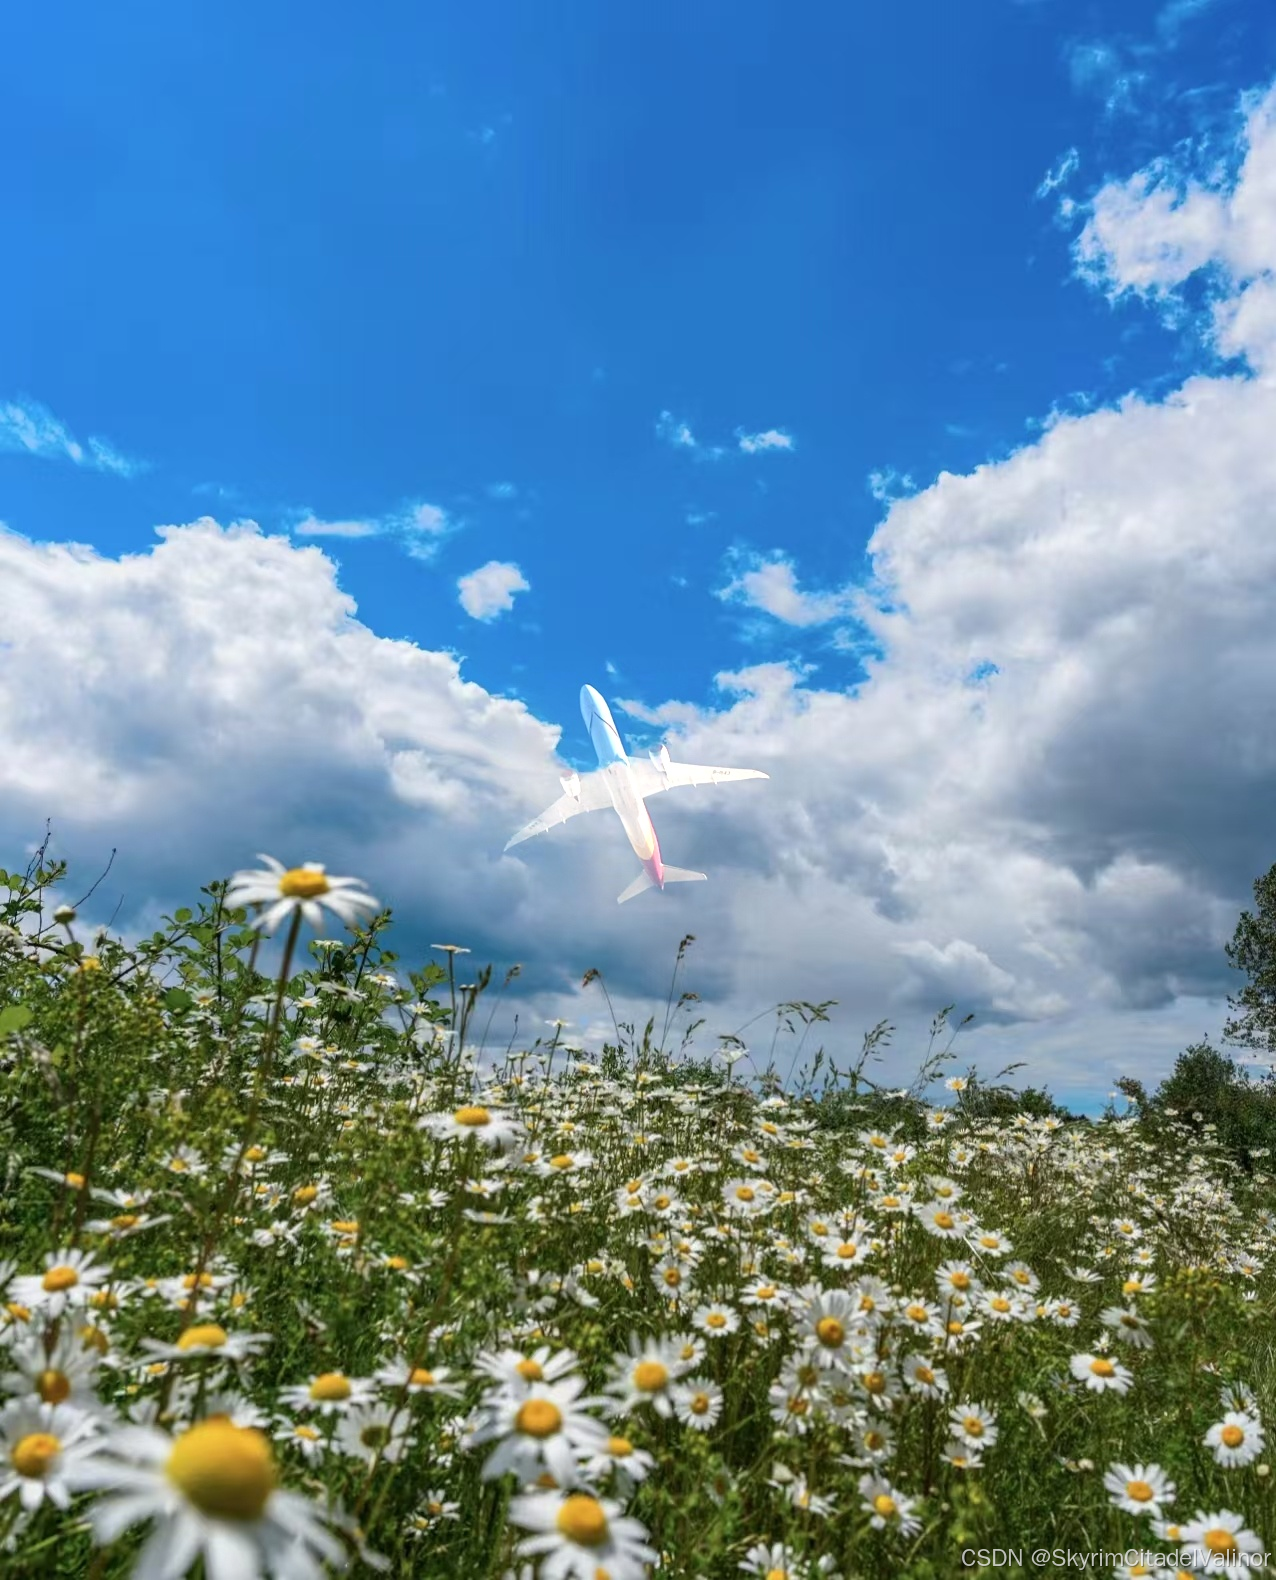
融合结果:
完整代码:
import cv2
import numpy as np
def create_mask(image_path, mask_path, top_left, bottom_right):
"""
为给定图像创建一个掩码,掩码中包含一个矩形区域
:param image_path: 要创建掩码的图像路径。
:param mask_path: 保存掩码图像的路径。
:param top_left: 矩形的左上角坐标 (x, y)。
:param bottom_right: 矩形的右下角坐标 (x, y)。
"""
# 加载图像
image = cv2.imread(image_path)
# 创建一个与图像相同尺寸的黑色掩码
mask = np.zeros(image.shape[:2], dtype="uint8")
# 在掩码上绘制白色矩形
cv2.rectangle(mask, top_left, bottom_right, 255, -1)
# 羽化掩码边缘
mask = cv2.GaussianBlur(mask, (5, 5), 0)
# 保存掩码
cv2.imwrite(mask_path, mask)
def poisson_blend(source_img, target_img, mask_img, center):
"""
执行泊松编辑,将源图像融合到目标图像中。
:param source_img: 要融合的源图像。
:param target_img: 要融合到的目标图像。
:param mask_img: 指示融合区域的掩码图像。
:param center: 在目标图像上放置源图像的中心点坐标。
:return: 融合后的图像。
"""
# 确保掩码是单通道8位图像
if mask_img.dtype != np.uint8:
mask_img = mask_img.astype(np.uint8)
# 确保掩码图像中至少有一个非零像素
if np.count_nonzero(mask_img) == 0:
raise ValueError("掩码图像中没有非零像素。")
# 确保源图像、目标图像和掩码图像的尺寸兼容
if source_img.shape[:2] != mask_img.shape:
source_img = cv2.resize(source_img, (mask_img.shape[1], mask_img.shape[0]))
# 确保中心点坐标在目标图像的范围内
if center[0] < 0 or center[0] >= target_img.shape[1] or center[1] < 0 or center[1] >= target_img.shape[0]:
raise ValueError("中心点坐标超出目标图像范围。")
# 执行泊松编辑
blended_img = cv2.seamlessClone(source_img, target_img, mask_img, center, cv2.MIXED_CLONE) # 还有NORMAL_CLONE、MONOCHROME_TRANSFER
return blended_img
# 图像路径
source_path = 'area_source/source.jpg'
target_path = 'target_image/target.jpg'
mask_path = 'mask_image/mask.png'
# 定义掩码的矩形区域
top_left = (20, 20)
bottom_right = (346, 257)
# 创建掩码
create_mask(source_path, mask_path, top_left, bottom_right)
# 加载图像
source_img = cv2.imread(source_path)
target_img = cv2.imread(target_path)
mask_img = cv2.imread(mask_path, cv2.IMREAD_GRAYSCALE)
# 确保源图像和掩码尺寸相同
source_img = cv2.resize(source_img, (mask_img.shape[1], mask_img.shape[0]))
# 定义在目标图像上放置源图像的中心点
center = (target_img.shape[1] // 2, target_img.shape[0] // 2)
# 执行泊松编辑
blended_img = poisson_blend(source_img, target_img, mask_img, center)
# 保存或显示结果
cv2.imwrite('result_image/blended_result.jpg', blended_img)
cv2.imshow('融合后的图像', blended_img)
cv2.waitKey(0)
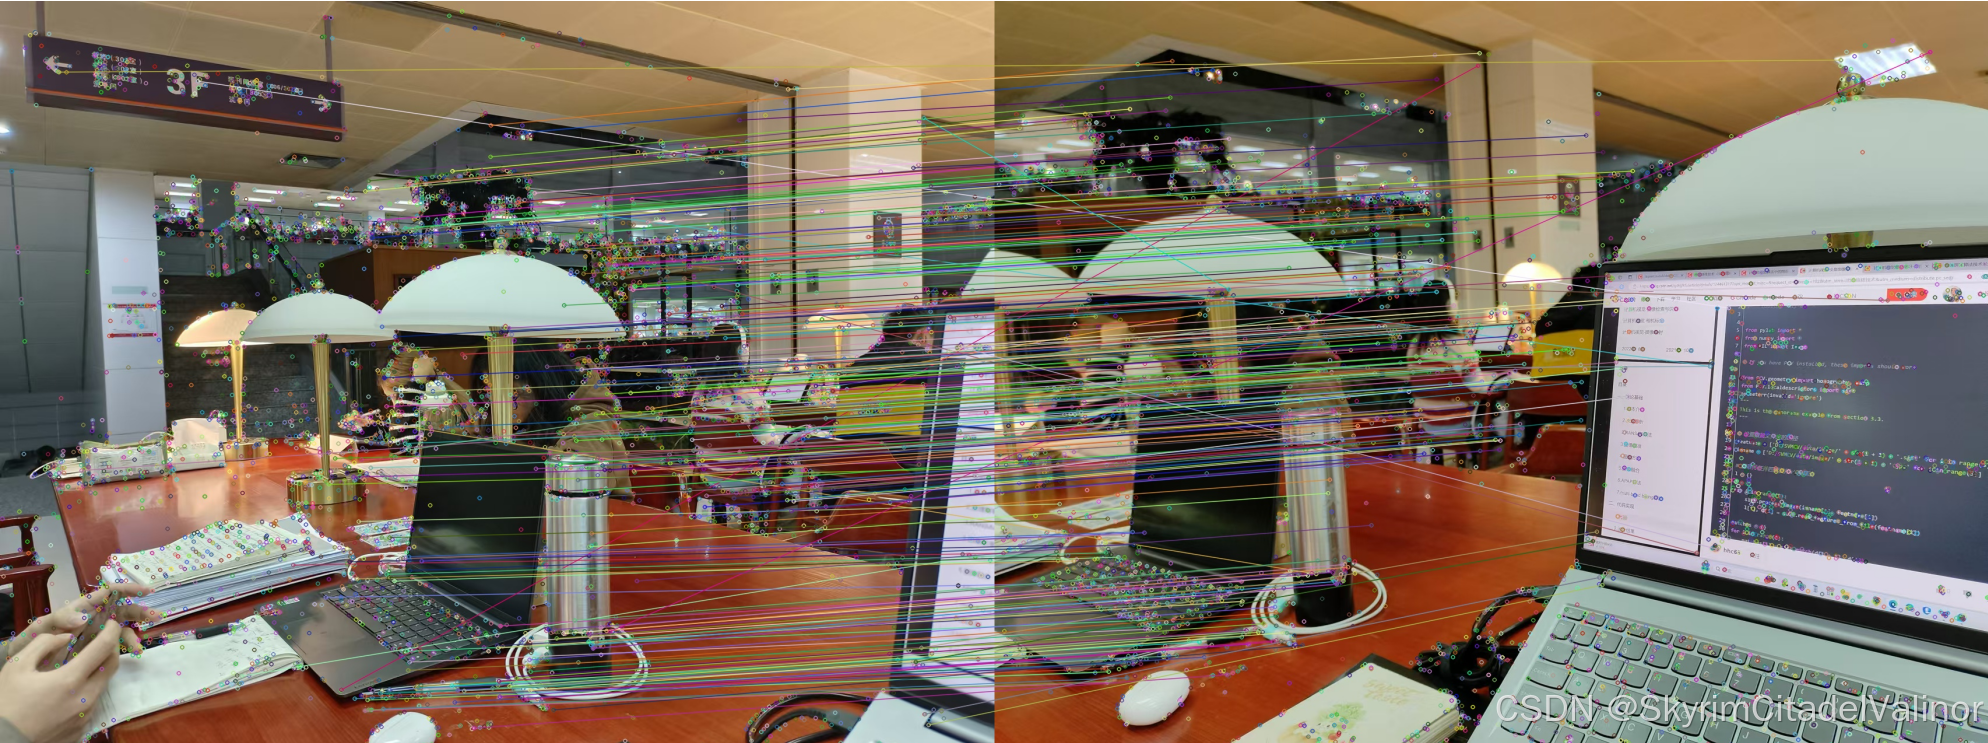
cv2.destroyAllWindows()Image Stitching
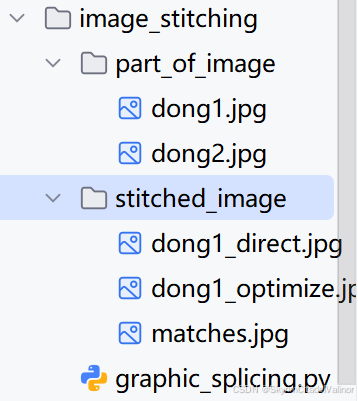
方案文件的目录:
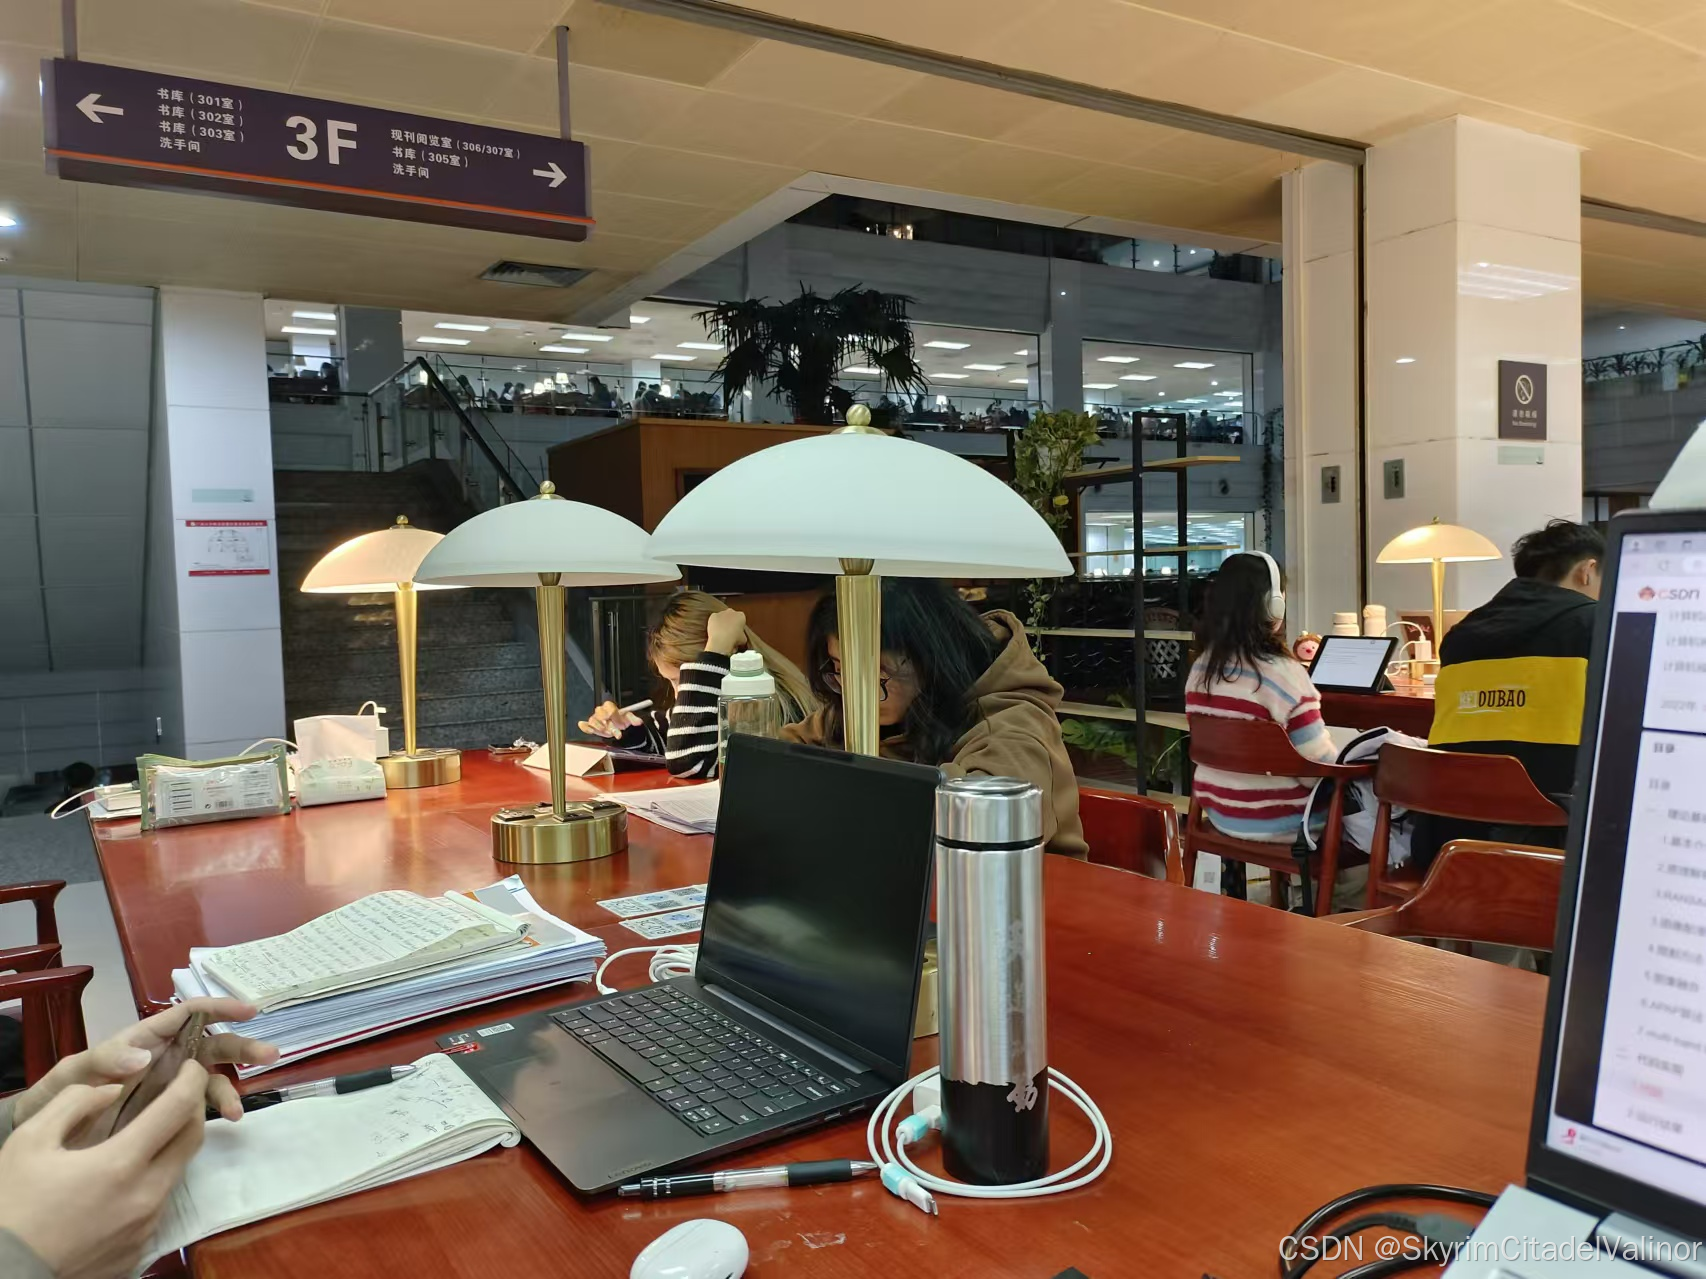
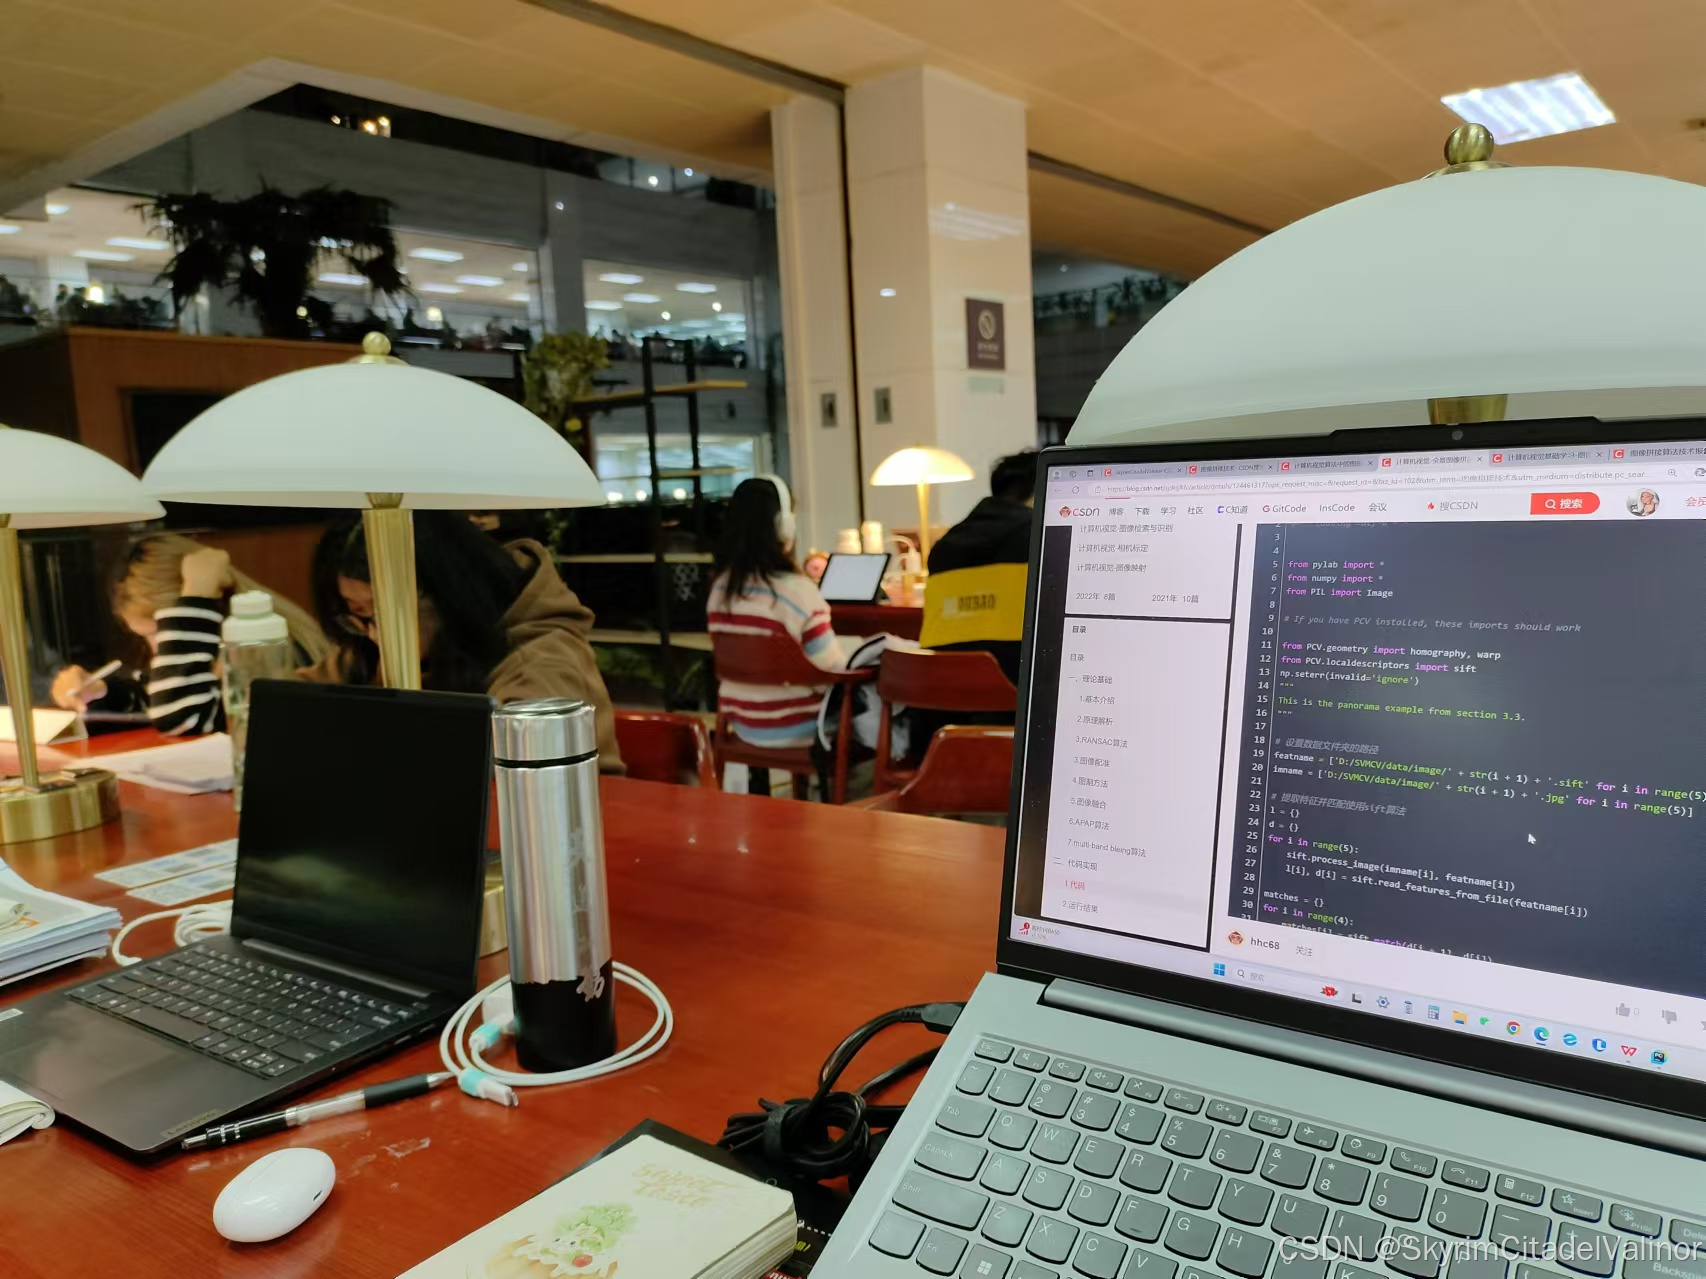
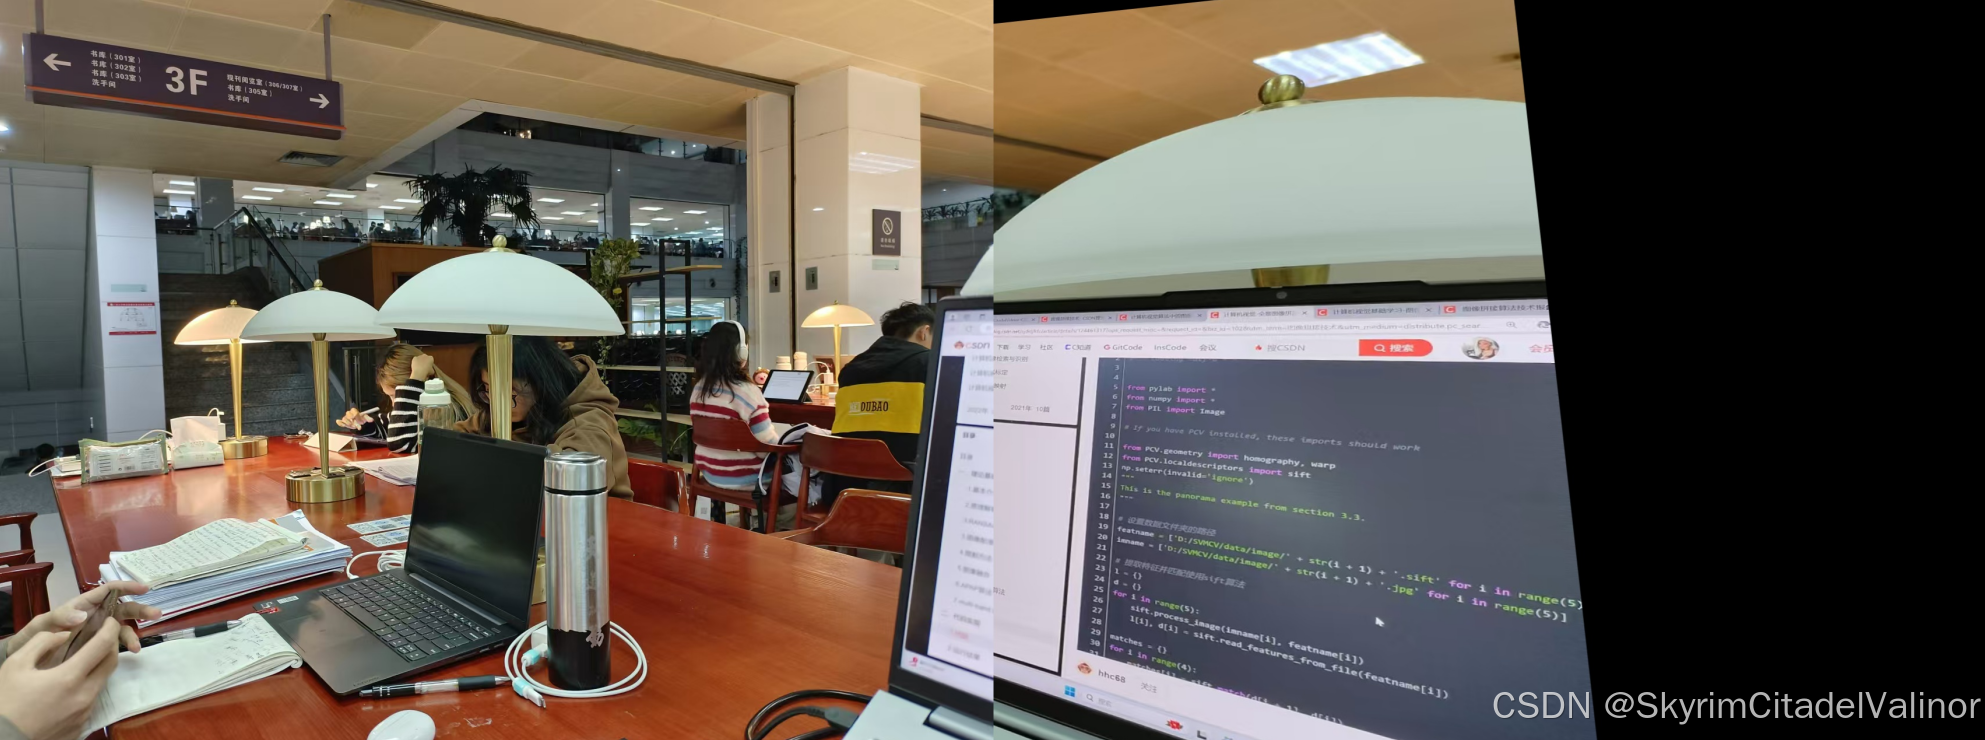
进行拼接图片:
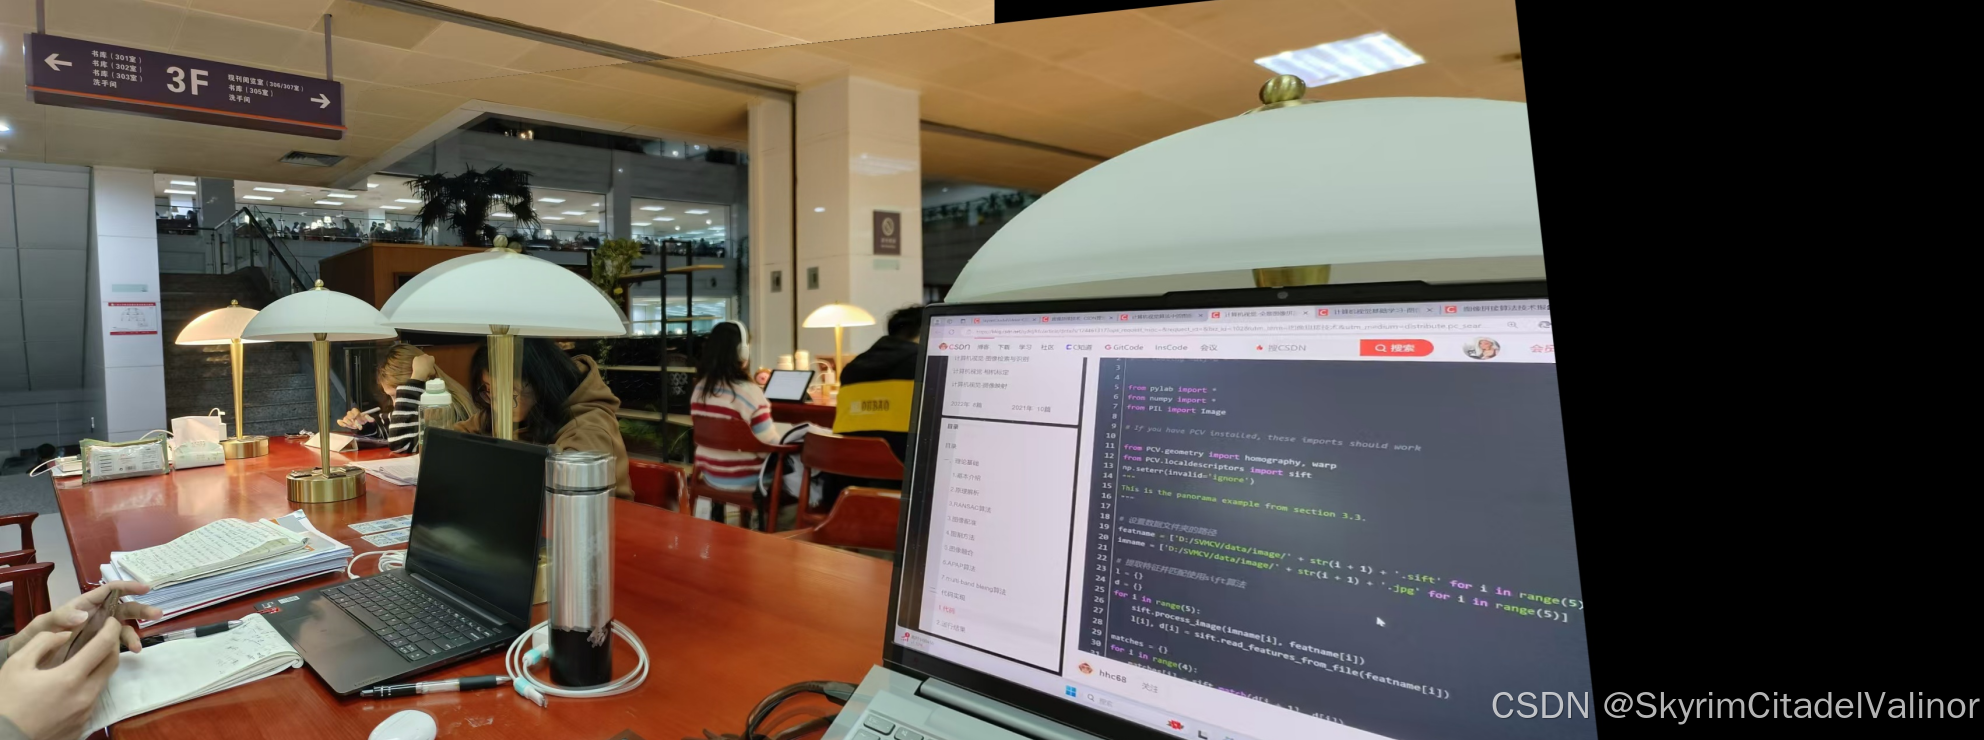
拼接结果:
完整代码:
import cv2 as cv
import numpy as np
import os
MIN = 10
def direct_stiching(warpImg, img1):
direct = warpImg.copy()
direct[0:img1.shape[0], 0:img1.shape[1]] = img1
return direct
def optimize_stiching(warpImg, img1):
# 重叠部分进行过渡处理。
rows, cols = img1.shape[:2]
left = 0 # 开始重叠的最左端
right = cols # 开始重叠的最右端,默认就是img1的最右端
for col in range(0, cols): # 找到重叠的最左端
if img1[:, col].any() and warpImg[:, col].any():
left = col
break
res = np.zeros([rows, cols, 3], np.uint8)
for row in range(0, rows):
for col in range(0, right):
# 如果左图没有像素点,就赋值为右图像素点
if not img1[row, col].any():
res[row, col] = warpImg[row, col]
# 如果右图没有像素点就赋值为左图像素点
elif not warpImg[row, col].any():
res[row, col] = img1[row, col]
# 如果都有像素点,就进行二者的权融合,alpha代表距离谁更近,谁的权重更大
else:
srcImgLen = float(abs(col - left))
testImgLen = float(abs(col - right))
alpha = srcImgLen / (srcImgLen + testImgLen)
res[row, col] = np.clip(img1[row, col] * (1 - alpha) + warpImg[row, col] * (alpha), 0, 255)
warpImg[0:img1.shape[0], 0:img1.shape[1]] = res
return warpImg
if __name__ == '__main__':
pic1 = "part_of_image/dong1.jpg"
pic2 = "part_of_image/dong2.jpg"
img1 = cv.imread(pic1)
img2 = cv.imread(pic2)
# cv.imshow("Image1", img1)
# cv.imshow("Image2", img2)
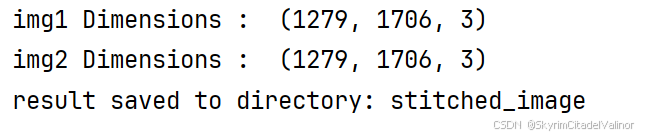
print('img1 Dimensions : ', img1.shape)
print('img2 Dimensions : ', img2.shape)
# sift提取特征
sift = cv.SIFT_create(nfeatures=0, nOctaveLayers=3, contrastThreshold=0.04, edgeThreshold=10, sigma=1.6)
kp1, describe1 = sift.detectAndCompute(img1, None)
kp2, describe2 = sift.detectAndCompute(img2, None)
# FLANN 进行特征点匹配
FLANN_INDEX_KDTREE = 1
indexParams = dict(algorithm=FLANN_INDEX_KDTREE, trees=4)
searchParams = dict(checks=32)
flann = cv.FlannBasedMatcher(indexParams, searchParams)
match = flann.knnMatch(describe1, describe2, k=2)
good = []
for i, (m, n) in enumerate(match):
if m.distance < 0.6 * n.distance:
good.append(m)
result = cv.drawMatches(img1, kp1, img2, kp2, good, None)
#cv.imshow("matches", result)
# 指定保存目录
save_dir = "stitched_image"
if not os.path.exists(save_dir):
os.makedirs(save_dir)
# 保存matches结果图
matches_filename = os.path.join(save_dir, "matches.jpg")
cv.imwrite(matches_filename, result)
# RANSAC:findhomography
if len(good) > MIN:
src_pts = np.float32([kp1[m.queryIdx].pt for m in good]).reshape(-1, 1, 2)
ano_pts = np.float32([kp2[m.trainIdx].pt for m in good]).reshape(-1, 1, 2)
M, mask = cv.findHomography(ano_pts, src_pts, cv.RANSAC, 5.0)
warpImg = cv.warpPerspective(img2, M, (
img1.shape[1] + img2.shape[1], max(img2.shape[0], img1.shape[0]))) # 把img2变到img1的坐标系下,放在一张大图上。
direct = direct_stiching(warpImg, img1) # 直接将左图覆盖warpImg的左区域
optimize = optimize_stiching(warpImg, img1) # 左图和右图的重叠区域进行加权融合
base_filename = os.path.join(save_dir, os.path.splitext(os.path.basename(pic1))[0])
cv.imwrite(base_filename + '_direct.jpg', direct)
cv.imwrite(base_filename + '_optimize.jpg', optimize)
print("result saved to directory:", save_dir)
cv.waitKey()
cv.destroyAllWindows()
else:
print("not enough matches!")Color Transfer
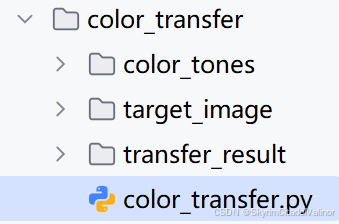
方案文件的目录:
运行结果示例:

完整代码:
import cv2 as cv
import numpy as np

def match_histograms(source, template):
    """
    将源图像的颜色直方图匹配到模板图像的颜色直方图。
    """
    # 将图像转换到LAB颜色空间
    source = cv.cvtColor(source, cv.COLOR_BGR2LAB)
    template = cv.cvtColor(template, cv.COLOR_BGR2LAB)

    # 计算源图像和模板图像的直方图
    (l, a, b) = cv.split(source)
    (tl, ta, tb) = cv.split(template)
    source_hist = [cv.calcHist([channel], [0], None, [256], [0, 256]) for channel in [l, a, b]]
    template_hist = [cv.calcHist([channel], [0], None, [256], [0, 256]) for channel in [tl, ta, tb]]

    # 计算累积分布函数
    source_cdf = [np.cumsum(hist) / hist.sum() for hist in source_hist]
    template_cdf = [np.cumsum(hist) / hist.sum() for hist in template_hist]

    # 创建映射表
    mapped_values = [np.interp(source_cdf[i], template_cdf[i], np.arange(256)) for i in range(3)]

    # 应用映射表
    (l, a, b) = [cv.LUT(channel, mapped_values[i].astype("uint8")) for i, channel in enumerate([l, a, b])]

    # 合并通道
    matched = cv.merge([l, a, b])
    matched = cv.cvtColor(matched, cv.COLOR_LAB2BGR)
    return matched

def color_transfer(source_path, target_path, output_path):
    # 读取源图像和目标图像
    source = cv.imread(source_path)
    target = cv.imread(target_path)

    # 检查图像是否正确读取
    if source is None or target is None:
        print("Error: Could not read one or both images.")
        return

    # 进行颜色直方图匹配
    matched_target = match_histograms(target, source)

    # 保存结果
    cv.imwrite(output_path, matched_target)

if __name__ == "__main__":
    source_path = 'color_tones/source_image.jpg'  # 源图像路径
    target_path = 'target_image/target_image.jpg'  # 目标图像路径
    output_path = 'transfer_result/color_transferred_image.jpg'  # 输出图像路径

    # 确保输出目录存在
    import os
    os.makedirs(os.path.dirname(output_path), exist_ok=True)

    color_transfer(source_path, target_path, output_path)
    print(f"Color transferred image saved to {output_path}")
火山引擎开发者社区是火山引擎打造的AI技术生态平台,聚焦Agent与大模型开发,提供豆包系列模型(图像/视频/视觉)、智能分析与会话工具,并配套评测集、动手实验室及行业案例库。社区通过技术沙龙、挑战赛等活动促进开发者成长,新用户可领50万Tokens权益,助力构建智能应用。
更多推荐
 4
4 0
0- 0


 已为社区贡献3条内容

所有评论(0)