Aduino UNO Q 金砖机制——从建设家庭气象站学会编辑项目
本文介绍了一个基于Arduino Q板搭建家庭气象站的方案。项目通过QWIIC接口连接SHT45温湿度传感器采集数据,利用Q板内置的数据库存储数据,并通过Web界面实时展示24小时内的环境数据。系统硬件包括Arduino UNO Q板、SHT45模块等,软件采用Arduino AppLab开发环境。实现过程包括传感器数据采集、通过Bridge工具传输到Linux端、利用dbstorage_tsst
本示例是建设家庭气象站,在Q板的QWIIC接口连接SHT45高精度温湿度模块测量温湿度,并将其流式传输到 Web 界面。
这些数据存储在Q板上,可以查看最近 24 小时内的数据。
项目中使用的金砖(Bricks)
Bricks是Q板自定义的概念,笔者认为是在容器技术上的创新,包括Arduino App Lab中的很多按钮就是把docker命令图形化,方便小伙伴们使用。
1,dbstorage_tsstore - 使得能够保存、读取并管理基于时间戳的数据。
2,web_ui - 用来在板上托管 Web 服务器,提供 HTML、CSS 与 JavaScript 文件。
硬件与软件需求
一,硬件
Arduino UNO Q
USB‑C电缆
QWIIC接口的SHT45模块
Qwiic 电缆
二,软件
Arduino App Lab
如何使用该示例
使用 USB‑C电缆将板连接到计算机。
用 Qwiic 电缆将SHT45模块连接到板上。
1,复制home climate monitoring and storageapp到工作区
打开Arduino App Lab在Examples里面找到home climate monitoring and storageapp复制到my app
2,将项目下载到PC机的文件夹中,在文件夹内按住shift+右键打开powershell,输入:
scp -rp arduino@用户名.local:/home/arduino/ArduinoApps/home-climate-monitoring-and-storage ./
3,项目中sketch.Yaml文件修改如下:
profiles:
  default:
    fqbn: arduino:zephyr:unoq
    platforms:
      - platform: arduino:zephyr
    libraries:
      - MsgPack (0.4.2)
      - DebugLog (0.8.4)
      - ArxContainer (0.7.0)
      - ArxTypeTraits (0.3.1)
      - ArtronShop_SHT45 (1.0.0)
      - Arduino_HS300x (1.0.0)
      - Arduino_LPS22HB (1.0.2)
      - Arduino_LSM6DSOX (1.1.2)
      - STM32duino VL53L4CD (1.0.5)
      - STM32duino VL53L4ED (1.0.1)
default_profile: default
4,项目中sketch.ino文件修改如下:
#include <Arduino.h>
#include <Wire.h>
#include <ArtronShop_SHT45.h>
#include <Arduino_RouterBridge.h>

// Create object instance
ArtronShop_SHT45 sht45(&Wire1, 0x44);

unsigned long previousMillis = 0; 	// Stores last time values were updated
const long interval = 1000; 		//Every second

void setup() {
  Bridge.begin();
  Wire1.begin();
}

void loop() {
  unsigned long currentMillis = millis(); // Get the current time
  if (currentMillis - previousMillis >= interval) {
    // Save the last time you updated the values
    previousMillis = currentMillis;
    if (sht45.measure()) {
    float t = sht45.temperature();
    float h = sht45.humidity();

    // Read temperature in Celsius from the sensor
    float celsius = t;

    // Read humidity percentage from the sensor
    float humidity = h;

    Bridge.notify("record_sensor_samples", celsius, humidity);
  }
 }
}
5,将项目上传到Q板上去,打开powershell,输入:
scp -rp "home-climate-monitoring-and-storage" arduino@用户名.local:/home/arduino/ArduinoApps/
6,Q板如果提示要系统升级,就使用命令行升级比较快捷。此外该示例需要时间,又要考虑给Q板校时与NTP同步的操作。因此在Arduino App Lab右下角开启终端。然后输入:
#升级软件
sudo apt update
sudo apt upgrade

#设置为东八时区
sudo timedatectl set-timezone Asia/Shanghai
#ntp同步校时
sudo timedatectl set-ntp true
7,点击右上角的 “RUN” 按钮启动 App,等待 App 启动完成。
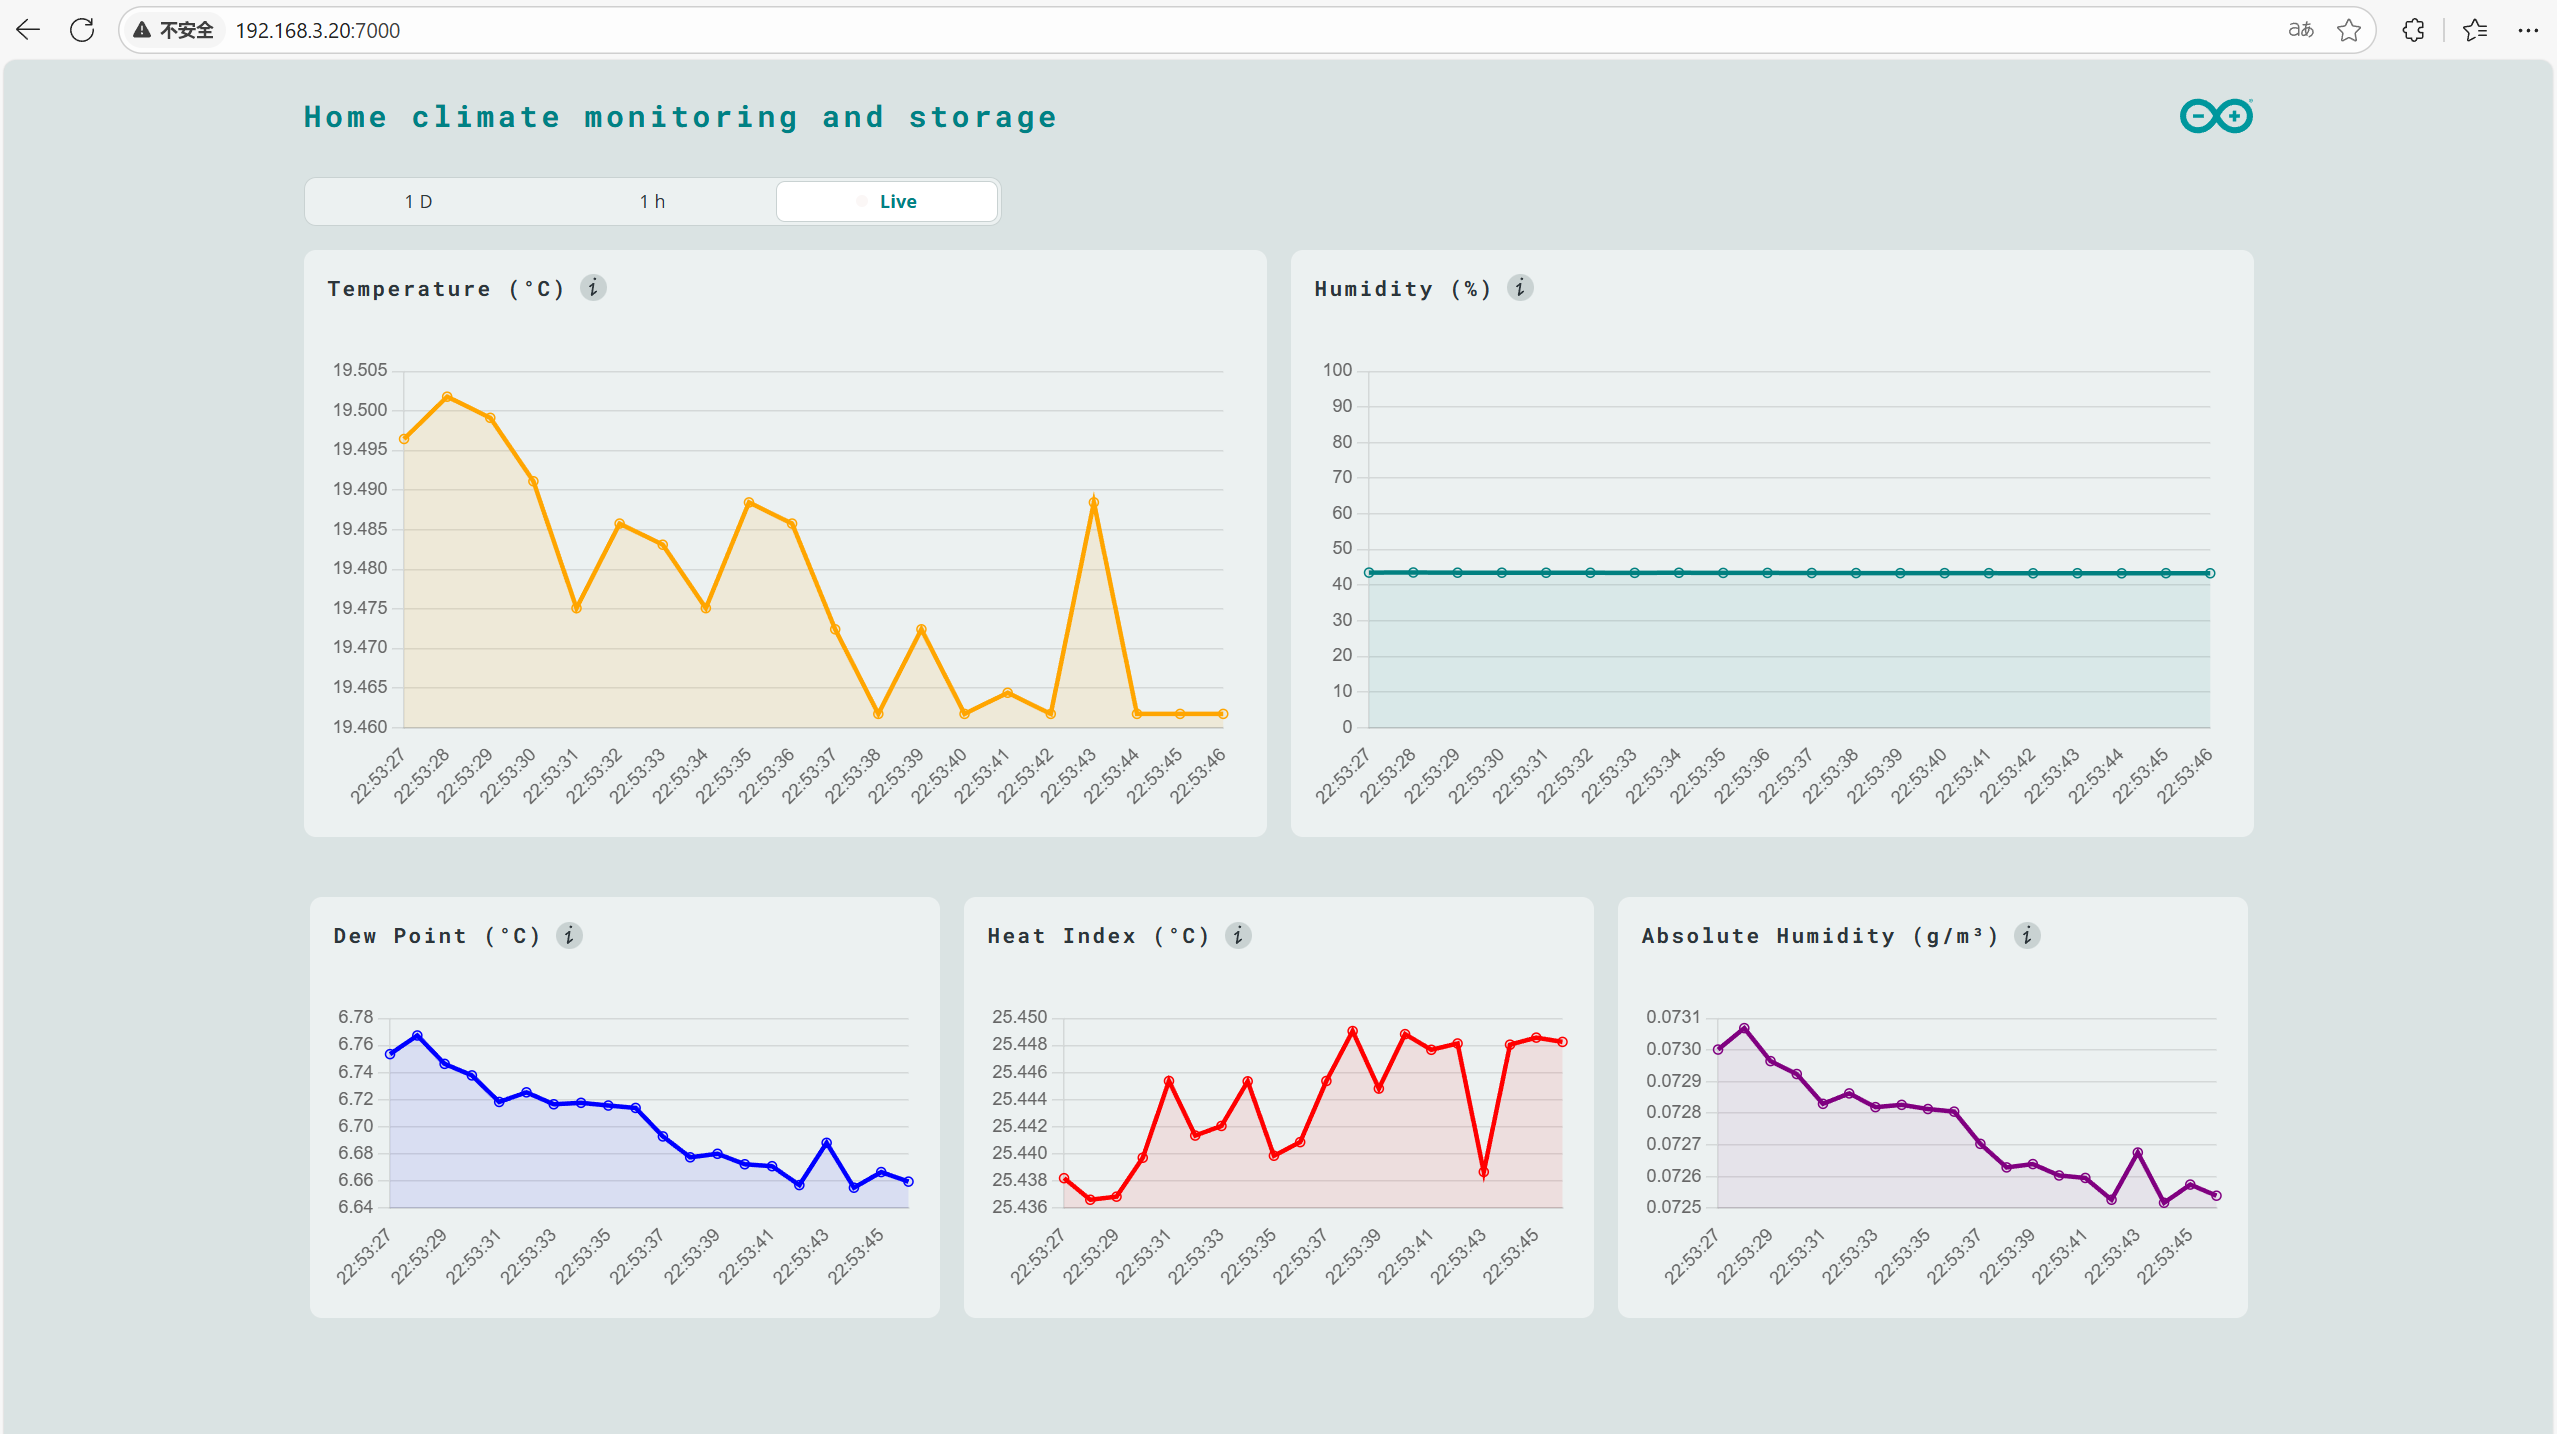
8,打开浏览器访问 <UNO-Q-IP-ADDRESS>:7000(也可能会自动打开)。
实时查看 家庭气象站的数据!
工作原理
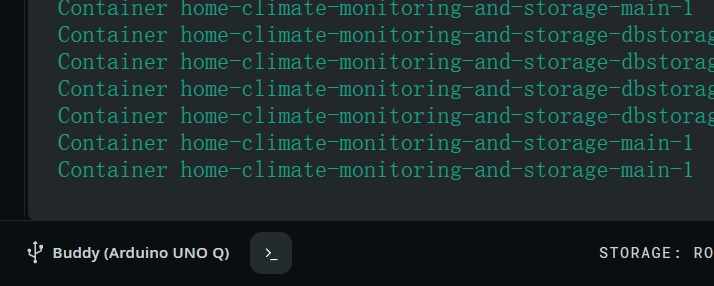
此示例使用 dbstorage_tsstore 砖块在板上存储带时间戳的数据,使用 web_ui 砖块将数据显示在网页上。
数据从连接到 UNO Q Qwiic 接口的 SHT45收集,并通过 Bridge 工具发送至 Linux 侧。
随着数据被存储,Web 服务器可以访问这些数据并以酷炫图表呈现,还可查看最多 24 小时前的数据。
理解代码
家庭气候监测示例在 Python 侧稍显高级,因为它包含:
用于存储环境数据的数据库
对接收到的数据进行计算(例如:露点、热指数与绝对湿度)
一个端点,使 Web 服务器能够通过 HTTP 获取最新数据。
1,Linux (Python) 侧
main.py 包含一些高级函数,负责录制、存储和显示数据。
Bridge.provide("record_sensor_samples", record_sensor_samples) - 从微控制器接收数据。
def record_sensor_samples(celsius: float, humidity: float): - 将数据使用 dbstorage_tsstore 砖块保存,并执行一系列计算以获取绝对湿度等信息。
def on_get_samples(resource: str, start: str, aggr_window: str): - 此函数定义了一个 API 端点,允许我们从数据库中检索已存储的传感器数据。
ui.expose_api("GET", "/get_samples/{resource}/{start}/{aggr_window}", on_get_samples) - 暴露该端点,使其可被 web_ui 砖块使用。这样 Web 服务器就能拉取最新数据以及历史数据。
为更好地理解 Python 应用,查看包含详细注释的 main.py 文件。
2,微控制器(Sketch)侧
微控制器侧相对容易理解,大致有三件事在发生:
float celsius =sht45.getTemperature(); - 从 sht45记录 温度。
float humidity =sht45.getHumidity(); - 从 sht45 记录 湿度。
Bridge.notify("record_sensor_samples", celsius, humidity); - 使用 Bridge 工具将数据发送至 Python 应用。

火山引擎开发者社区是火山引擎打造的AI技术生态平台,聚焦Agent与大模型开发,提供豆包系列模型(图像/视频/视觉)、智能分析与会话工具,并配套评测集、动手实验室及行业案例库。社区通过技术沙龙、挑战赛等活动促进开发者成长,新用户可领50万Tokens权益,助力构建智能应用。
更多推荐
 15
15 0
0- 0


 已为社区贡献2条内容

所有评论(0)