使用Python调用ComfyUI API实现图像生成
我们只需要请求参数中的prompt字段。这里相当于每次请求使用的工作流。在网页端中,选择要运行的工作流,按下F12,运行一次,抓取请求信息。通过Python代码,可以实现批量,自动化等操作,更灵活了。注意,代码中的请求地址和端口要和你ComfyUI保持一致。在设置的服务器配置里查看网址和监听的端口。浏览器访问服务地址。
·
关键词: ComfyUI API, Stable Diffusion, 图像生成, WebSocket, Python自动化
目录
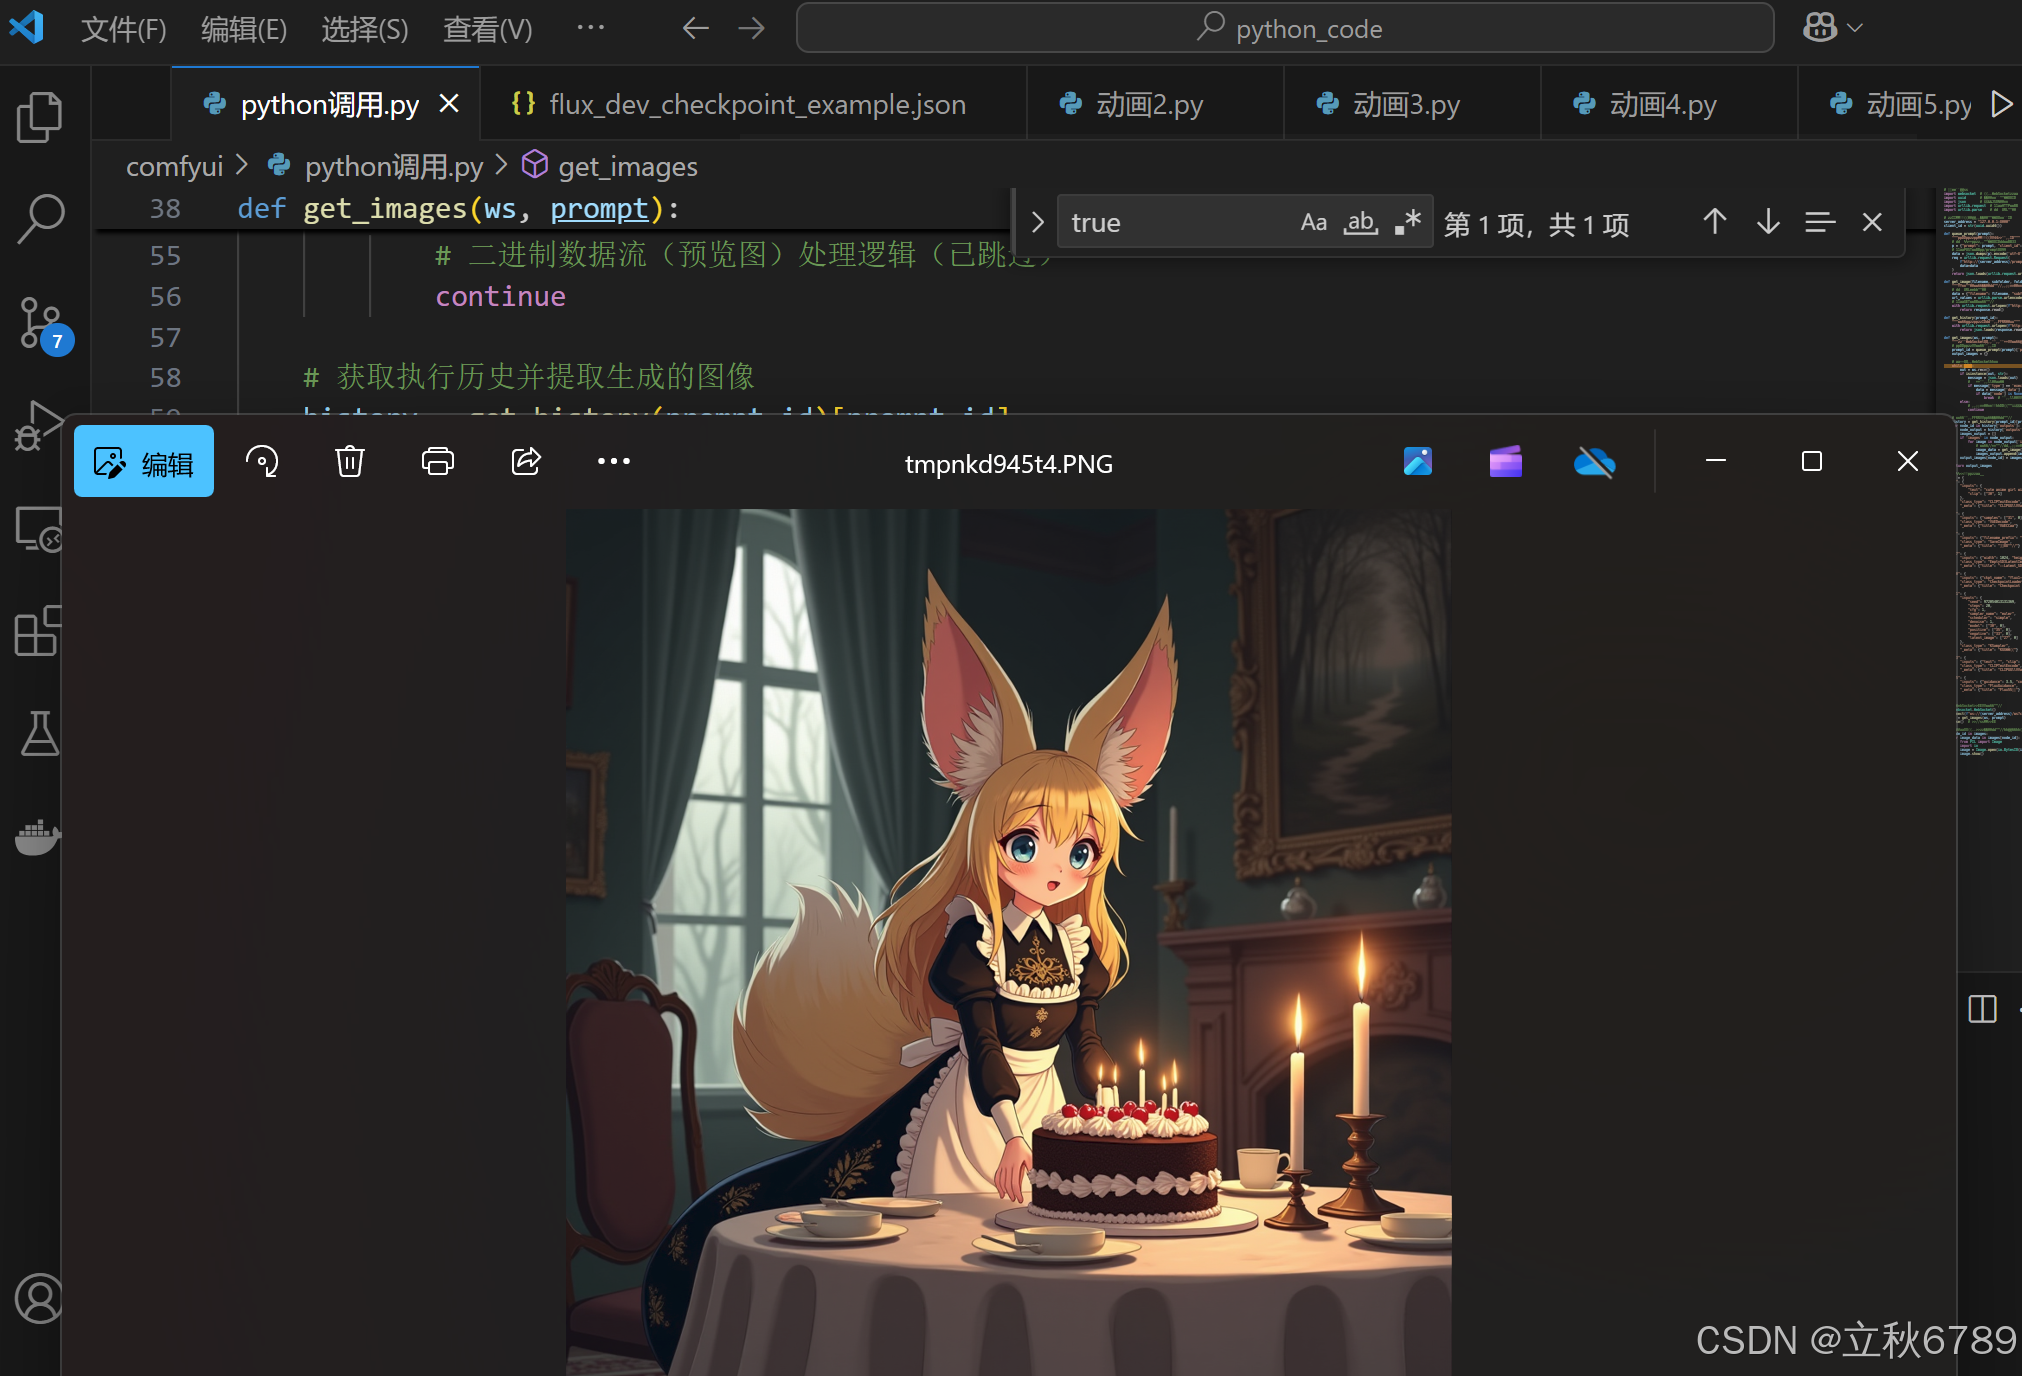
1、执行效果
2、环境准备
2.1 安装依赖库
确保已安装以下Python库:
pip install websocket-client uuid Pillow- websocket-client: 用于与ComfyUI服务器建立WebSocket长连接
- uuid: 生成唯一客户端标识符
- Pillow: 图像处理库(用于显示生成的图片)
2.2 启动ComfyUI服务器
启动ComfyUI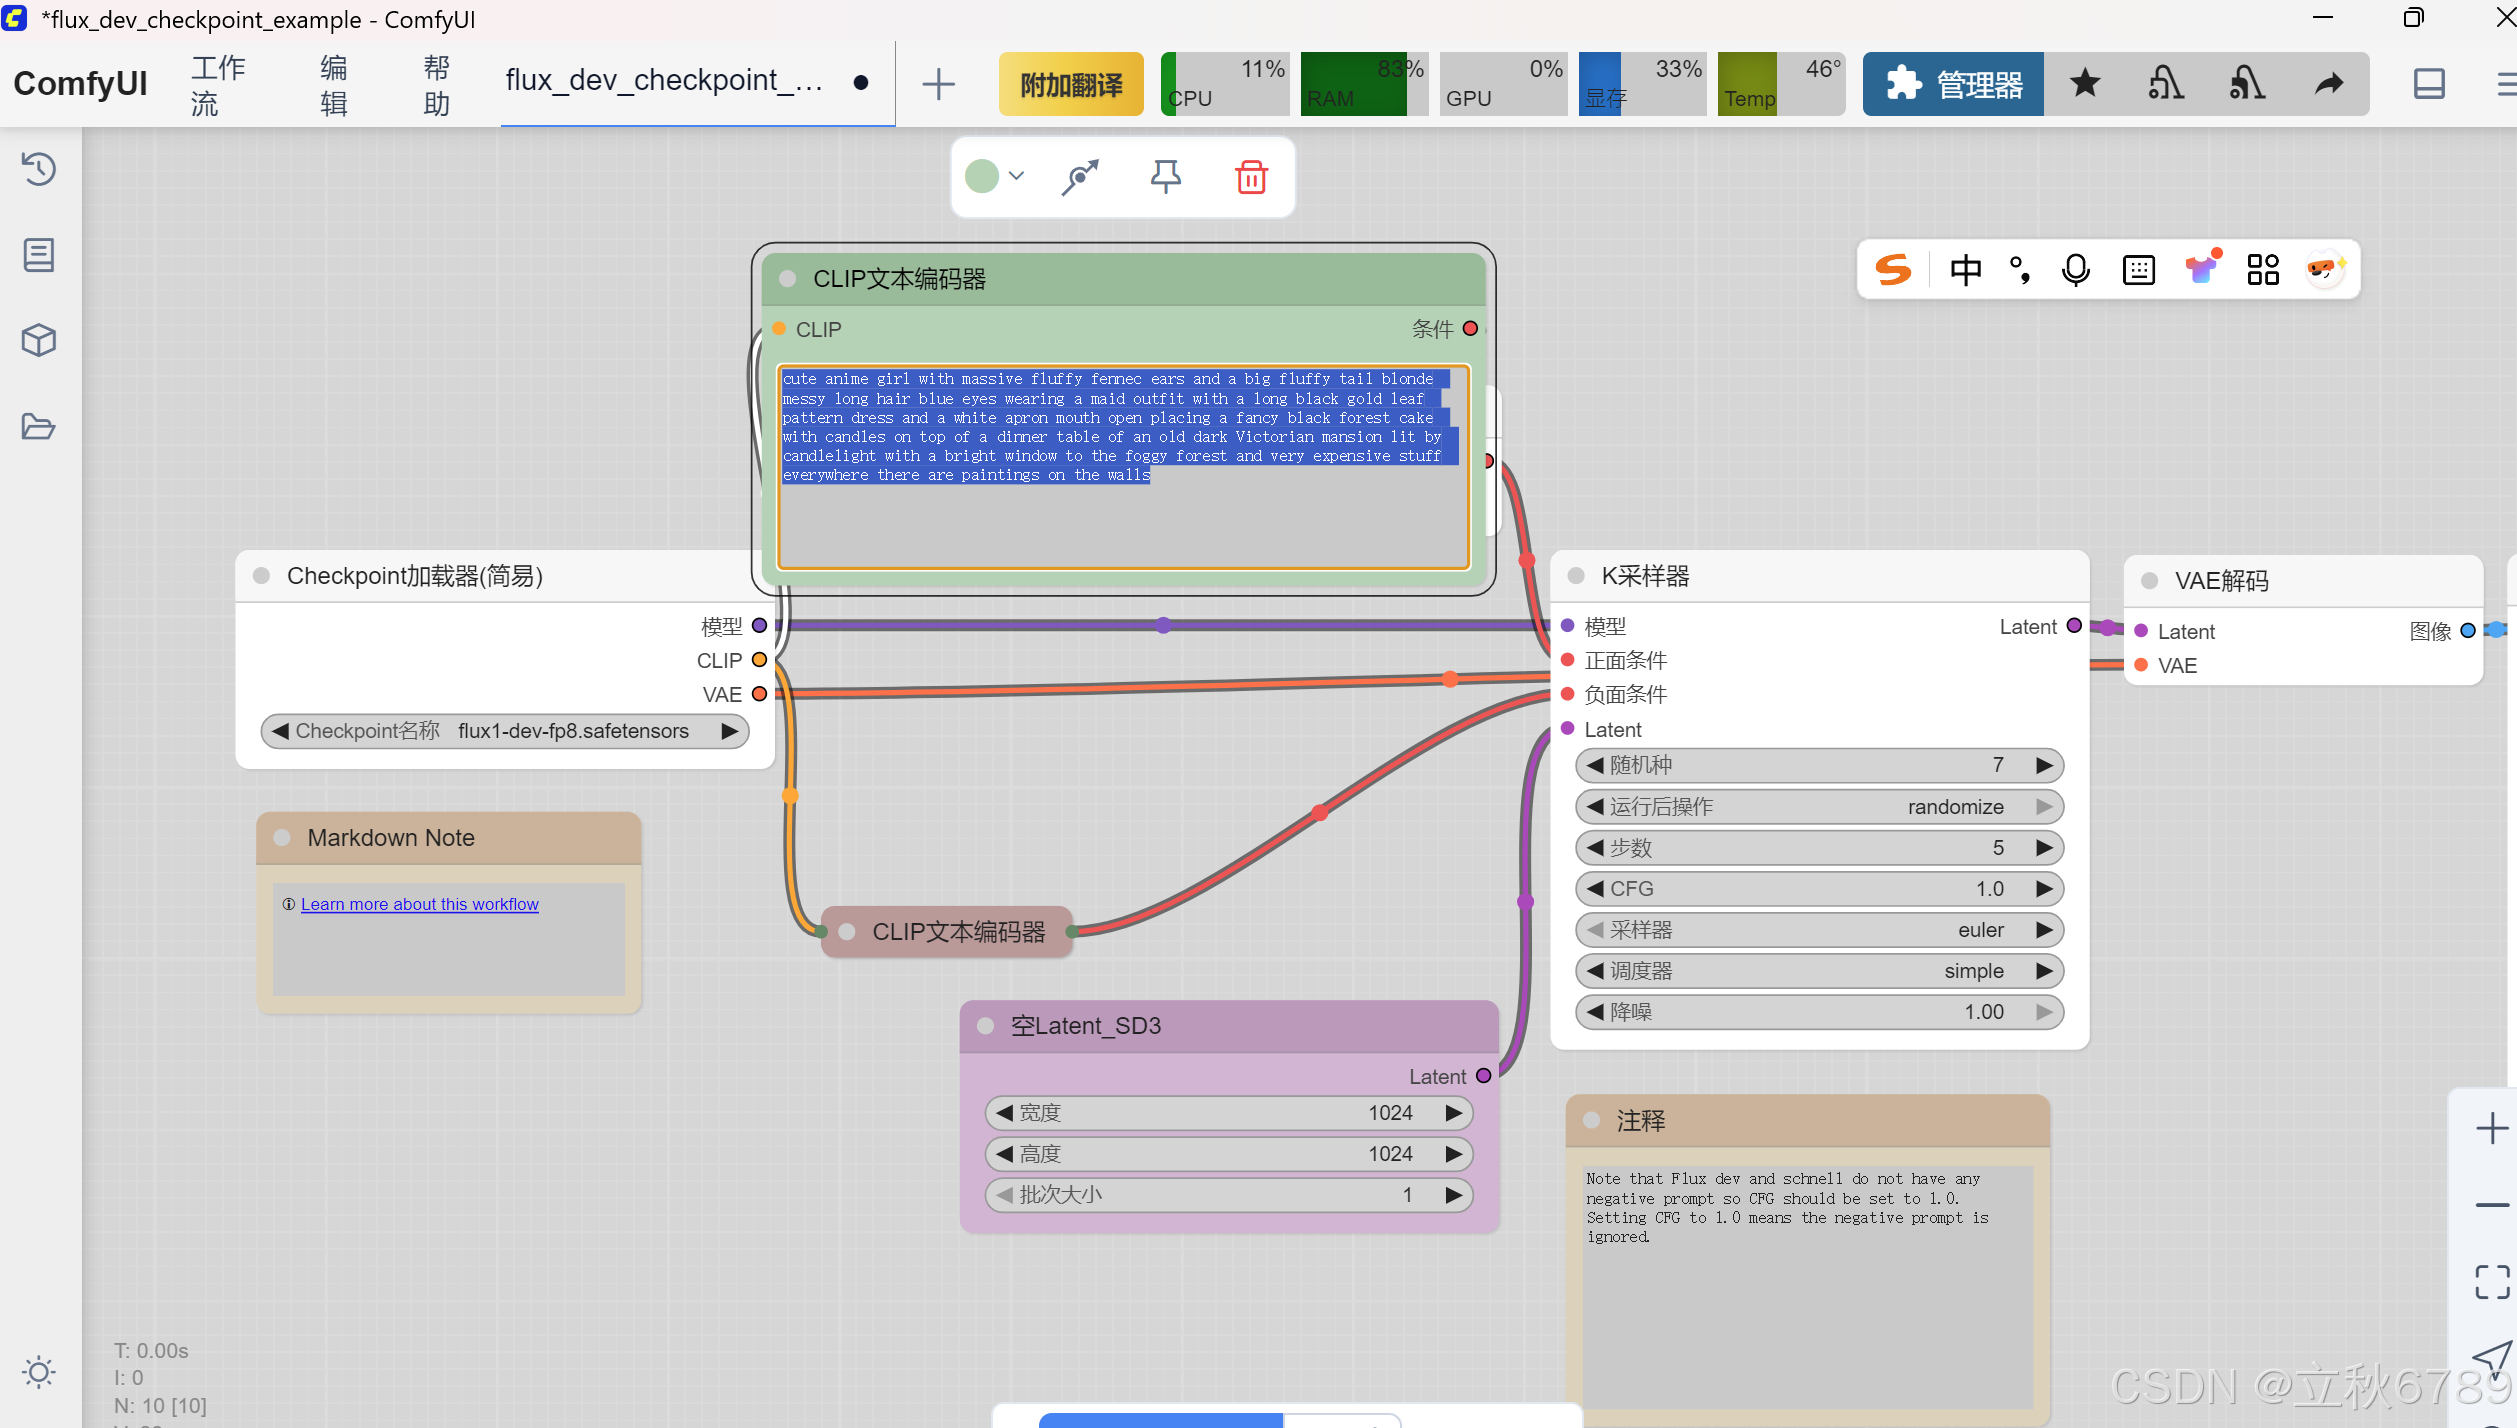
在设置的服务器配置里查看网址和监听的端口。
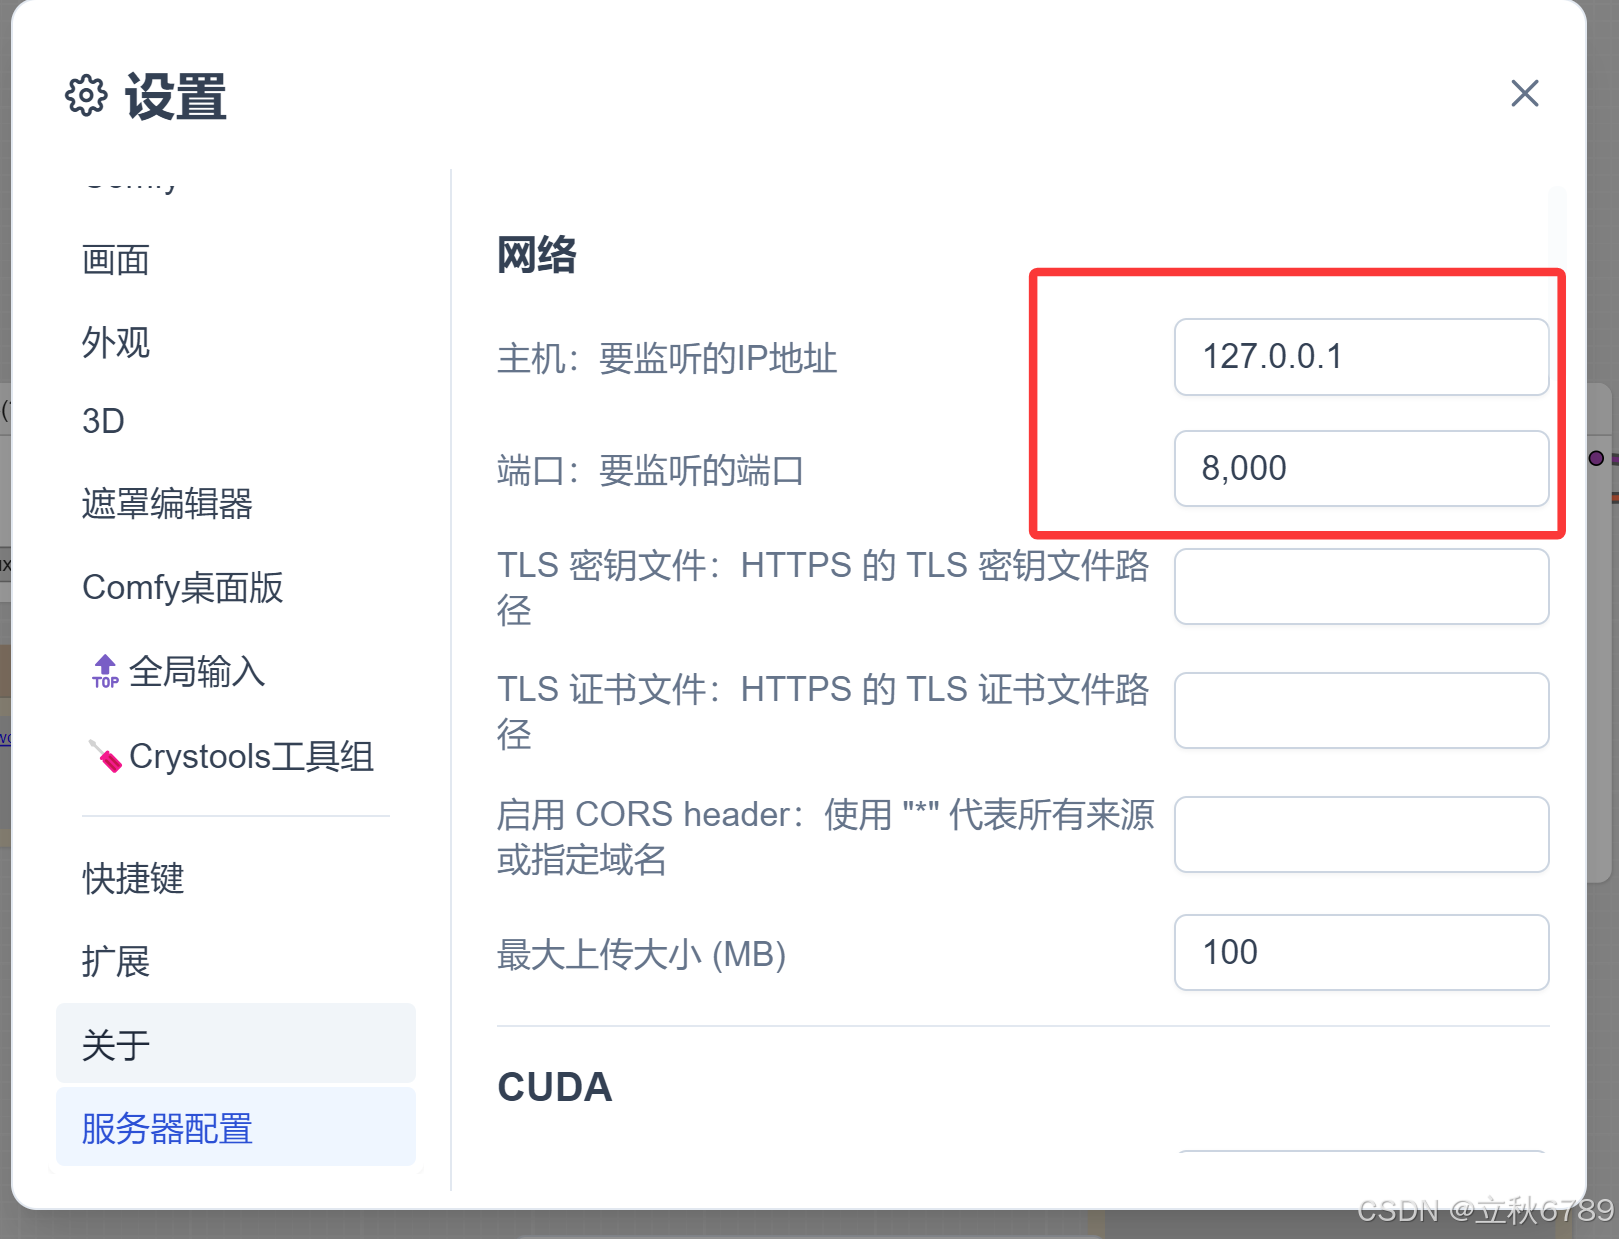
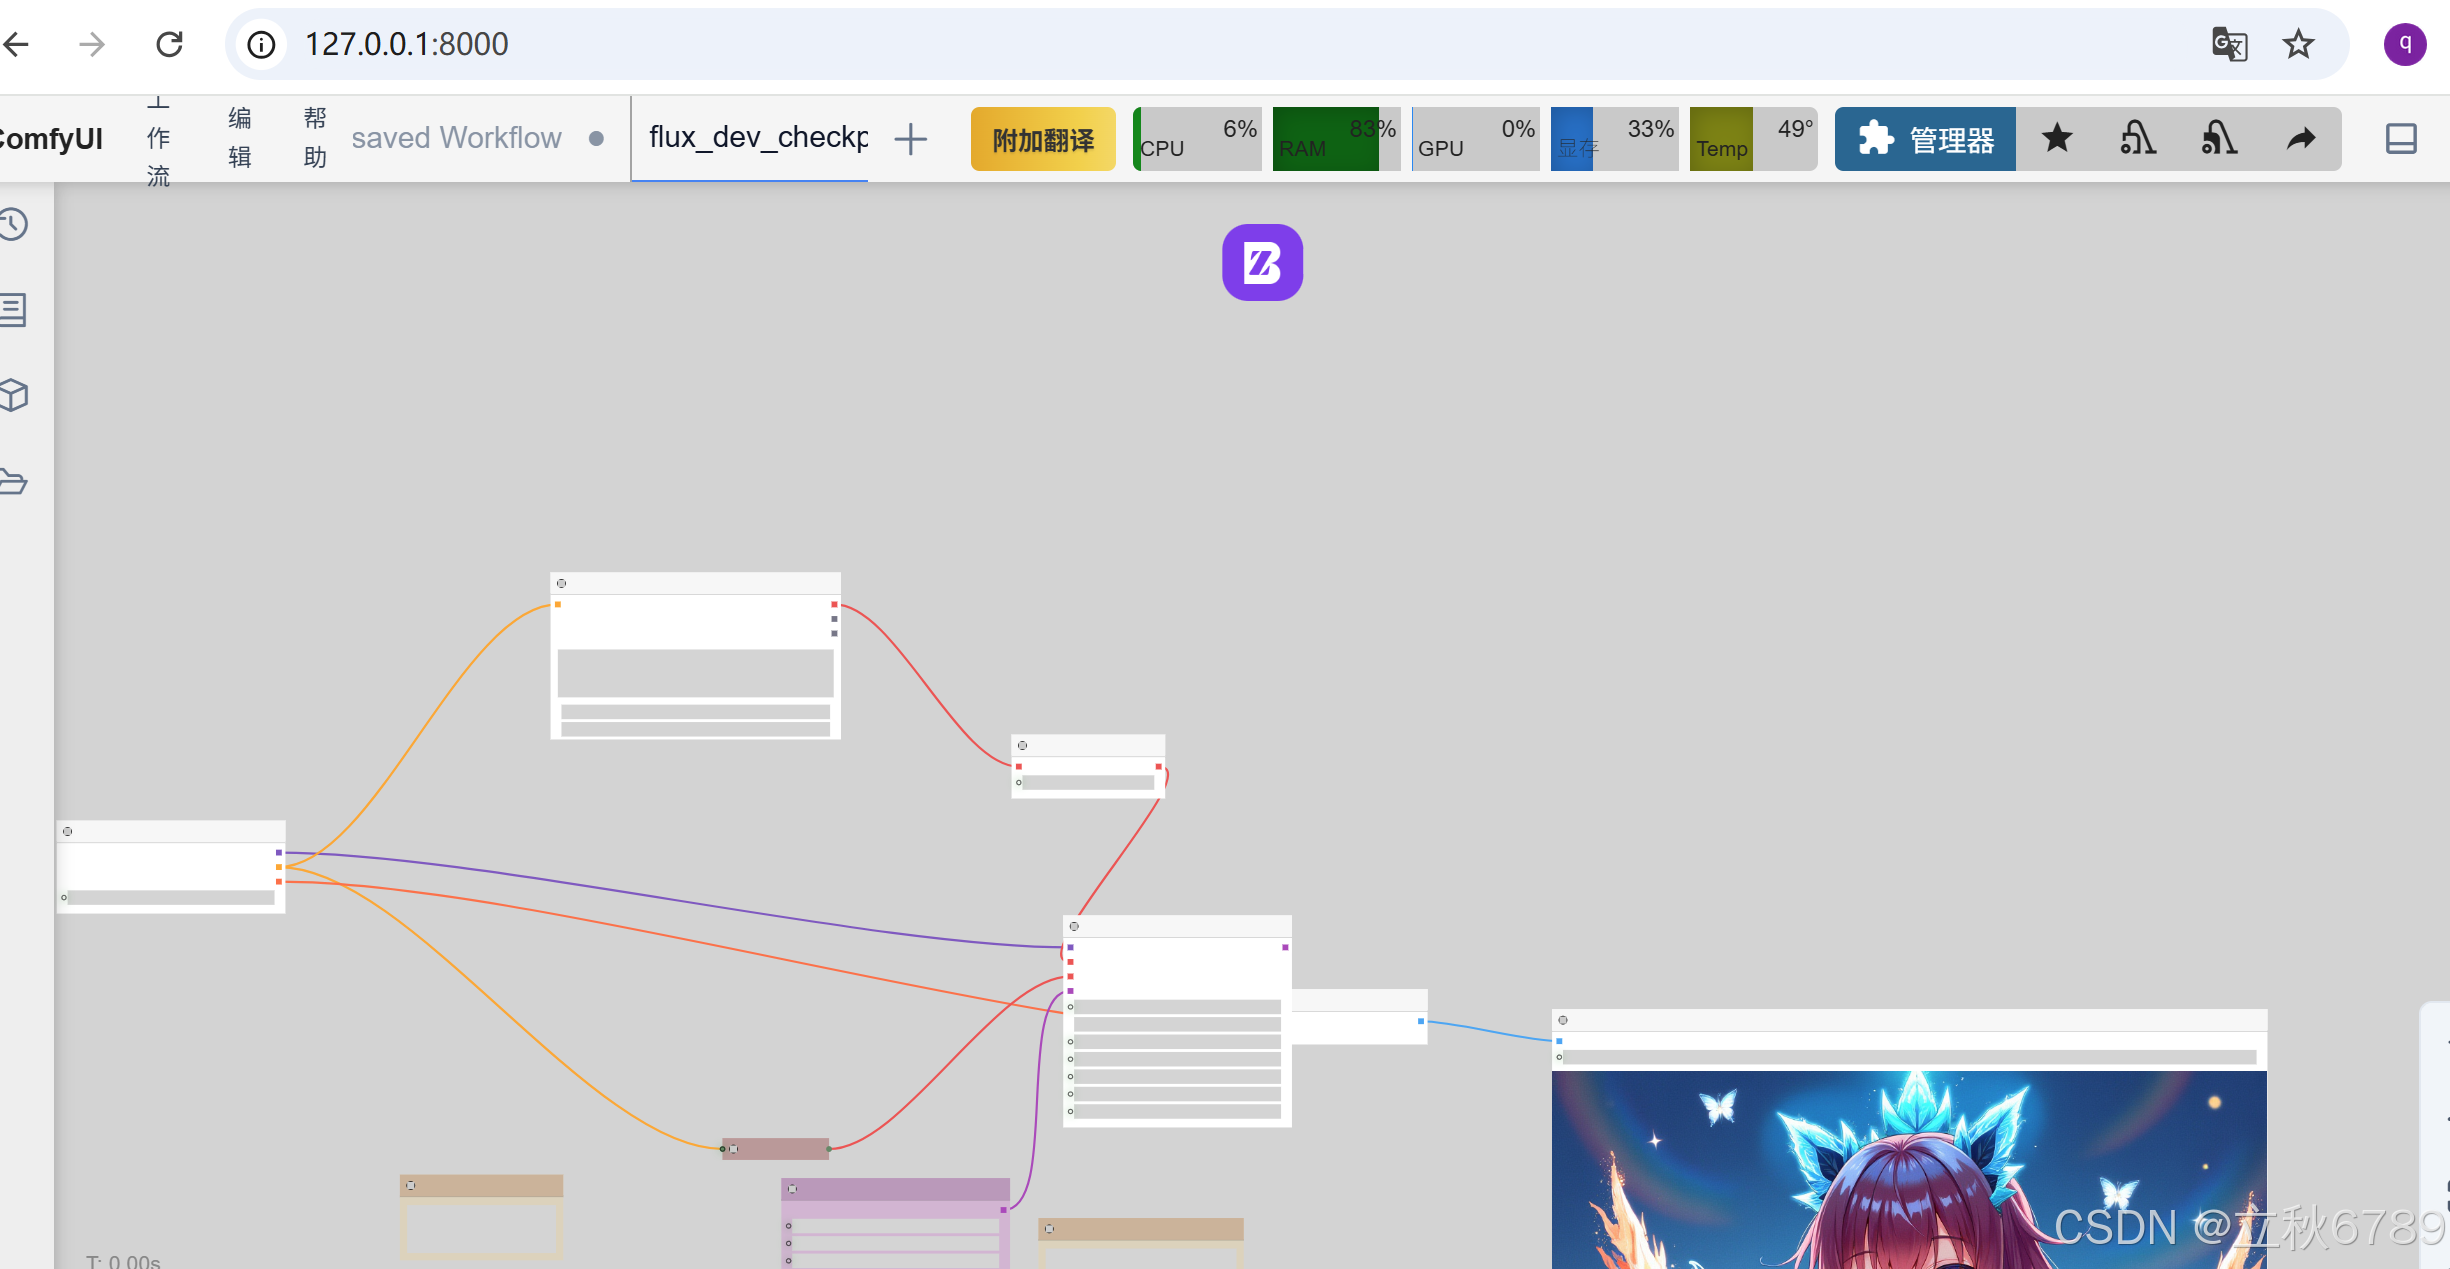
浏览器访问服务地址。
3、请求代码编写
3.1 抓取请求信息
在网页端中,选择要运行的工作流,按下F12,运行一次,抓取请求信息。
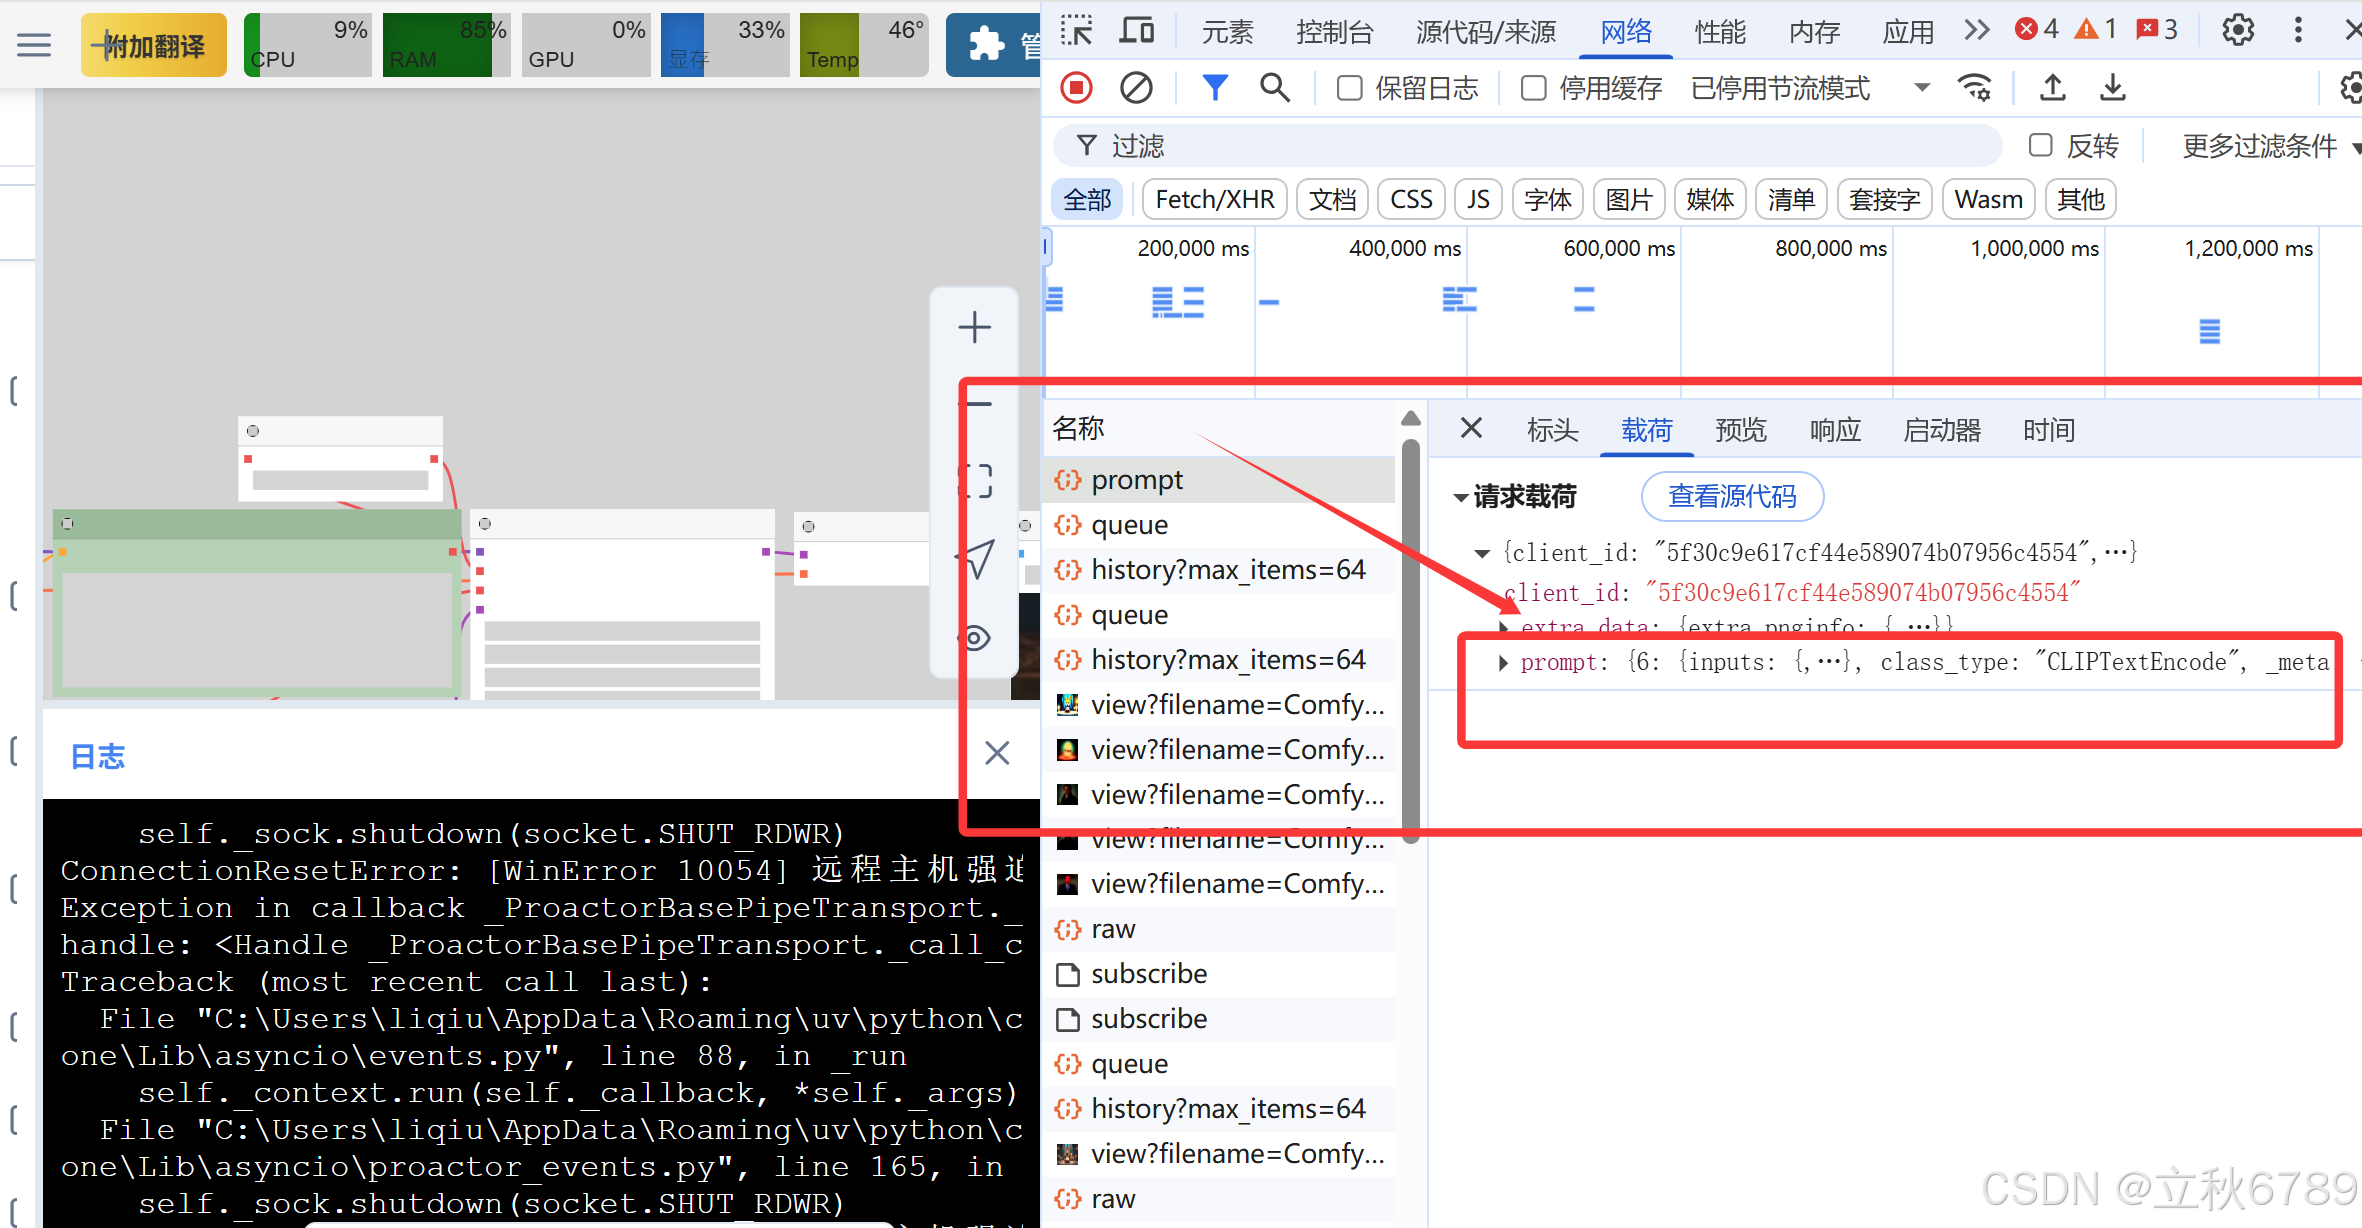
我们只需要请求参数中的prompt字段。这里相当于每次请求使用的工作流。
3.2 官方示例脚本
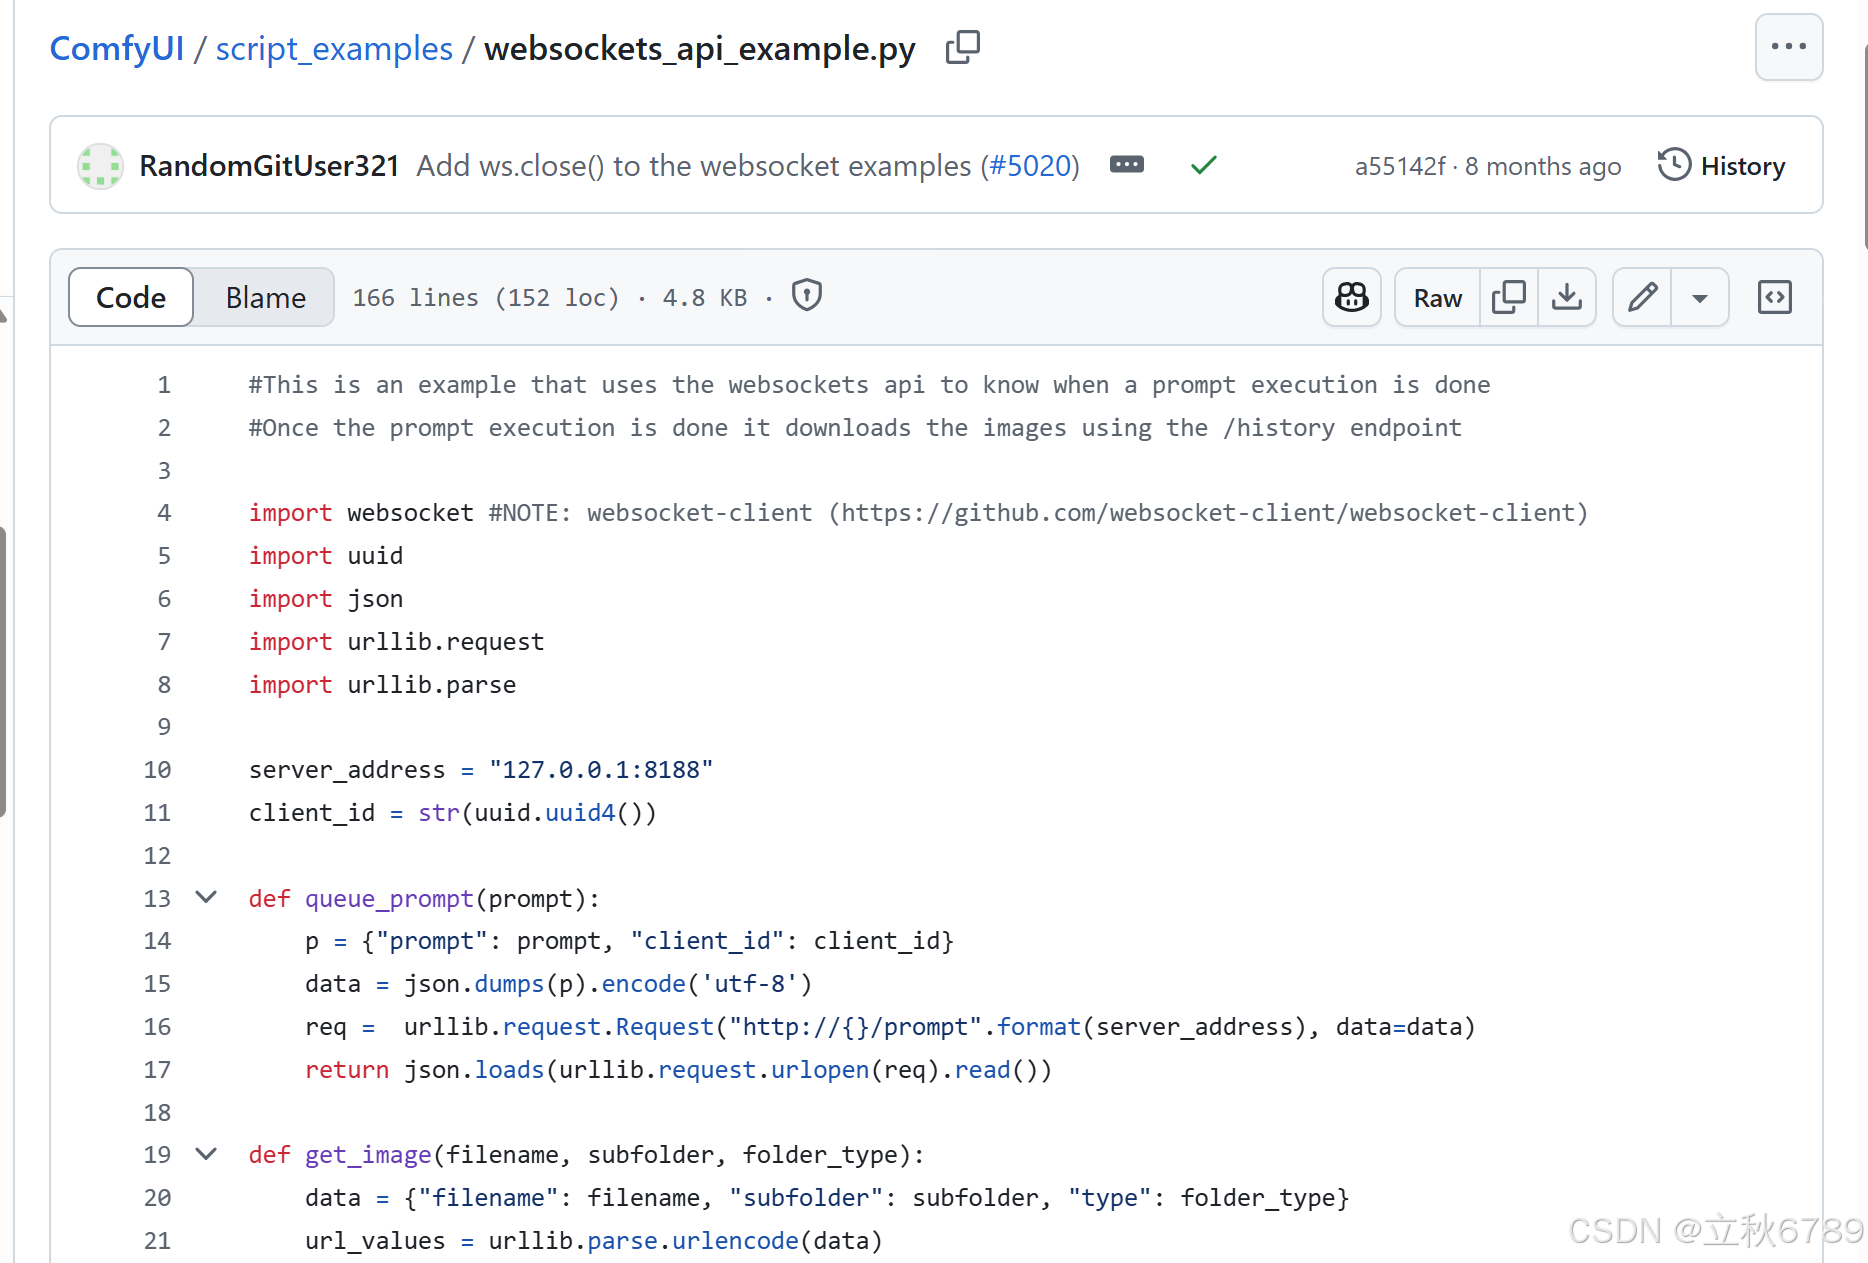
参考官方代码仓库的请求脚本:https://github.com/comfyanonymous/ComfyUI/blob/master/script_examples/websockets_api_example.py
3.3 编写请求代码
# 导入所需库
import websocket  # 用于WebSocket通信
import uuid       # 生成唯一客户端ID
import json       # 处理JSON数据
import urllib.request  # 发送HTTP请求
import urllib.parse    # 构造URL参数

# 定义服务器地址和生成客户端唯一ID
server_address = "127.0.0.1:8000"
client_id = str(uuid.uuid4())

def queue_prompt(prompt):
    """提交提示到服务器并返回执行ID"""
    # 构造包含提示和客户端ID的请求体
    p = {"prompt": prompt, "client_id": client_id}
    # 发送POST请求到/prompt端点
    data = json.dumps(p).encode('utf-8')
    req = urllib.request.Request(
        f"http://{server_address}/prompt",
        data=data
    )
    return json.loads(urllib.request.urlopen(req).read())

def get_image(filename, subfolder, folder_type):
    """根据参数获取生成的图像二进制数据"""
    # 构造URL查询参数
    data = {"filename": filename, "subfolder": subfolder, "type": folder_type}
    url_values = urllib.parse.urlencode(data)
    # 发送GET请求获取图像
    with urllib.request.urlopen(f"http://{server_address}/view?{url_values}") as response:
        return response.read()

def get_history(prompt_id):
    """获取指定提示ID的执行历史记录"""
    with urllib.request.urlopen(f"http://{server_address}/history/{prompt_id}") as response:
        return json.loads(response.read())

def get_images(ws, prompt):
    """通过WebSocket监听执行过程并获取最终生成的图像"""
    # 提交提示并获取执行ID
    prompt_id = queue_prompt(prompt)['prompt_id']
    output_images = {}

    # 持续监听WebSocket消息
    while True:
        out = ws.recv()
        if isinstance(out, str):
            message = json.loads(out)
            # 检测执行完成信号
            if message['type'] == 'executing':
                data = message['data']
                if data['node'] is None and data['prompt_id'] == prompt_id:
                    break  # 执行完成时退出循环
        else:
            # 二进制数据流(预览图)处理逻辑(已跳过)
            continue

    # 获取执行历史并提取生成的图像
    history = get_history(prompt_id)[prompt_id]
    for node_id in history['outputs']:
        node_output = history['outputs'][node_id]
        images_output = []
        if 'images' in node_output:
            for image in node_output['images']:
                # 获取每个图像的二进制数据
                image_data = get_image(image['filename'], image['subfolder'], image['type'])
                images_output.append(image_data)
        output_images[node_id] = images_output

    return output_images

# 定义工作流提示模板
prompt = {
    "6": {
        "inputs": {
            "text": "cute anime girl with massive fluffy fennec ears and a big fluffy tail blonde messy long hair blue eyes wearing a maid outfit with a long black gold leaf pattern dress and a white apron mouth open placing a fancy black forest cake with candles on top of a dinner table of an old dark Victorian mansion lit by candlelight with a bright window to the foggy forest and very expensive stuff everywhere there are paintings on the walls",
            "clip": ["30", 1]
        },
        "class_type": "CLIPTextEncode",
        "_meta": {"title": "CLIP文本编码器"}
    },
    "8": {
        "inputs": {"samples": ["31", 0], "vae": ["30", 2]},
        "class_type": "VAEDecode",
        "_meta": {"title": "VAE解码"}
    },
    "9": {
        "inputs": {"filename_prefix": "ComfyUI", "images": ["8", 0]},
        "class_type": "SaveImage",
        "_meta": {"title": "保存图像"}
    },
    "27": {
        "inputs": {"width": 1024, "height": 1024, "batch_size": 1},
        "class_type": "EmptySD3LatentImage",
        "_meta": {"title": "空Latent_SD3"}
    },
    "30": {
        "inputs": {"ckpt_name": "flux1-dev-fp8.safetensors"},
        "class_type": "CheckpointLoaderSimple",
        "_meta": {"title": "Checkpoint加载器(简易)"}
    },
    "31": {
        "inputs": {
            "seed": 972054013131369,
            "steps": 20,
            "cfg": 1,
            "sampler_name": "euler",
            "scheduler": "simple",
            "denoise": 1,
            "model": ["30", 0],
            "positive": ["35", 0],
            "negative": ["33", 0],
            "latent_image": ["27", 0]
        },
        "class_type": "KSampler",
        "_meta": {"title": "K采样器"}
    },
    "33": {
        "inputs": {"text": "", "clip": ["30", 1]},
        "class_type": "CLIPTextEncode",
        "_meta": {"title": "CLIP文本编码器"}
    },
    "35": {
        "inputs": {"guidance": 3.5, "conditioning": ["6", 0]},
        "class_type": "FluxGuidance",
        "_meta": {"title": "Flux引导"}
    }
}

# 建立WebSocket连接并获取图像
ws = websocket.WebSocket()
ws.connect(f"ws://{server_address}/ws?clientId={client_id}")
images = get_images(ws, prompt)
ws.close()  # 显式关闭连接

# 以下代码可用于显示生成的图像(需取消注释)
for node_id in images:
    for image_data in images[node_id]:
        from PIL import Image
        import io
        image = Image.open(io.BytesIO(image_data))
        image.save("output.jpg")  # 保存到文件
        image.show()
注意,代码中的请求地址和端口要和你ComfyUI保持一致。
运行即可!
通过Python代码,可以实现批量,自动化等操作,更灵活了。
4、执行流程解析
4.1 建立WebSocket连接
ws = websocket.WebSocket()
ws.connect(f"ws://{server_address}/ws?clientId={client_id}")
4.2 提交任务并获取结果
images = get_images(ws, prompt)4.3 显示生成图像
for node_id in images:
    for image_data in images[node_id]:
        from PIL import Image
        import io
        image = Image.open(io.BytesIO(image_data))
        image.save("output.jpg")  # 保存到文件
        image.show()             # 弹出预览窗口
火山引擎开发者社区是火山引擎打造的AI技术生态平台,聚焦Agent与大模型开发,提供豆包系列模型(图像/视频/视觉)、智能分析与会话工具,并配套评测集、动手实验室及行业案例库。社区通过技术沙龙、挑战赛等活动促进开发者成长,新用户可领50万Tokens权益,助力构建智能应用。
更多推荐
 0
0 0
0- 0


 已为社区贡献3条内容

所有评论(0)